The core area of Cathedral Lakes Provincial Park has two backcountry camping areas, stunning hikes and azure lakes chock full of trout. Even better, you can get a lift straight to the campground – if you’re willing to pay for it!
If you’re planning a trip to Cathedral Lakes Provincial Park, then here’s what you need to know.
Cathedral Lakes Provincial Park
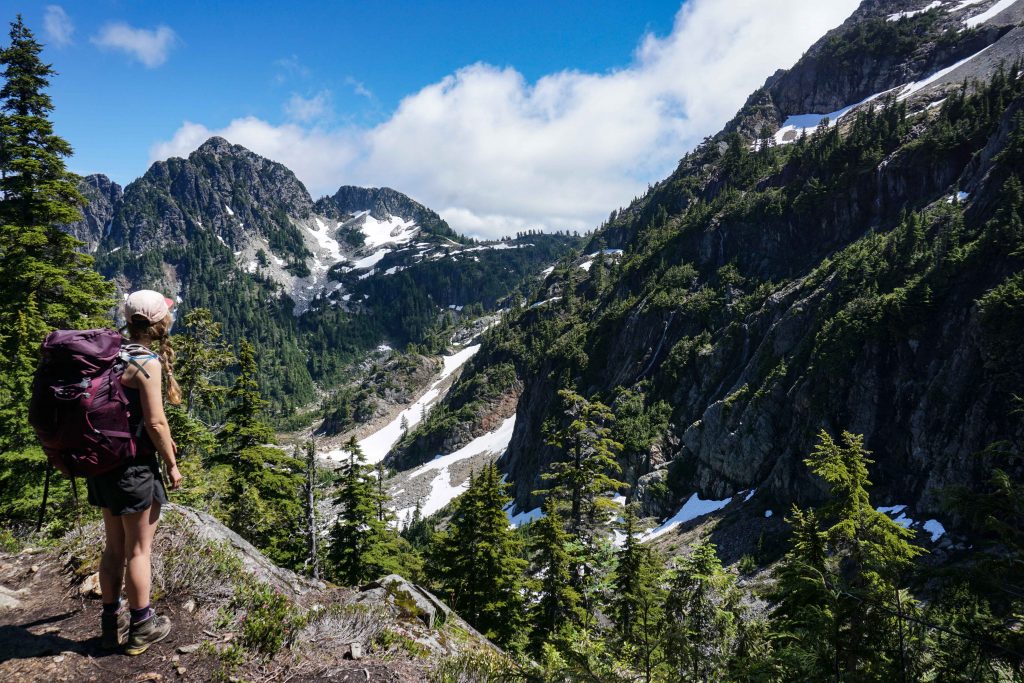
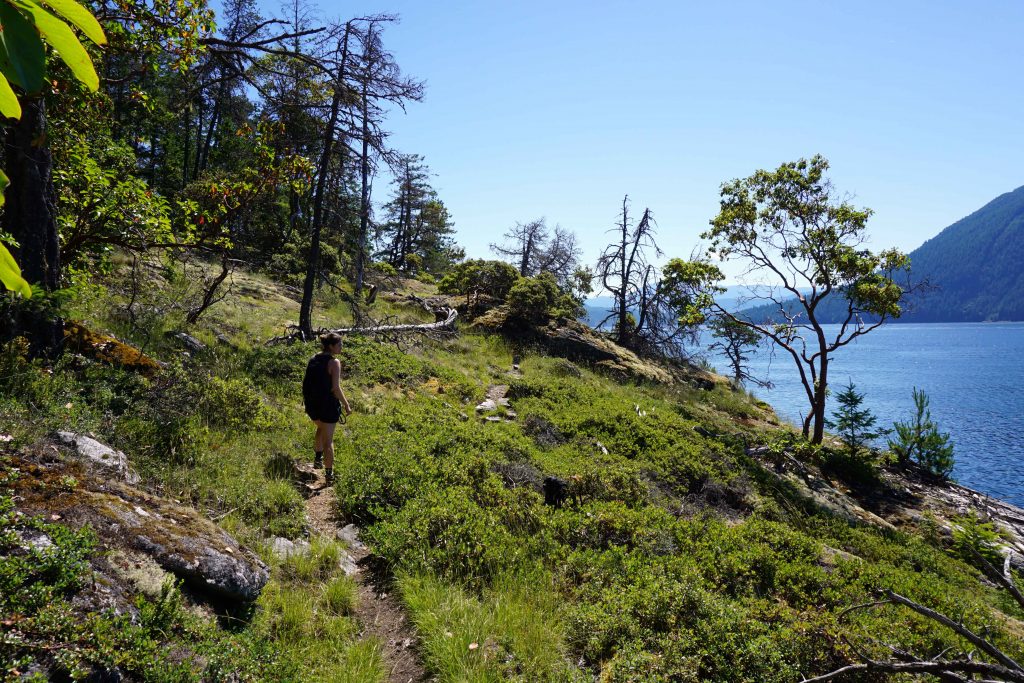
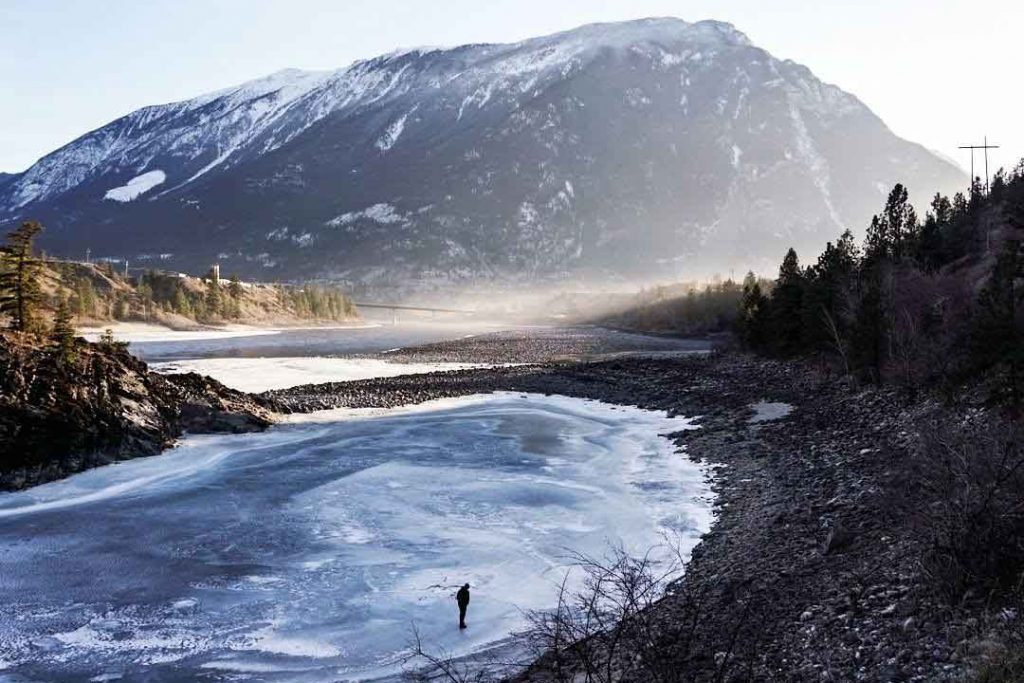
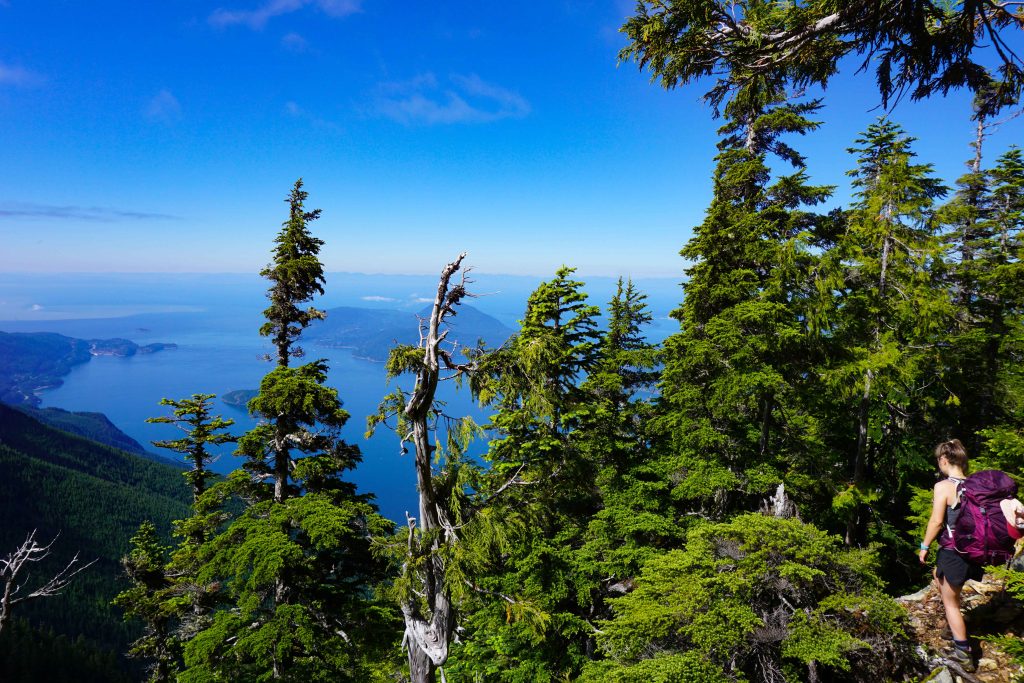
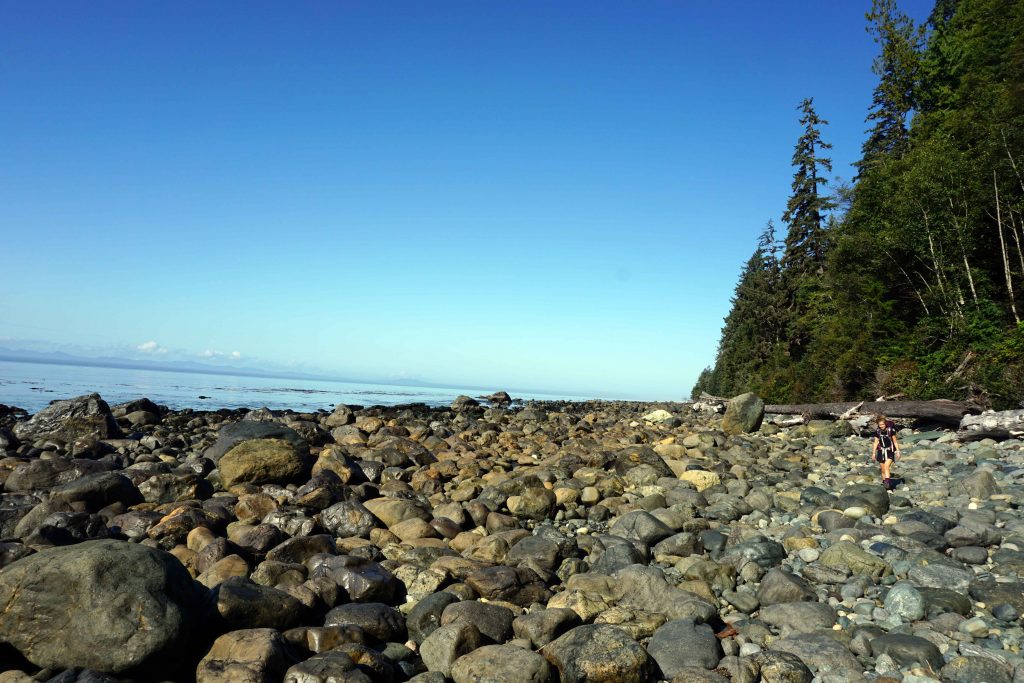
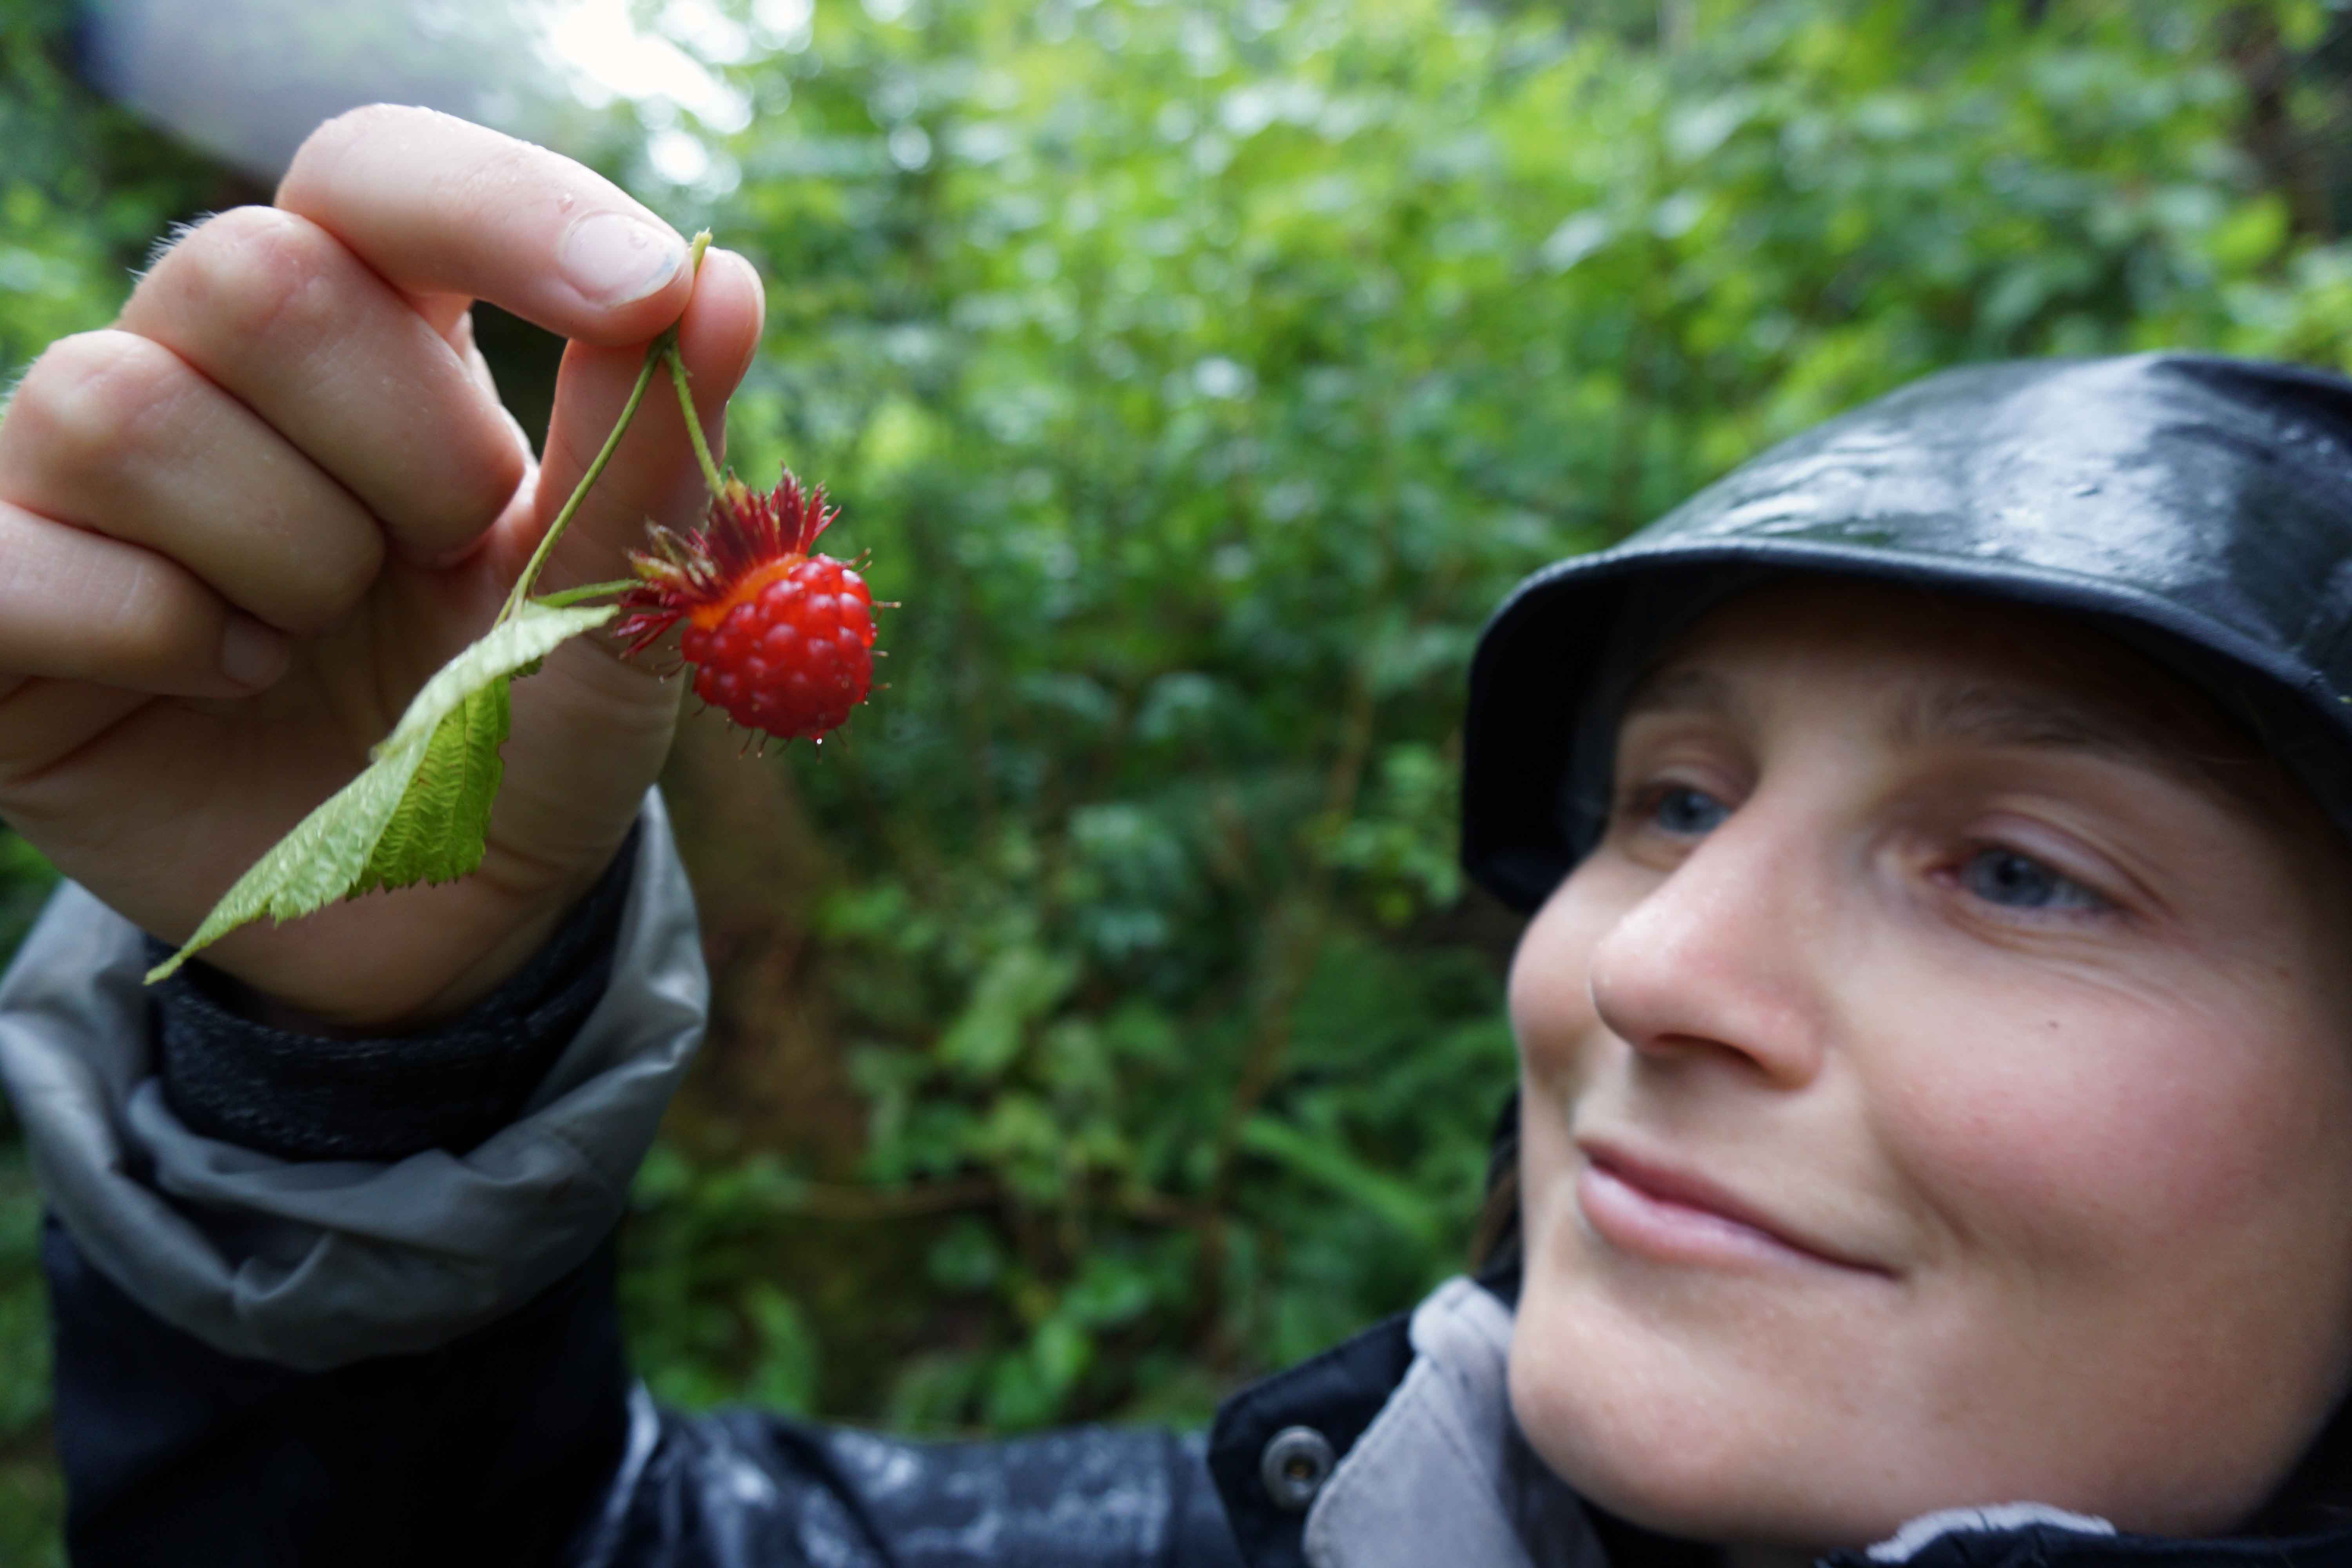
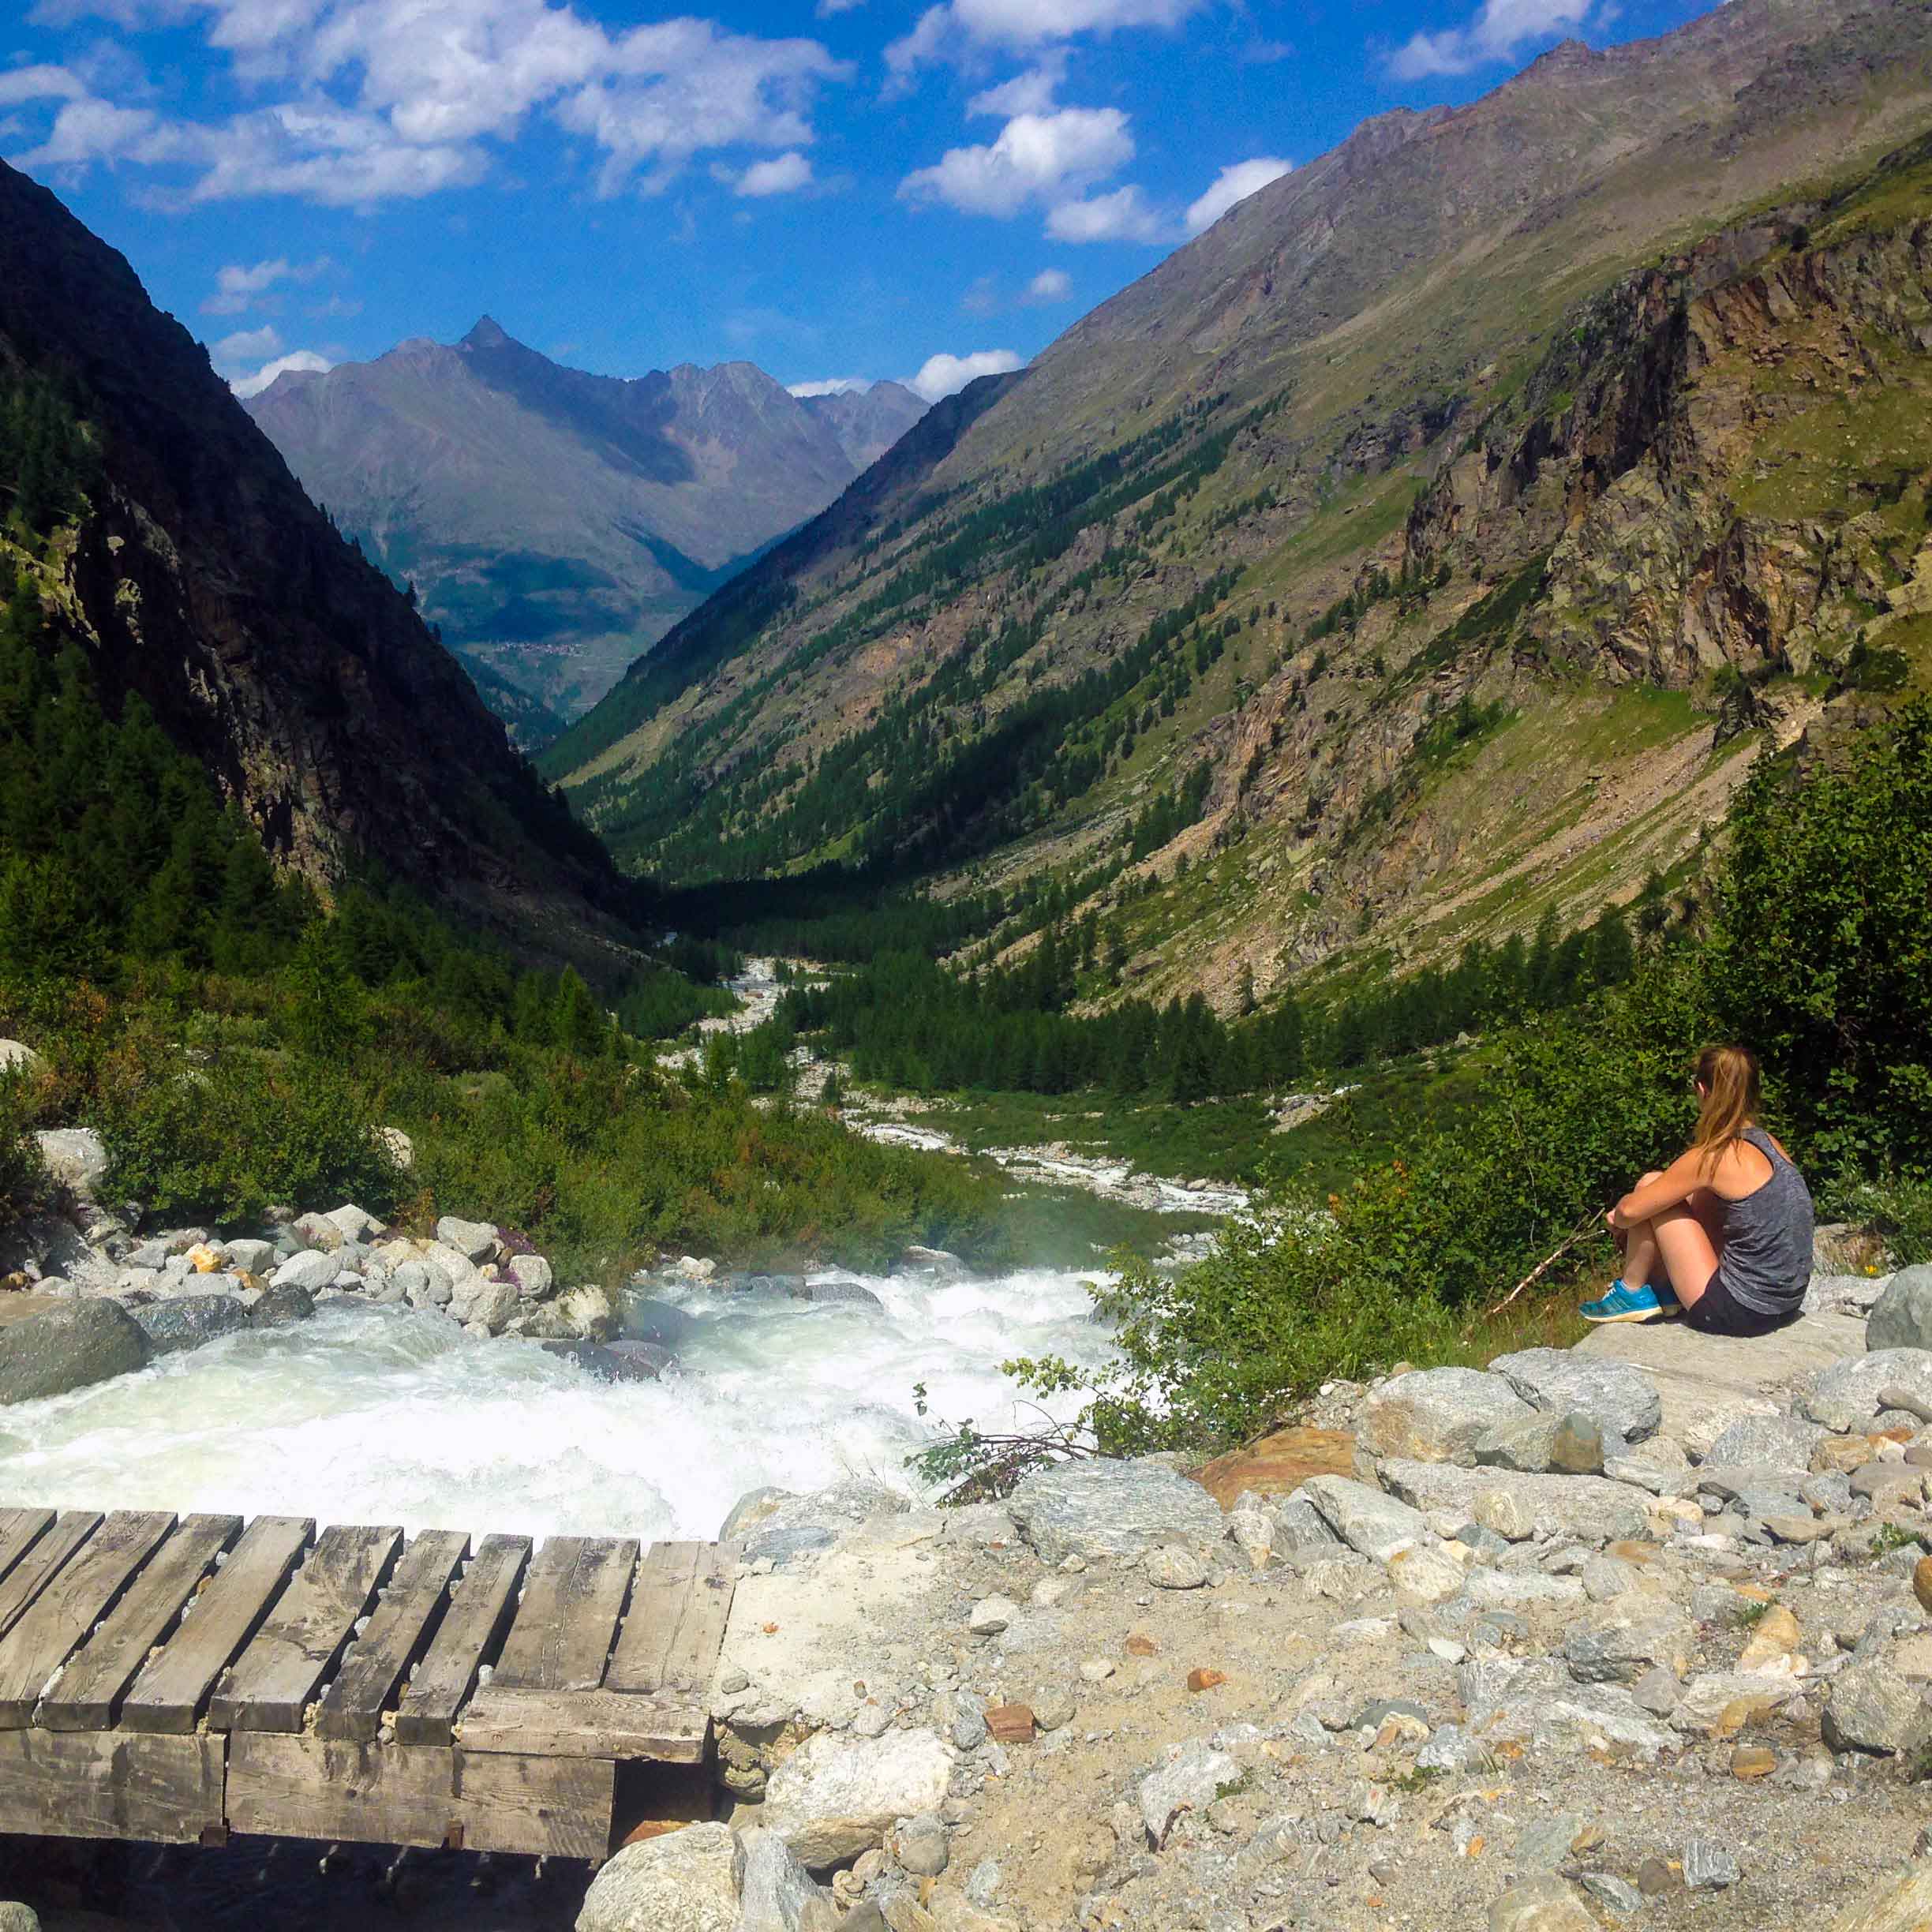
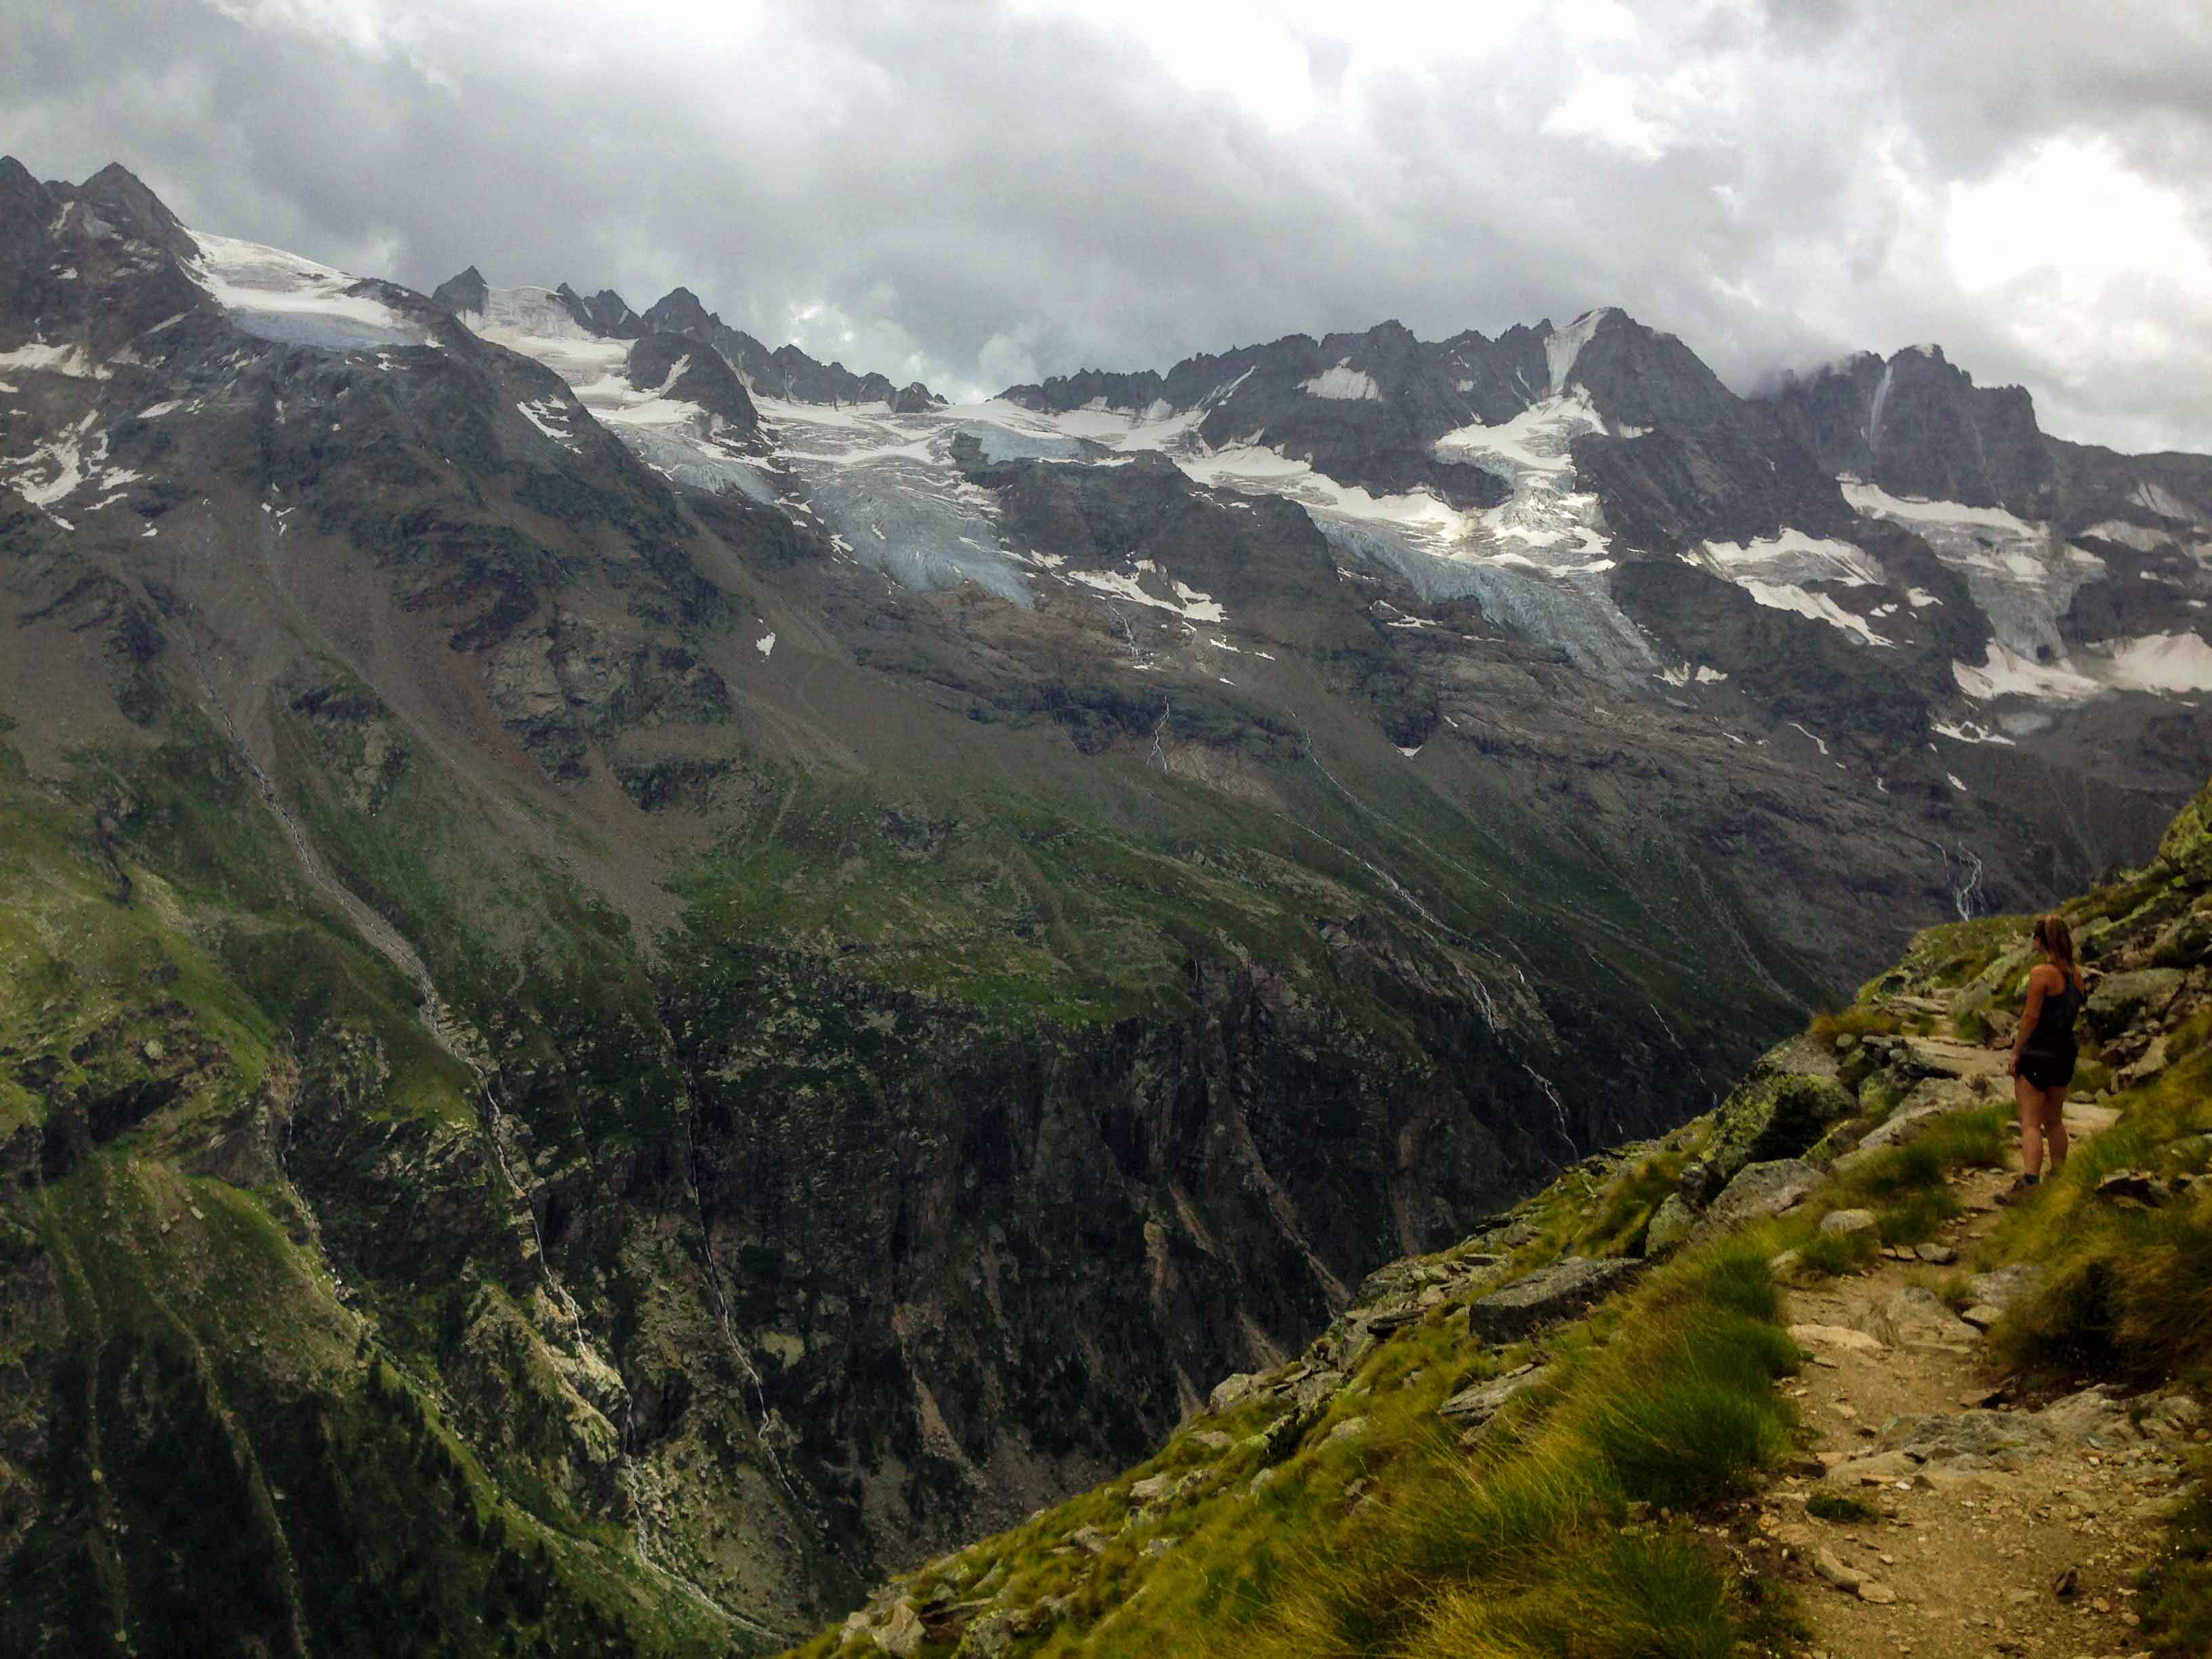
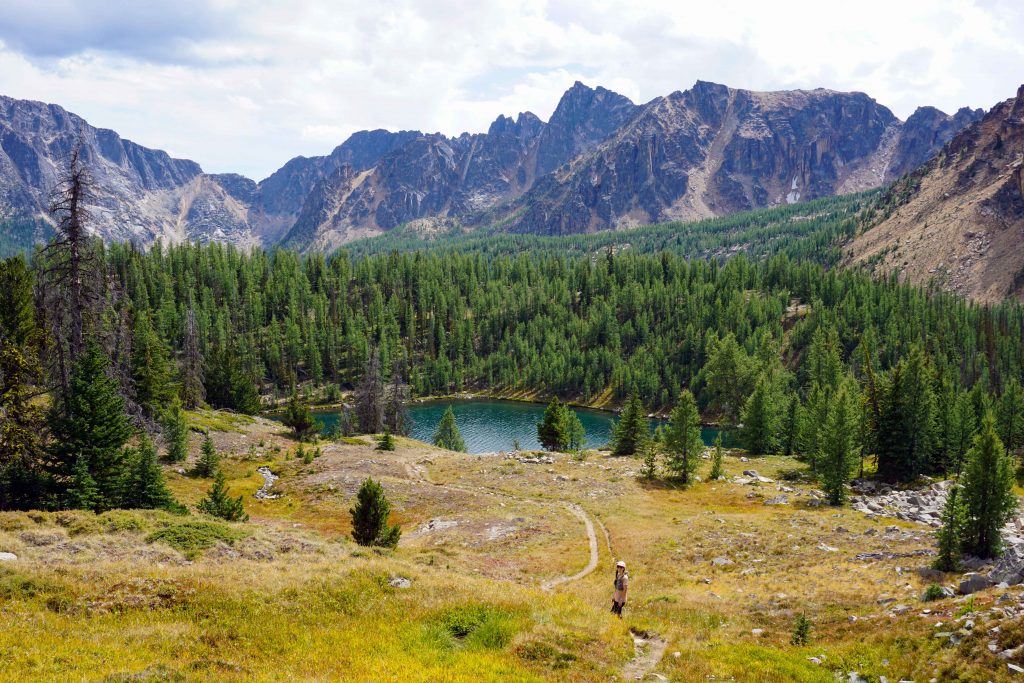
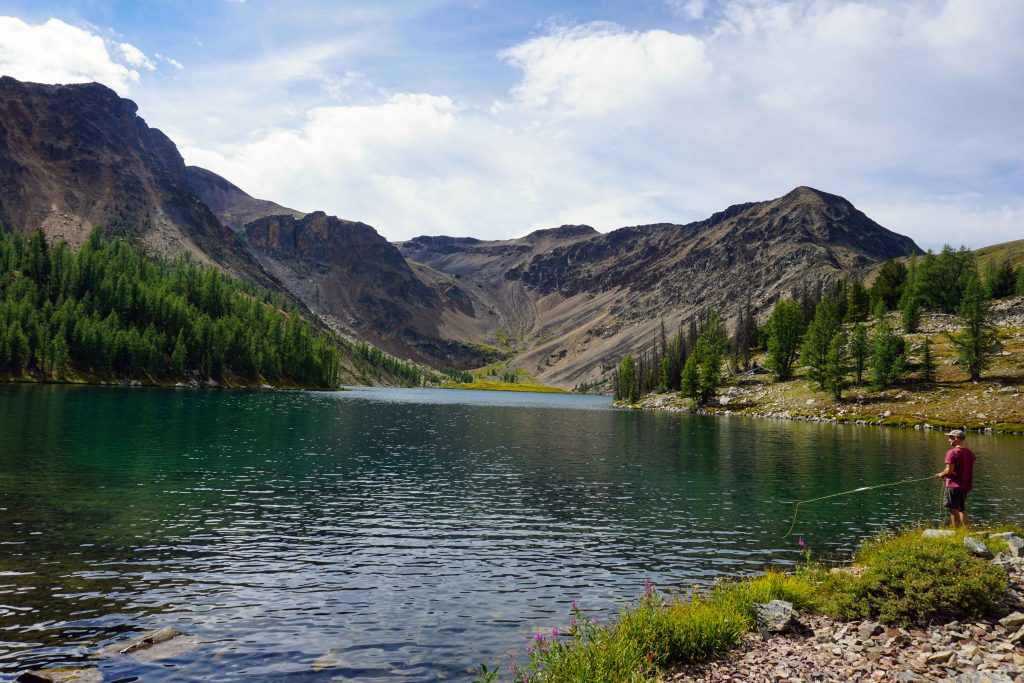
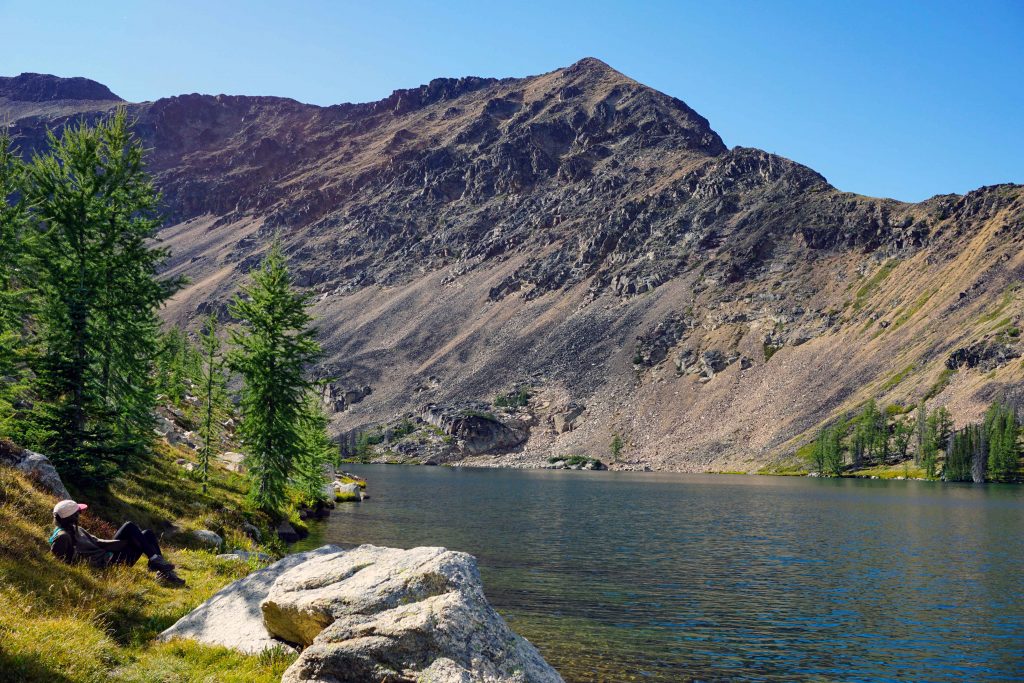
Drive east from Vancouver and the dense, wet forest eventually gives way to the desert-like Okanagan Valley. Cathedral Lakes sits just at this interchange, making it feel as though two geological worlds have collided. The impact is remarkable. The core area of Cathedral Lakes is like a checklist of everything you could want from a backcountry camping trip. Crystal clear lakes? Check. Towering mountains with unique rock formations? Yep. Wildlife viewing opportunities? For sure. In fact, the lakes are known for their trout fishing, while the park is also home to mountain goats, bighorn sheep, deer and bears.
The core area
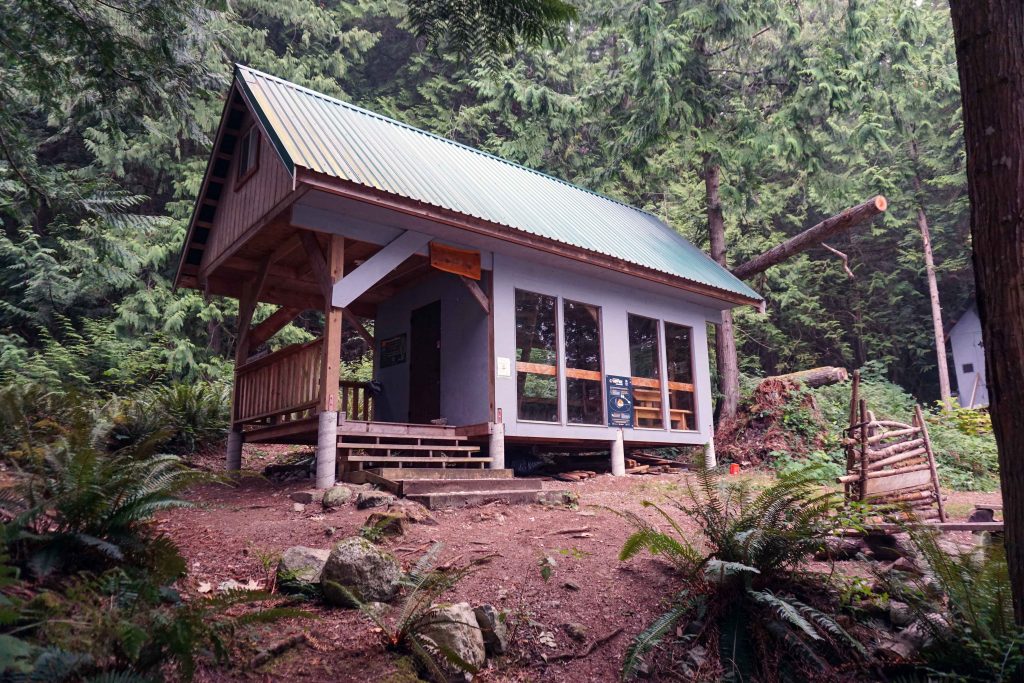
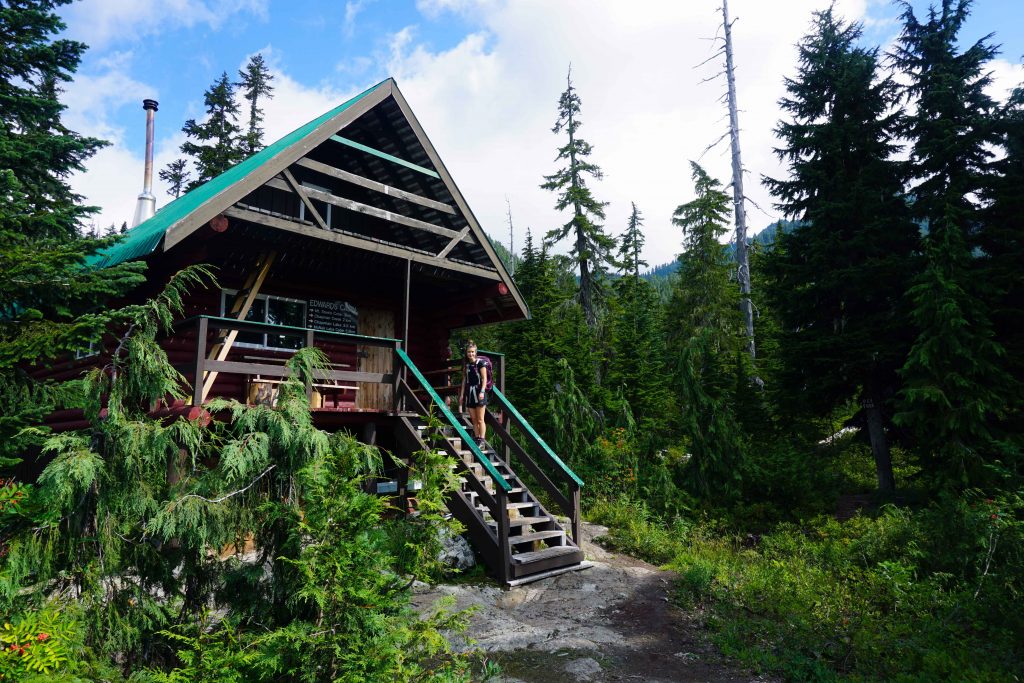
You’ll notice that I keep mentioning the ‘core’ area. If you look at the BC Parks map, you’ll see that the park extends from the Ashnola River down to the US border. In the middle – starting at around 2,000 metres up – is the core area. Hunting is prohibited here, and it’s also where most of the good stuff is. By good stuff, I mean the campgrounds, the lakes, and some top-notch hiking trails. Oddly for a backcountry camping trip, there’s also a privately owned lodge called Cathedral Lakes Lodge. It owns the only road leading in to the core area, as well as a patch of land on which the lodge is built.
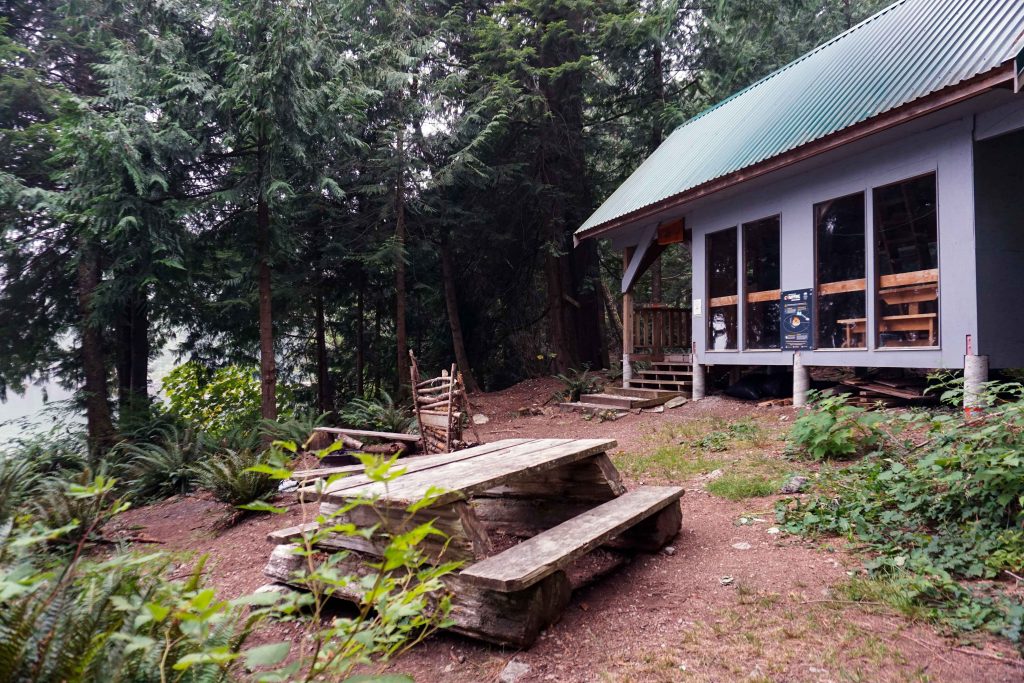
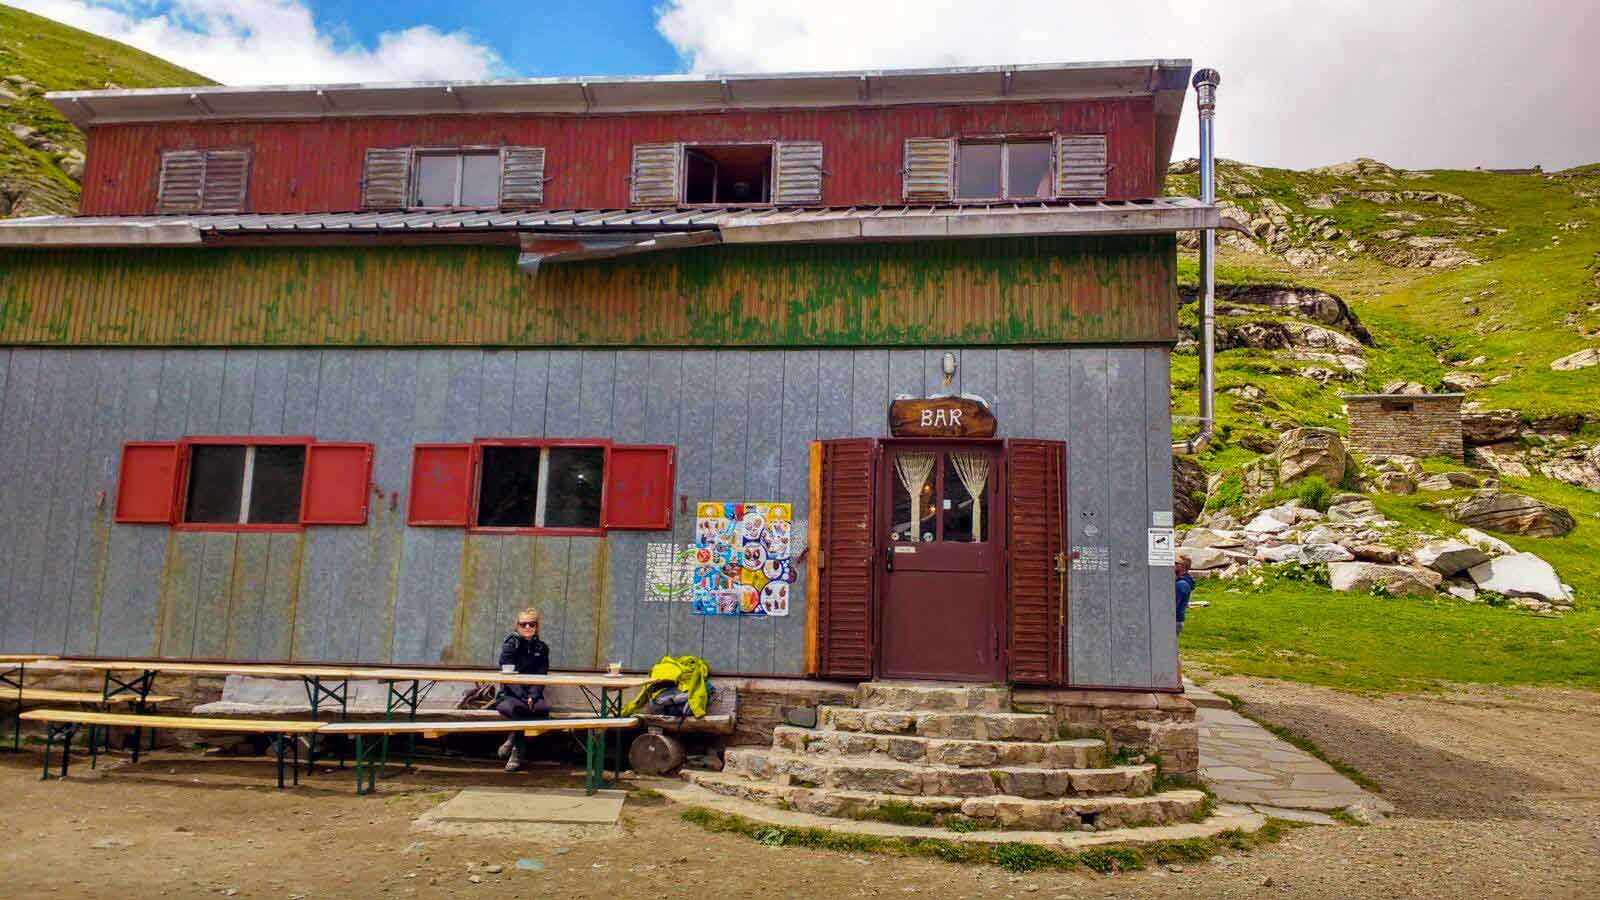
Cathedral Lakes Lodge
However, you don’t have to stay at the lodge. The campgrounds are operated by BC Parks, so you can either ignore the lodge or make use of some of their facilities (like buying food and drinks). It does have a very tempting hot tub/sauna set up, but unfortunately, this is reserved for guests. It’s quite strange to have civilisation nearby, including Wi-Fi and beer on tap. But it doesn’t necessarily detract from the experience, especially if you camp at Lake of the Woods. You can also pay the lodge to drive you into the core area, saving yourself a 16km hike. This is highly unusual for a backcountry camping trip, but it’s a welcome luxury!
Getting to the core area
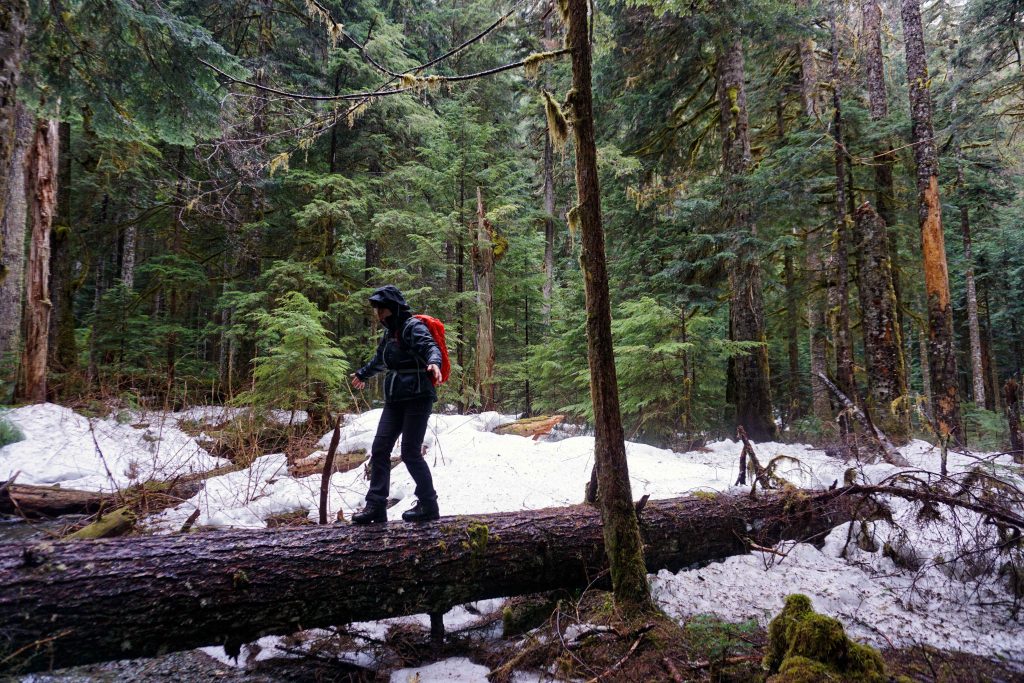
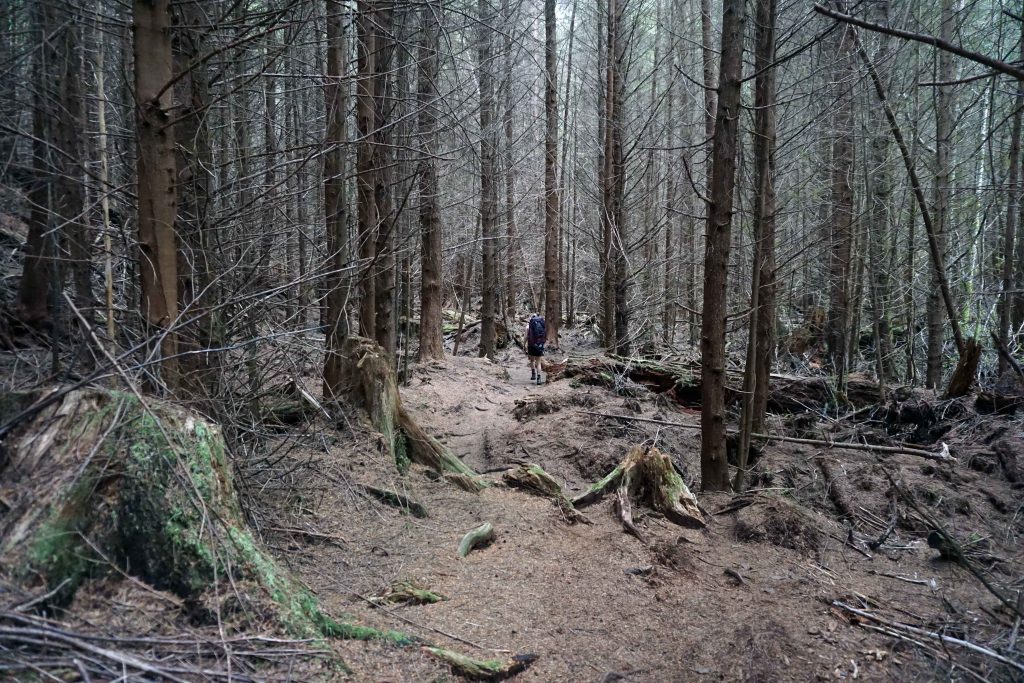
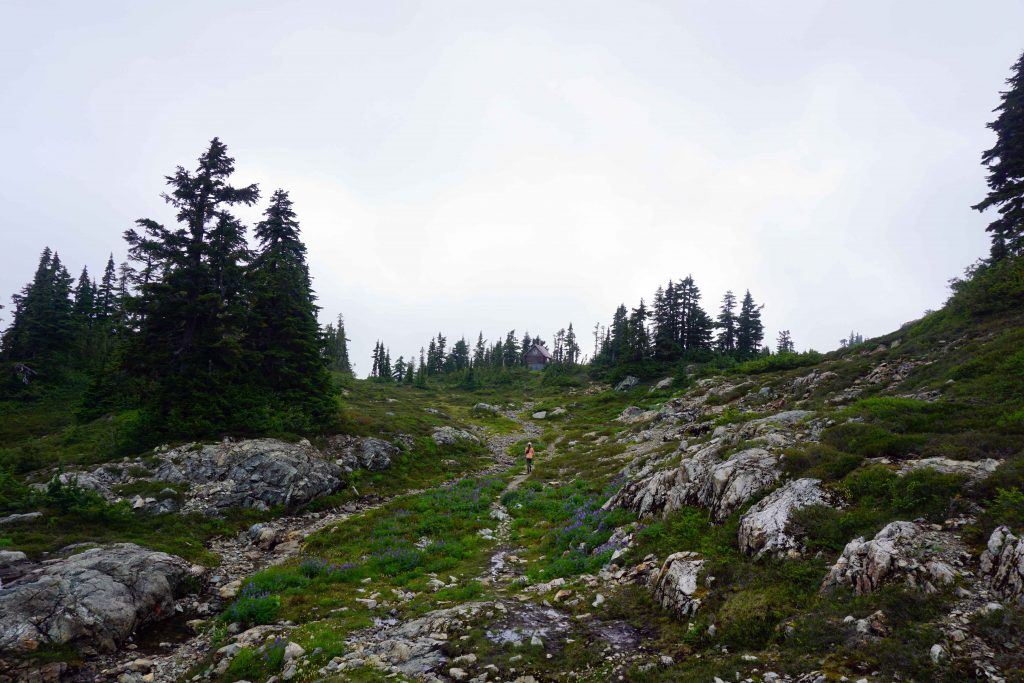
But as with most things ‘luxurious’, getting the shuttle isn’t cheap. At the time of writing, a return trip for an adult is $150 plus tax. If that’s too spenny then you can hike in (for free!) I’ve not done the hike, but it’s said to be a strenuous, all-day excursion. The most direct hiking trail into the core area is the Lakeview Trail, which is 16km long and has 1,357m of vertical climbing. The other options are the Wall Creek Trail (20km) or the Ewart Creek Trail (28km, making it by far the longest route). We chose the shuttle this time, but I’d be willing to give the hike a go on the next occasion…or at least get the shuttle up and hike down!
If you take the shuttle
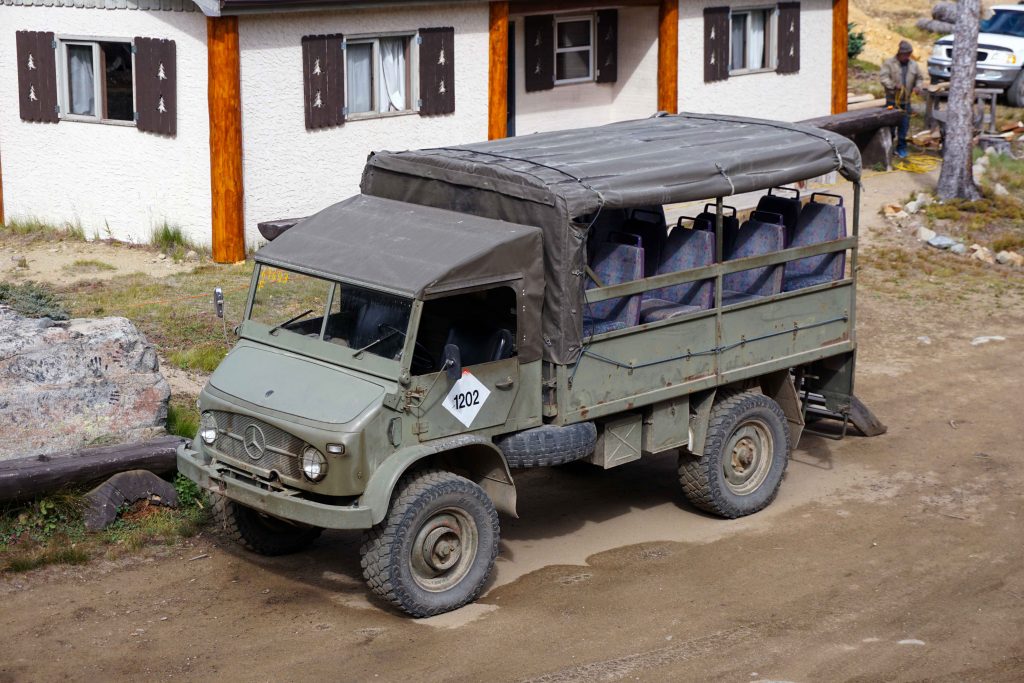
If you take the shuttle, you can expect a white-knuckle ride in either an ancient safari-style Mercedes or a decrepit Suburban. It takes about an hour along a bumpy, steep 4×4 road. If you’re in the open-sided vehicle, bear in mind that the road is dusty, so I advise sitting close to the front and wearing sunglasses and a mask/buff. Each person can bring two large items (such as a backpack and a cooler) and one small item (such as a day pack). Again, this makes for a strange backcountry camping trip, as you can take quite a lot of luggage which you don’t have to carry very far. If you prefer camping with a cooler full of beers, then this will be music to your ears.
Booking the shuttle
You can book the shuttle online on the Cathedral Lakes Lodge website. You can choose a one-way trip or a return trip. You start at ‘base camp’, which is the parking lot. This is a secure parking lot which remains locked, other than to allow vehicles in and out for the shuttle. This was a bonus for me as I had my mountain bike in the back of my car. The shuttle only operates during summer and autumn, with lodge operations shutting down around the beginning of October. Be wary of booking the shuttle until you know your plans: they don’t do refunds. Due to wildfires in the area, I did ask to change the dates of my trip and was given a credit.
When to visit
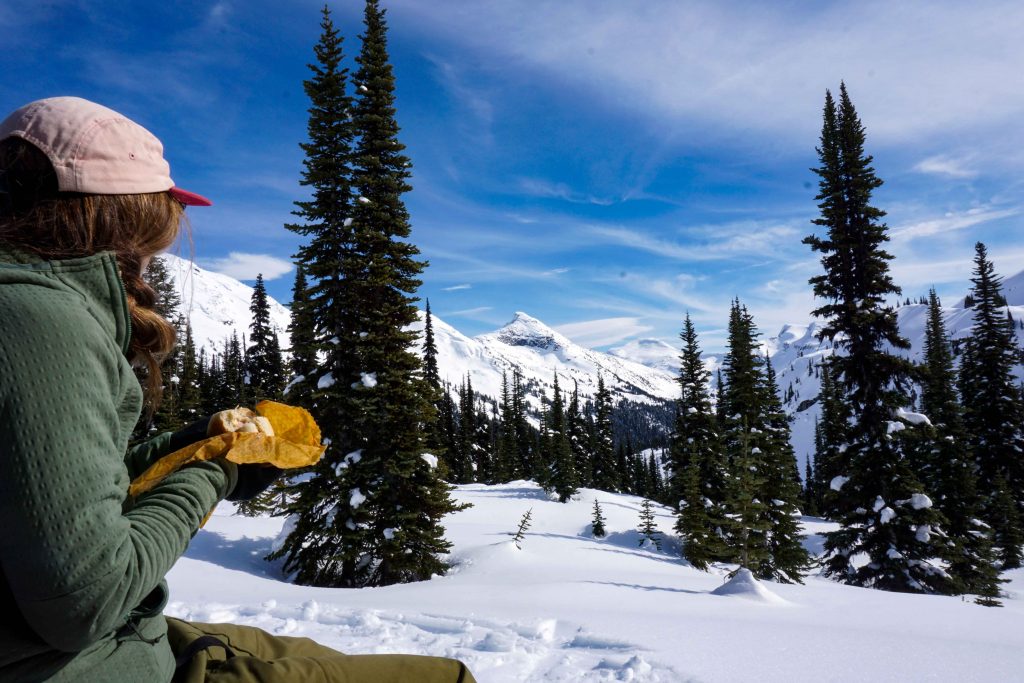
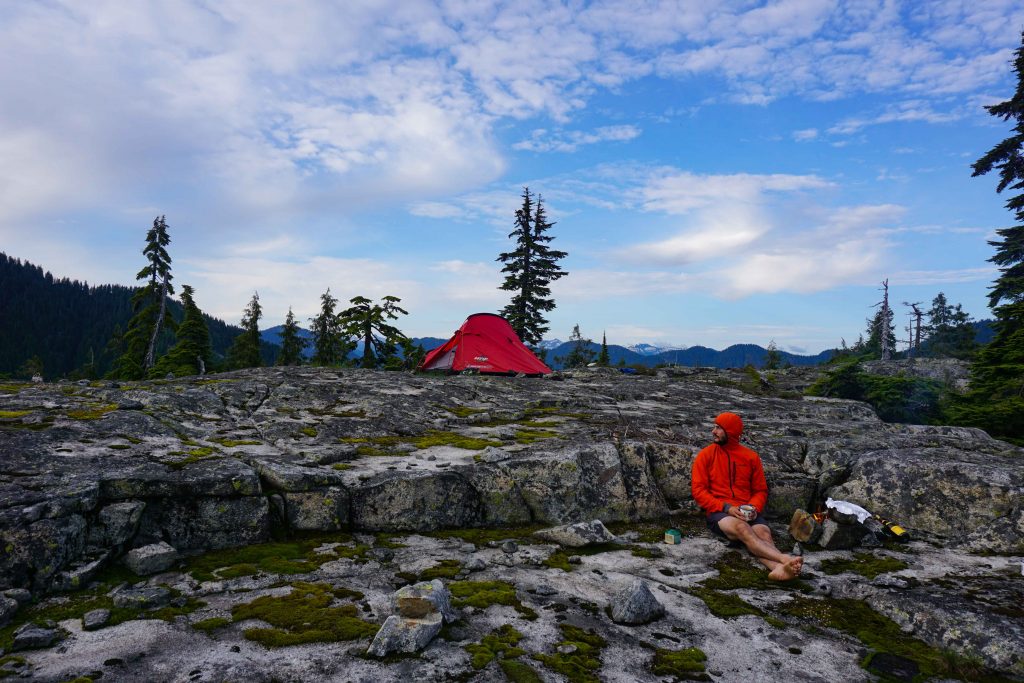
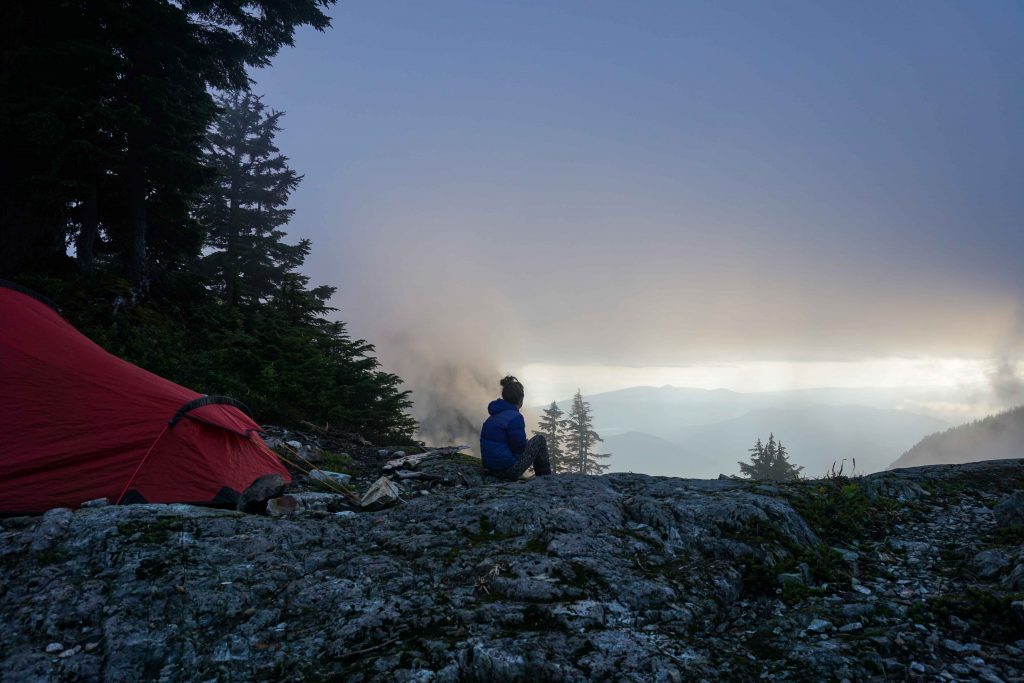
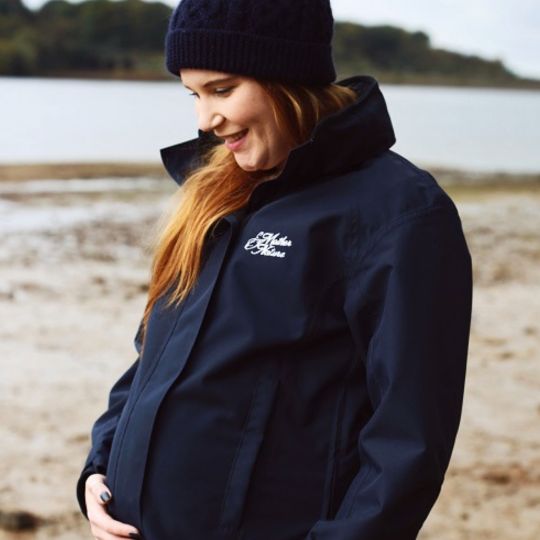
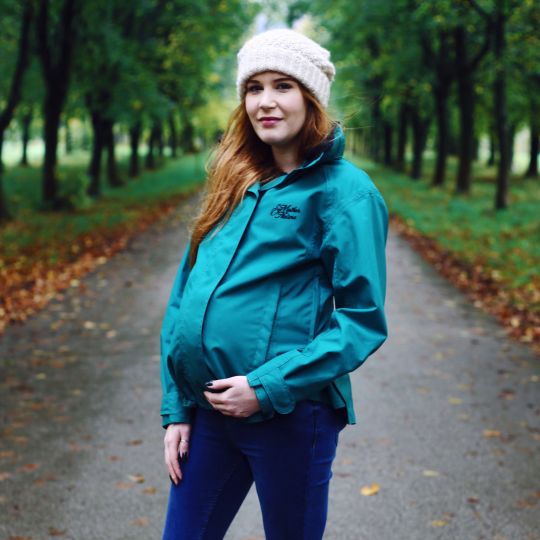
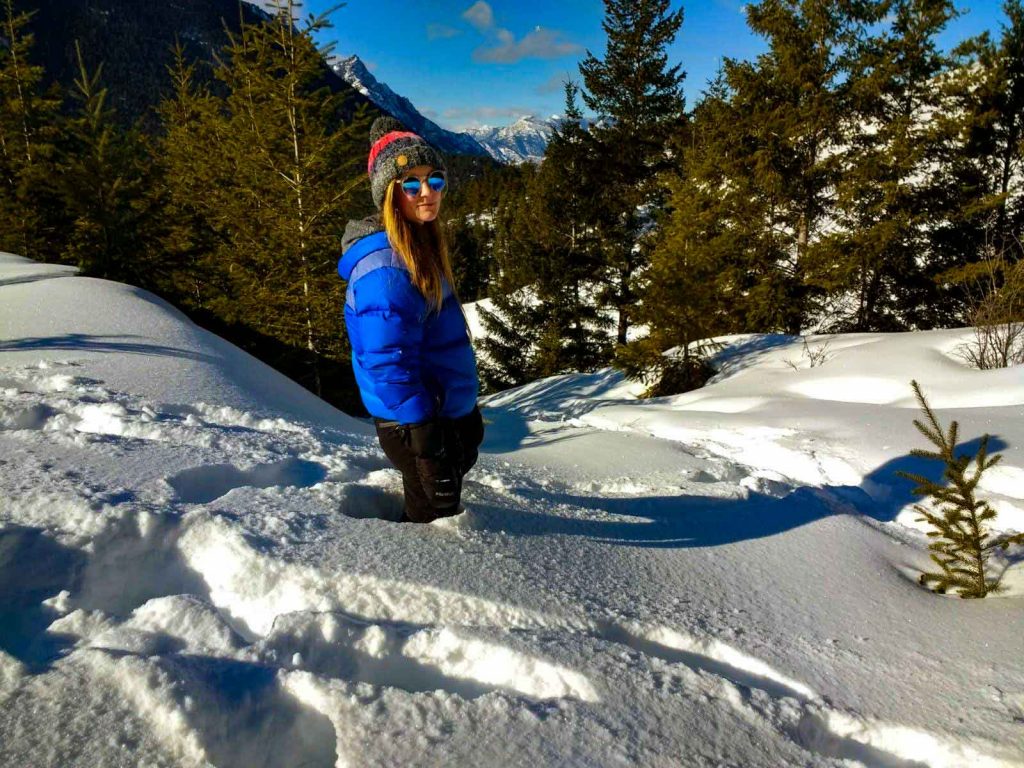
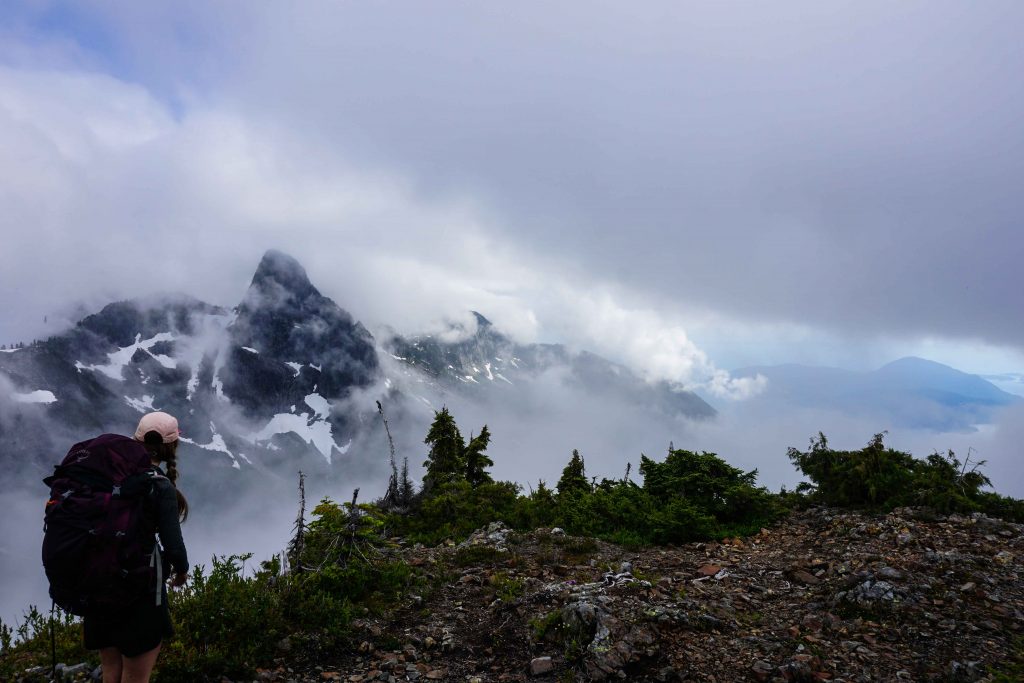
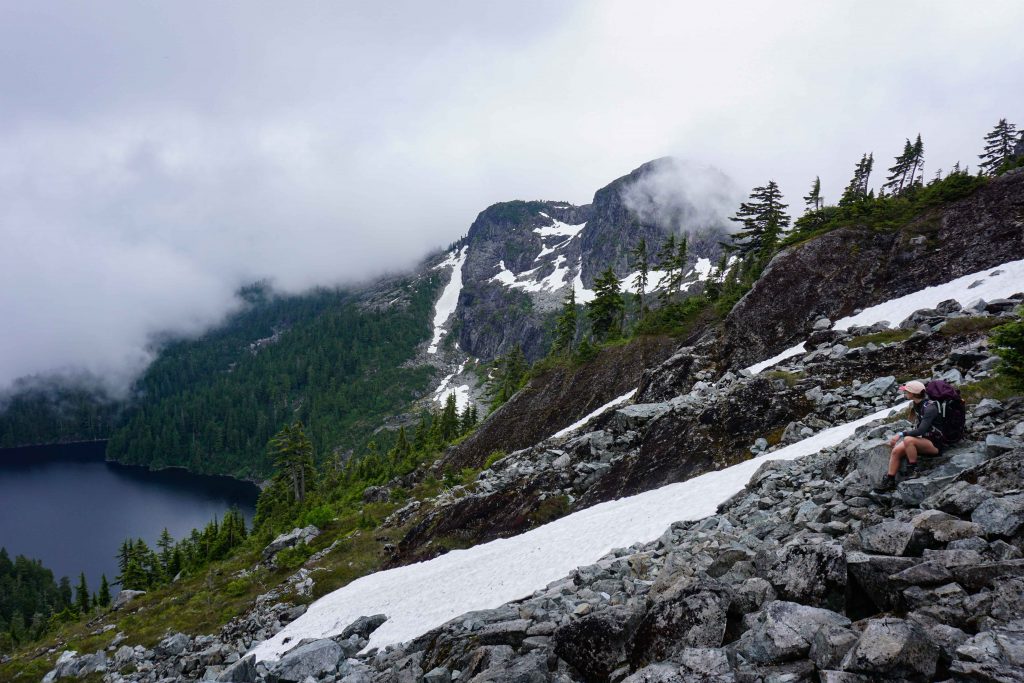
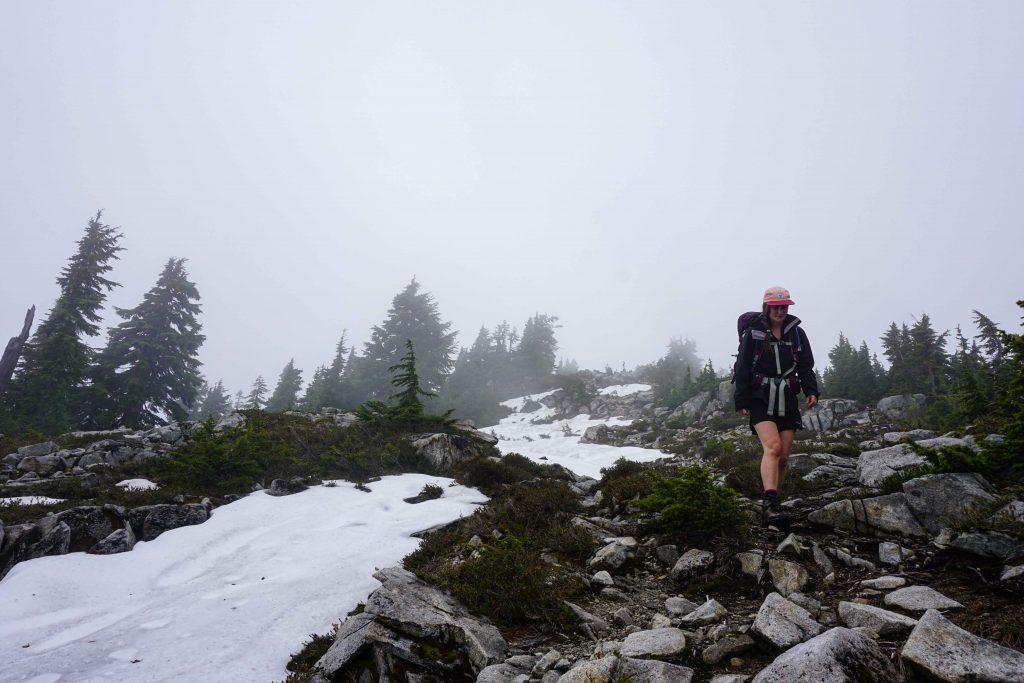
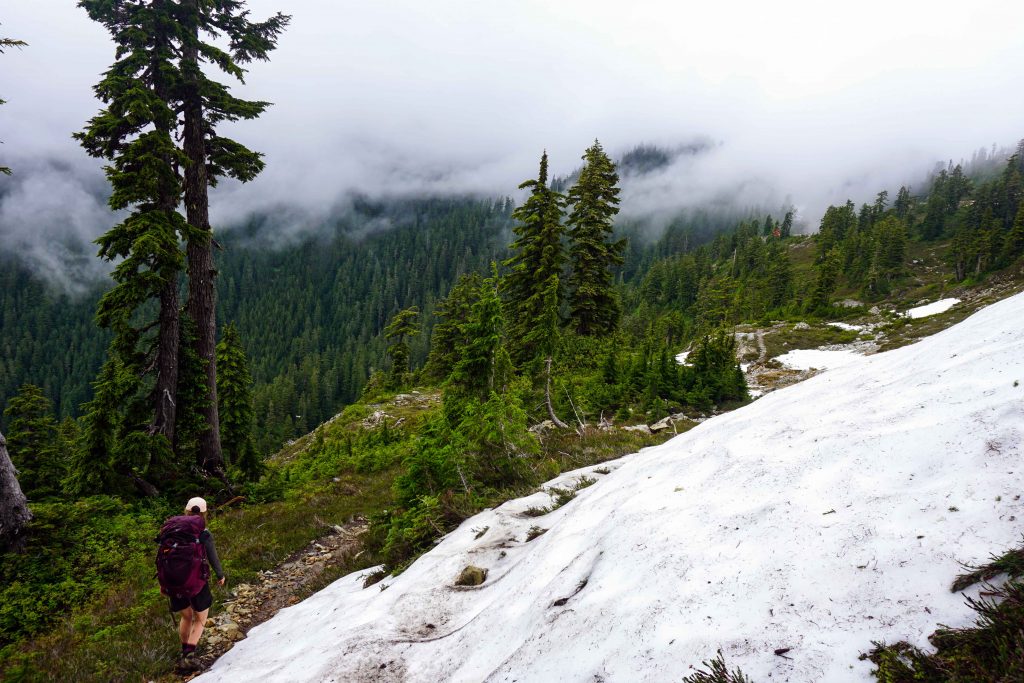
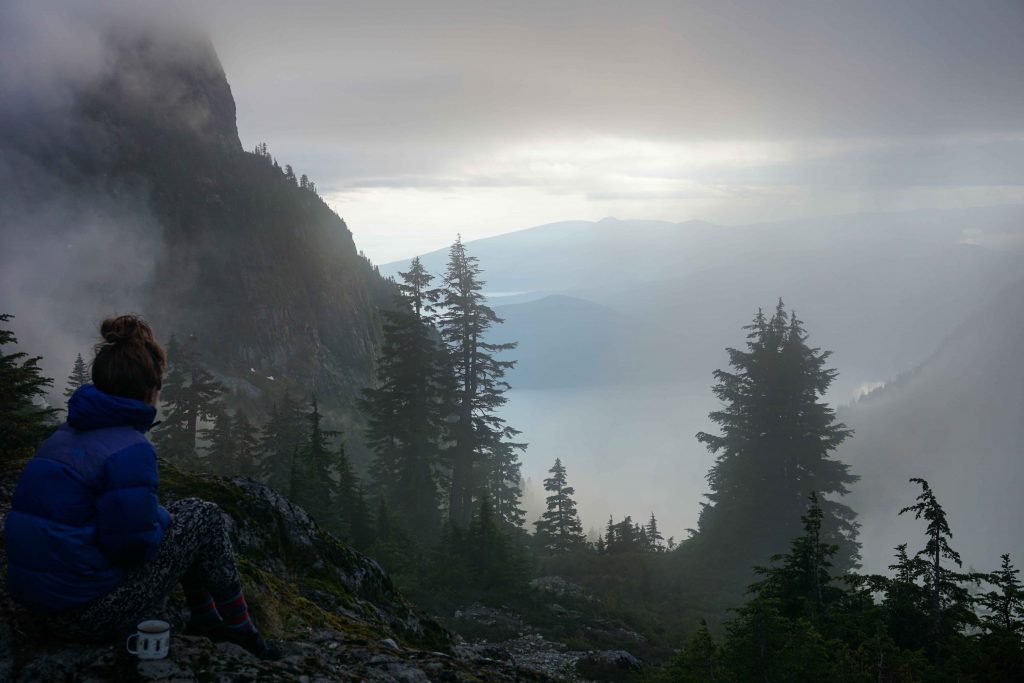
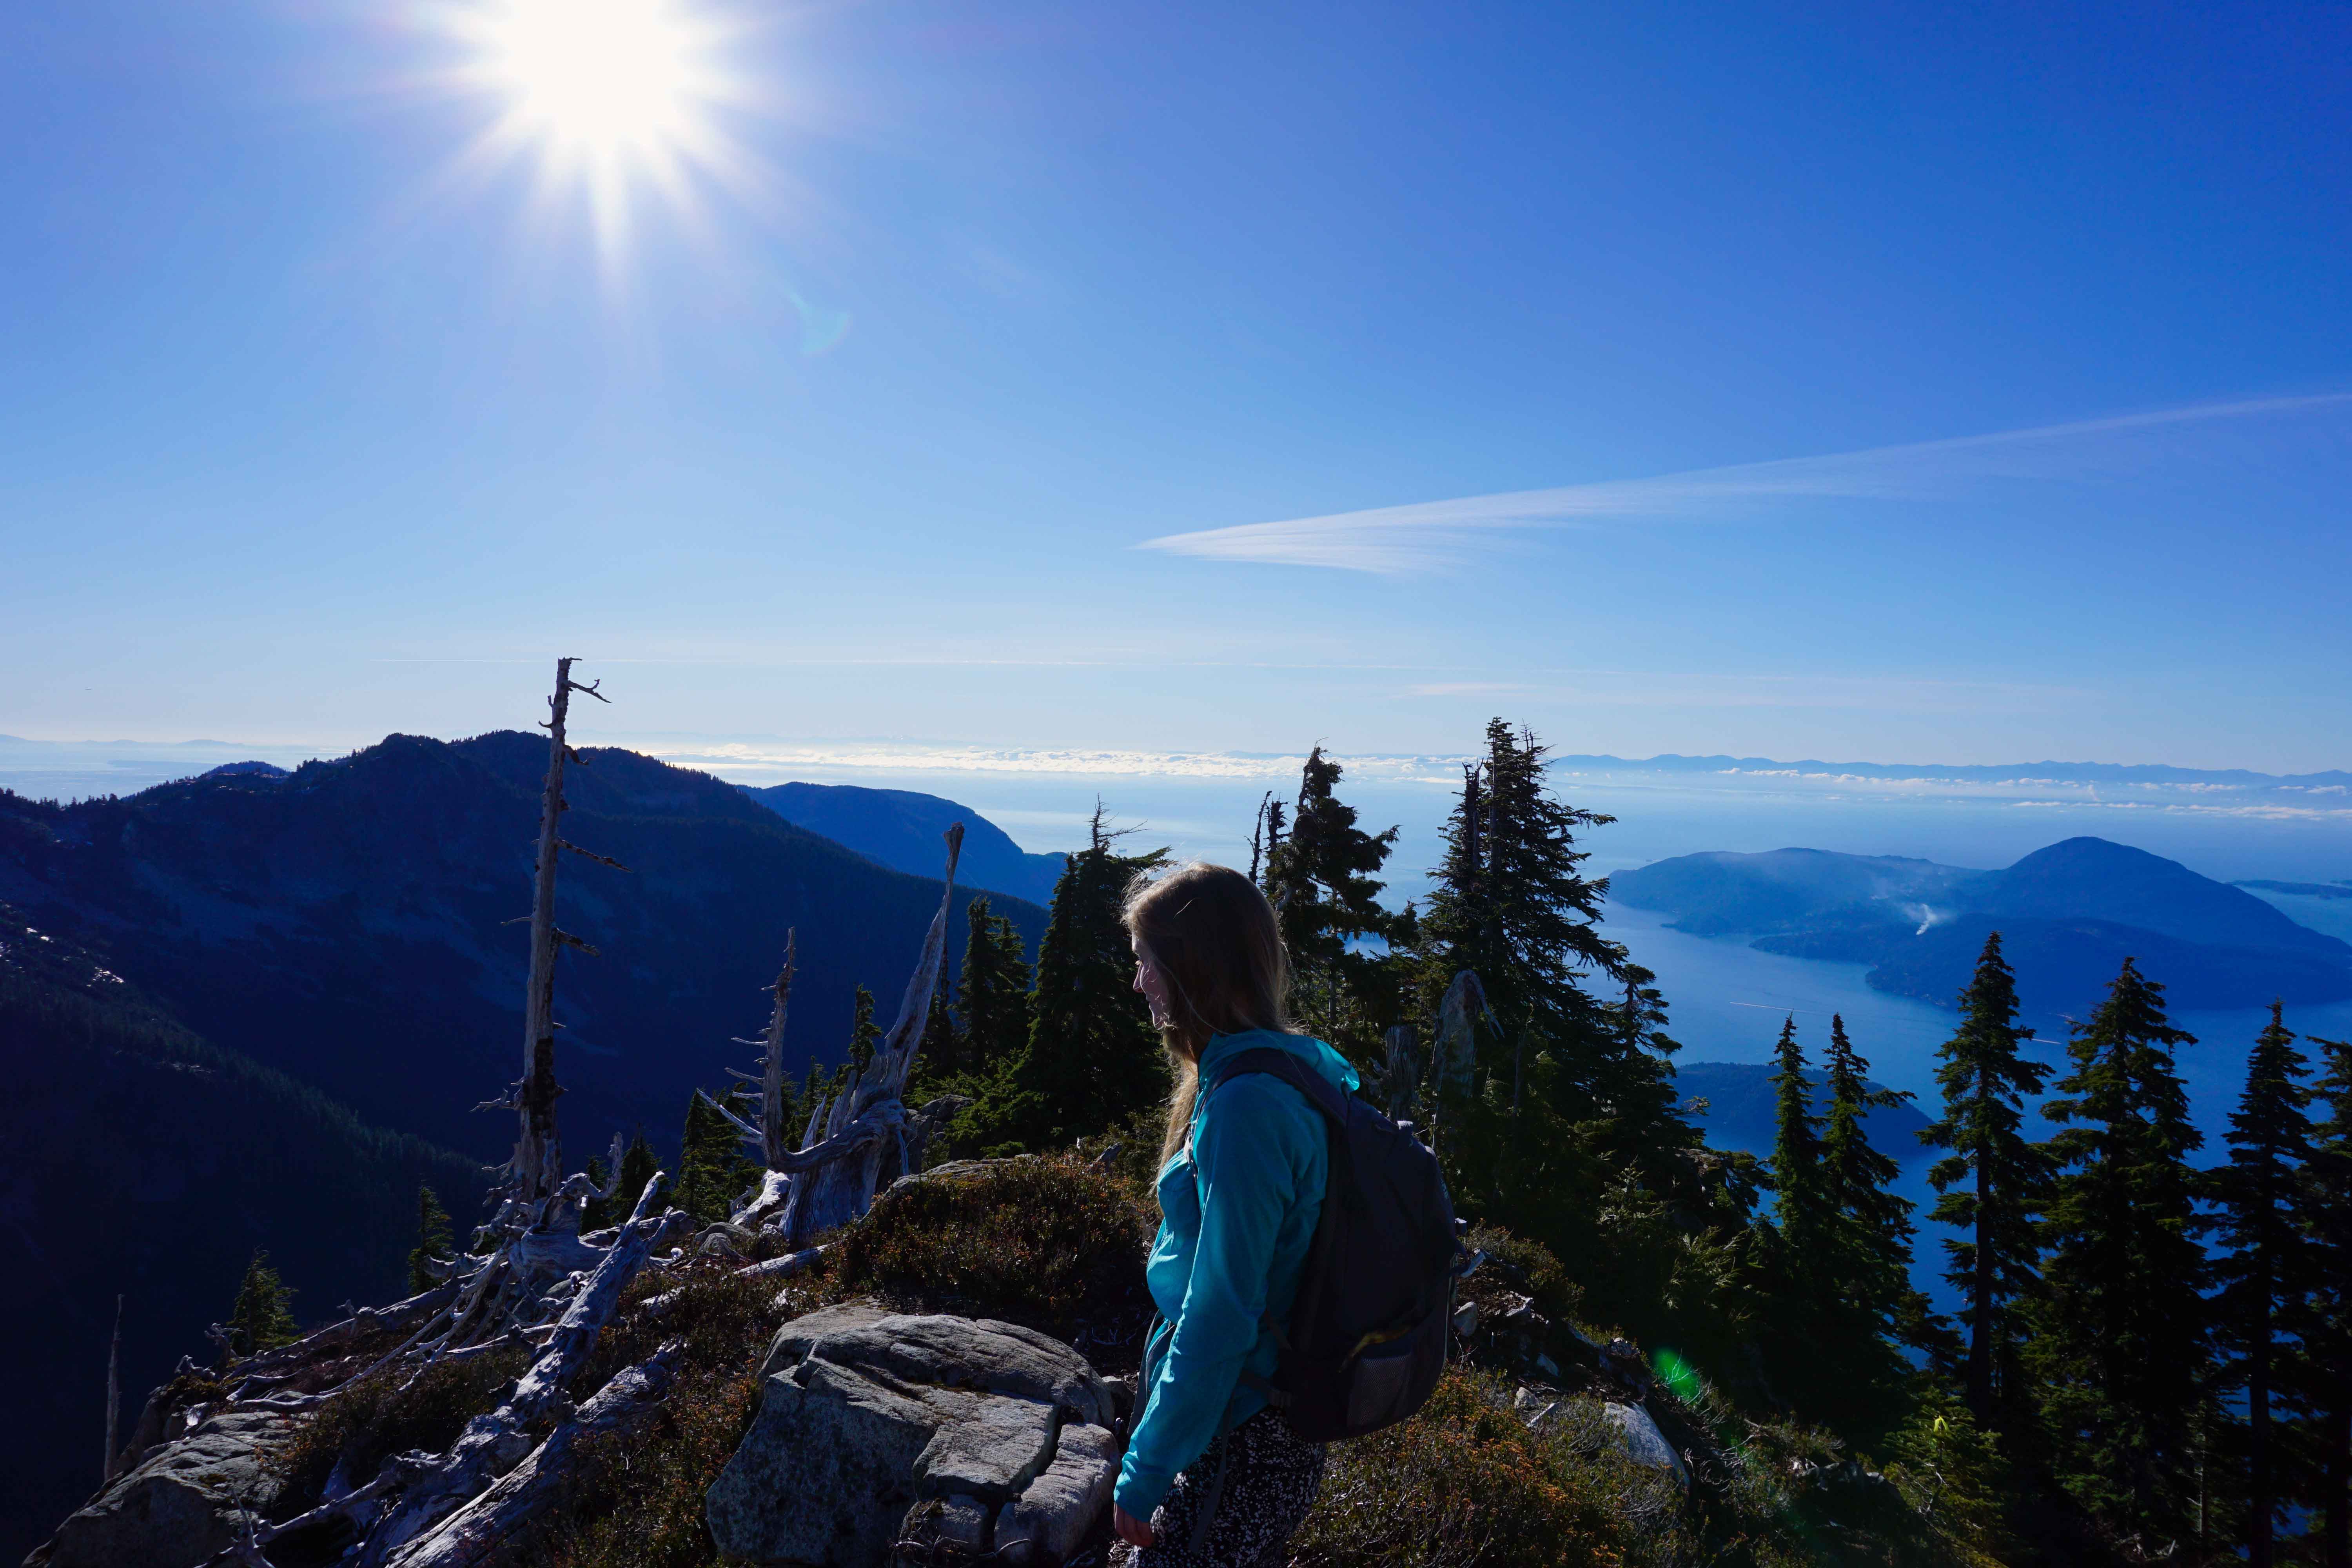
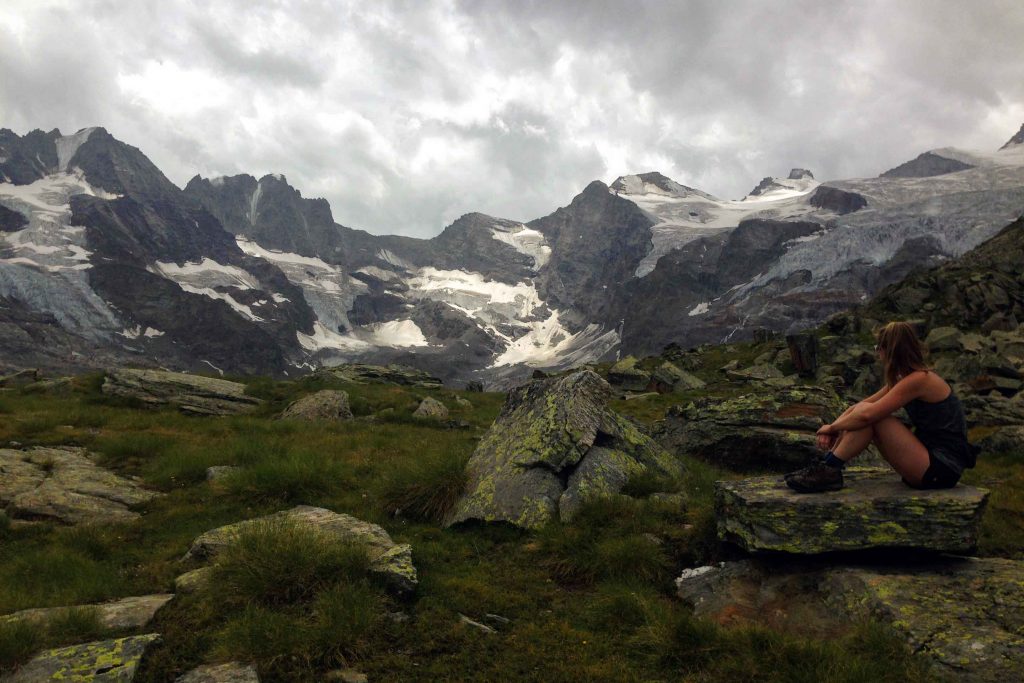
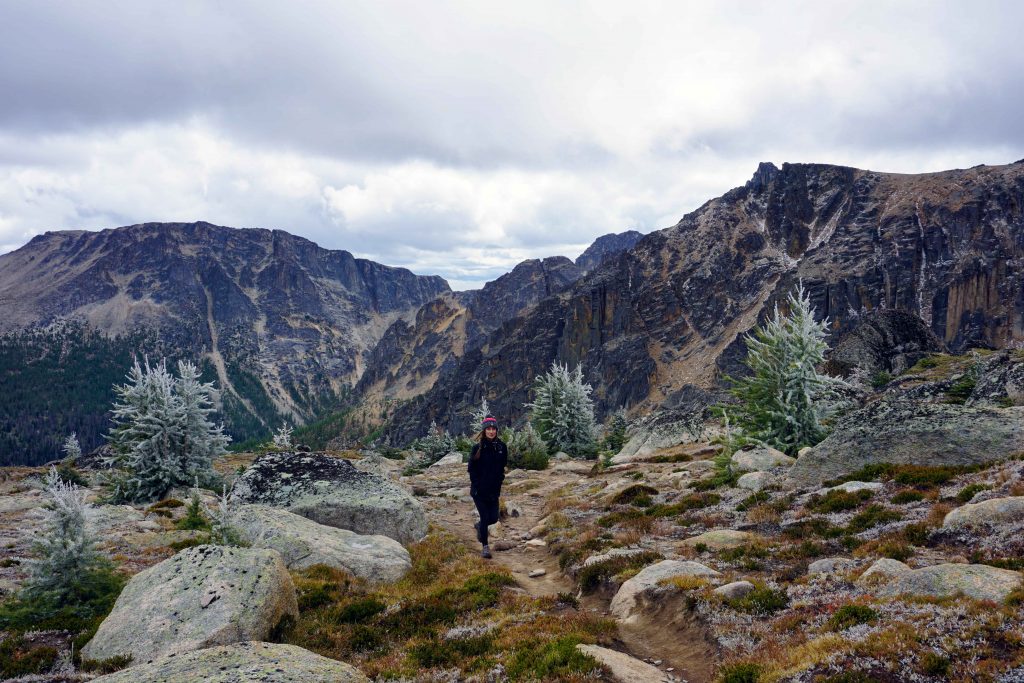
Seeing as the core area sits at 2,000m plus, the hiking season is limited from summer to early autumn. It snowed when I was there – and it was only 1 September. My jaw dropped when the ranger came around the previous evening to tell us there’d be a high of 4°c the following day. Thankfully, I never leave home without a down jacket. Still, we didn’t really feel prepared for such cold temperatures after a blistering hot summer. So, be warned! Pack warm clothes, gloves and a hat. The weather ‘at the top’ (i.e. in the core area) can be quite different to the weather in the parking lot.
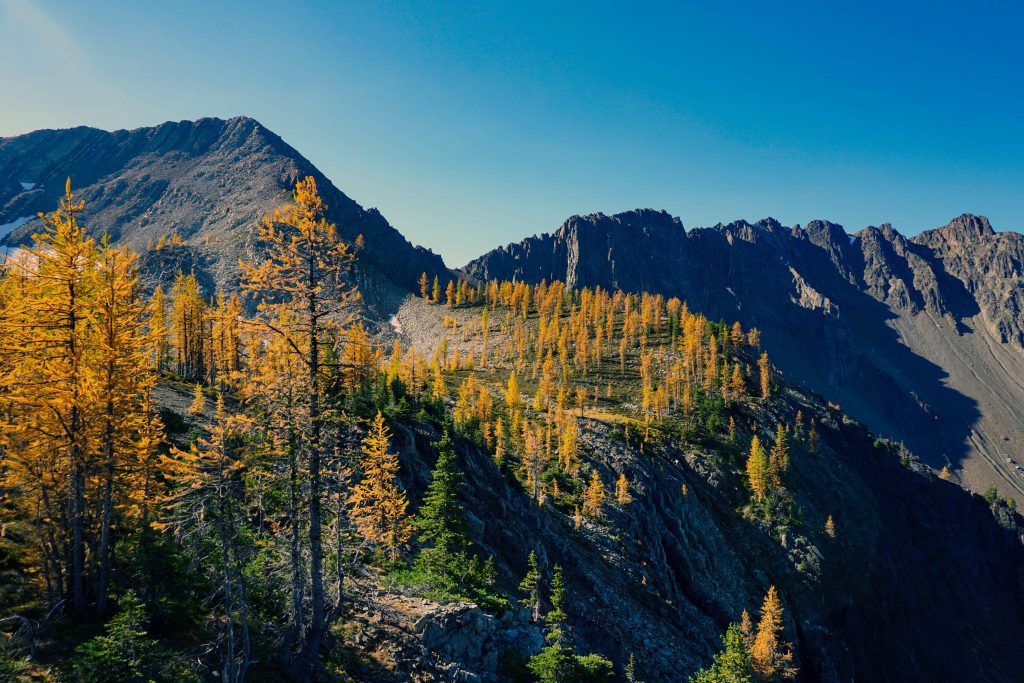
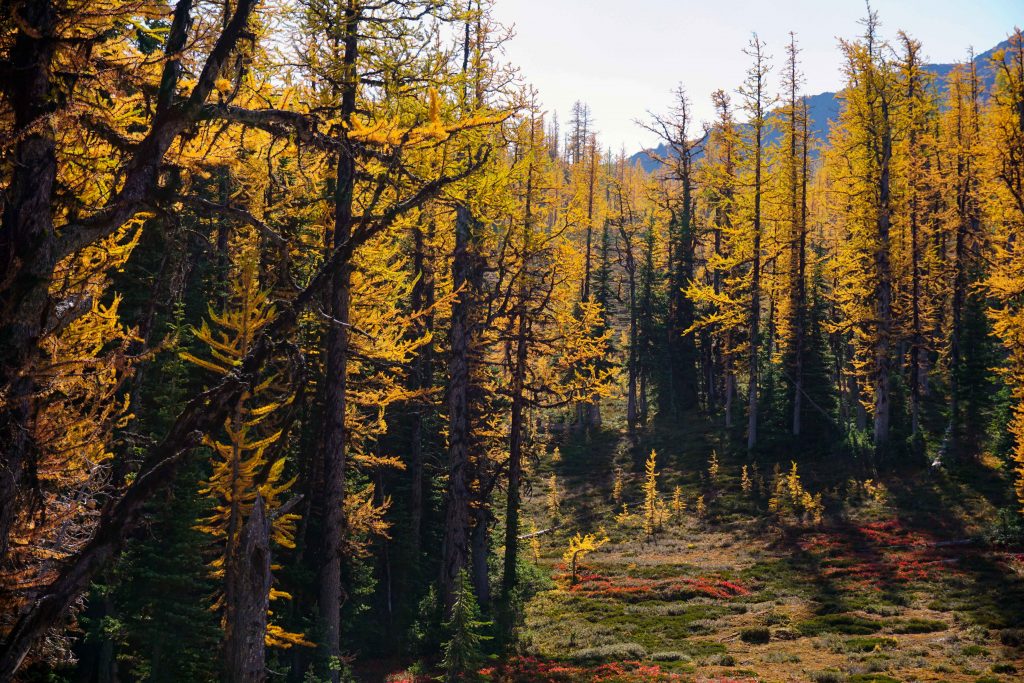
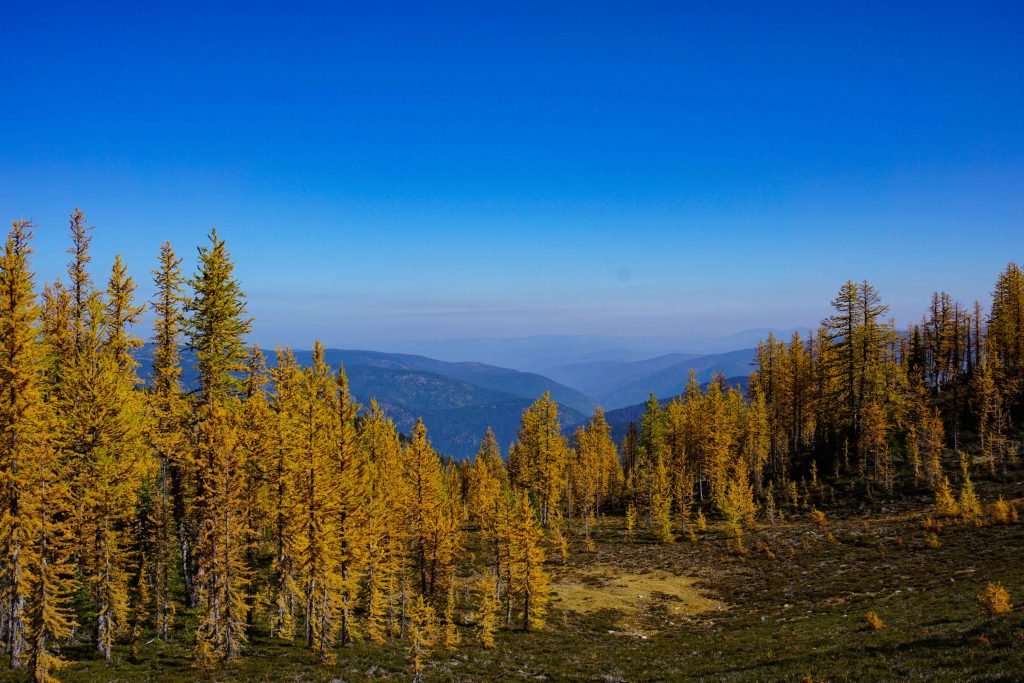
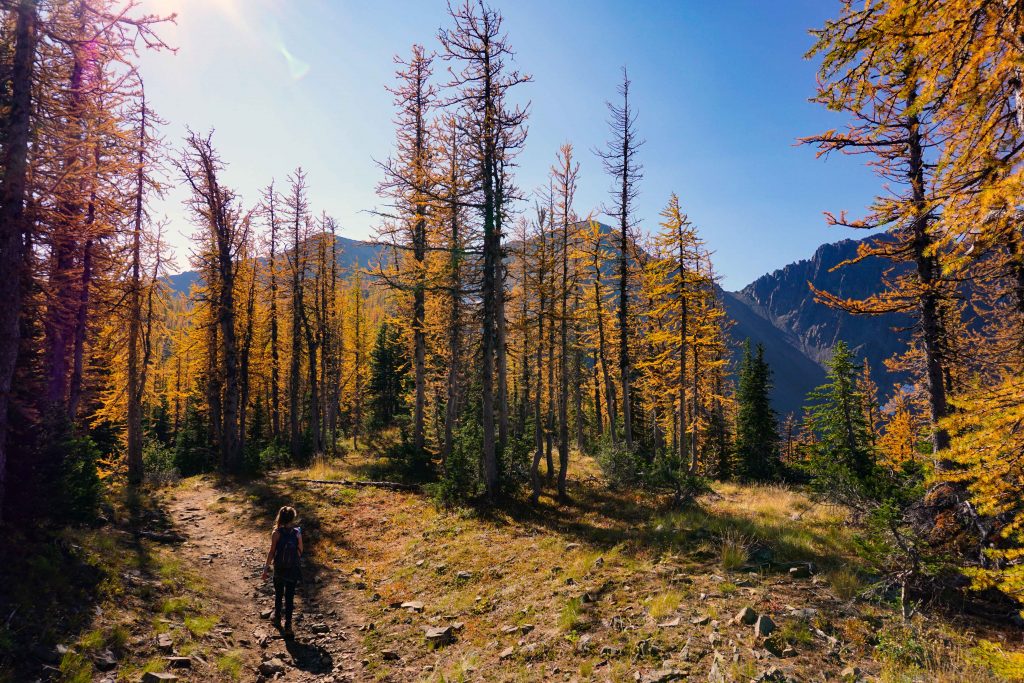
The BC Parks website says that the campgrounds can get very full at weekends during the summer. The campsites are first-come, first-serve. To avoid the crowds, it’s better to visit during the week if you can. This is what I did and it was extremely quiet. On our second night we were the only ones at our campground. Of course, that may have been due to the fact that it snowed. If you’re willing to brave even chillier temperatures, then there are a lot of larches in the core area which turn golden during early autumn (think late September/early October).
The campgrounds
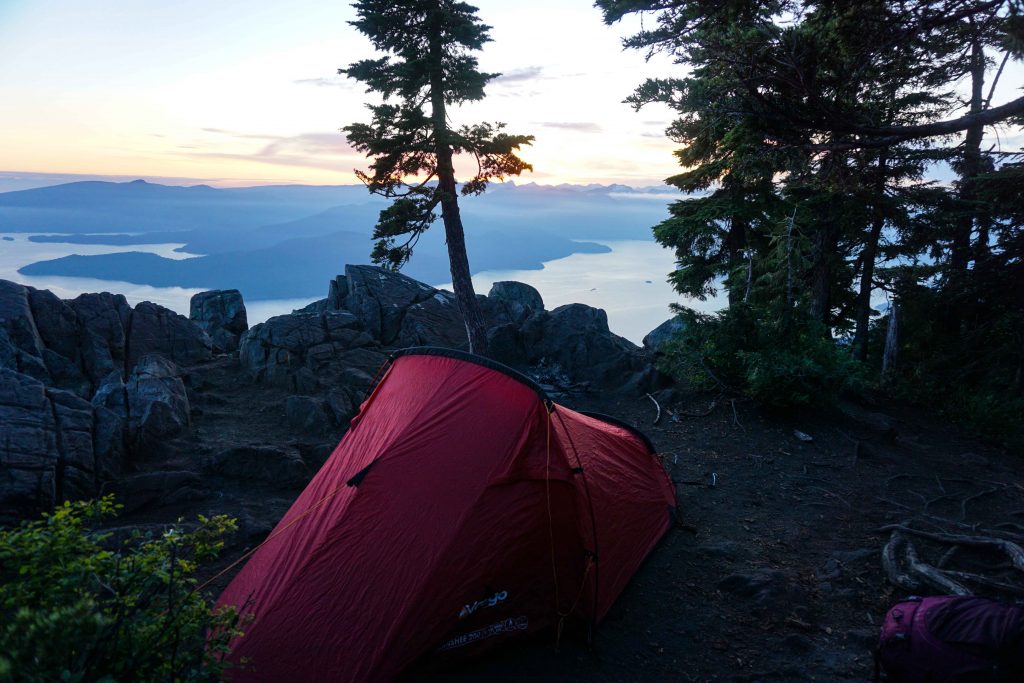
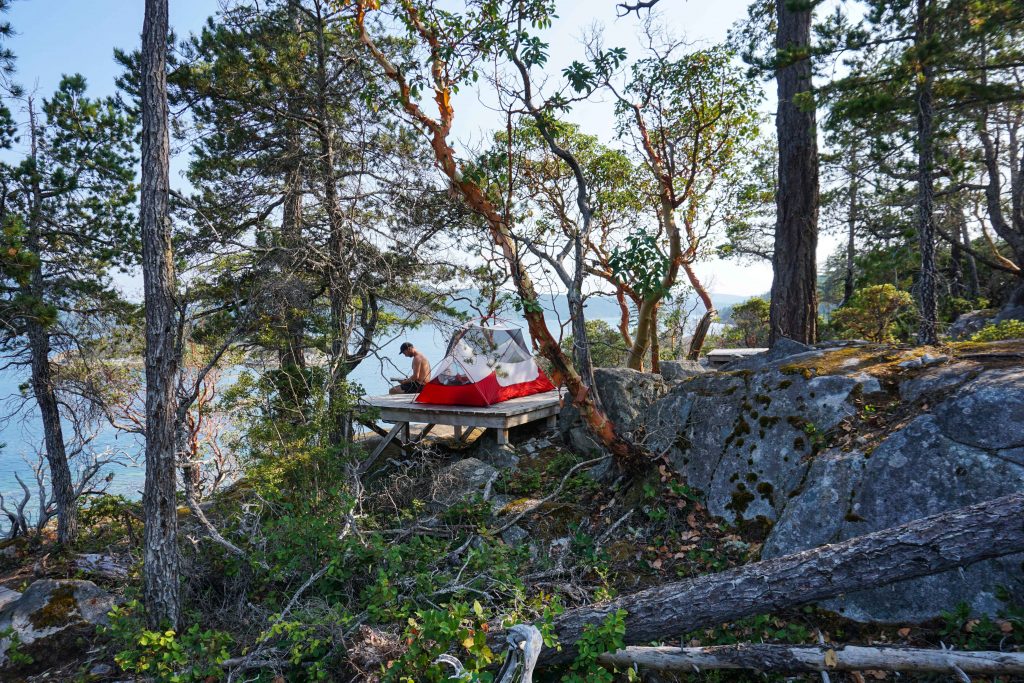
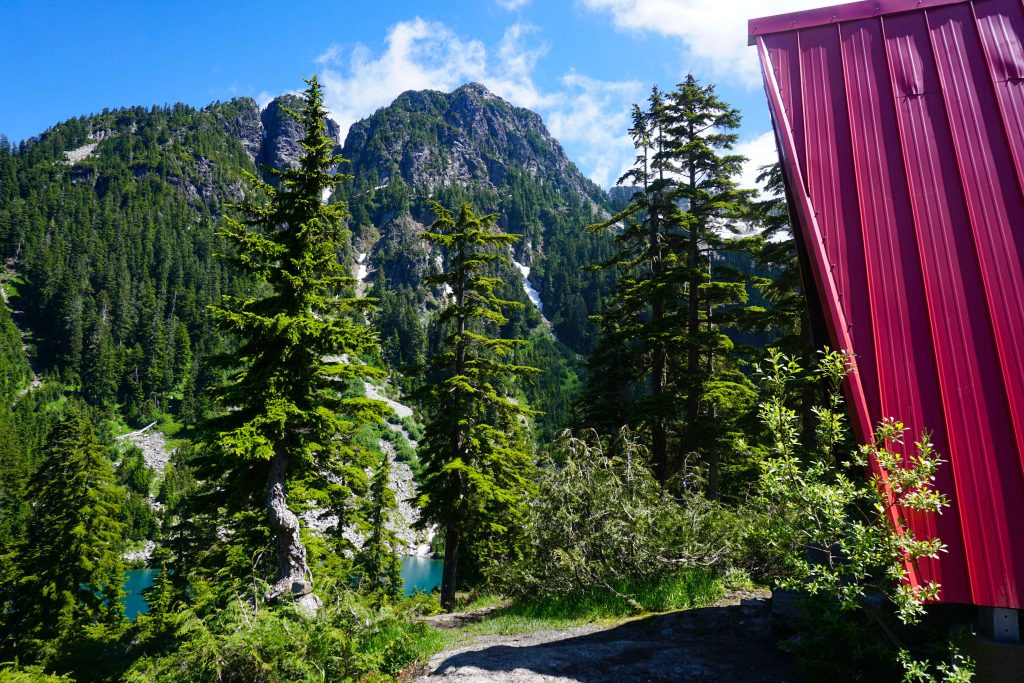
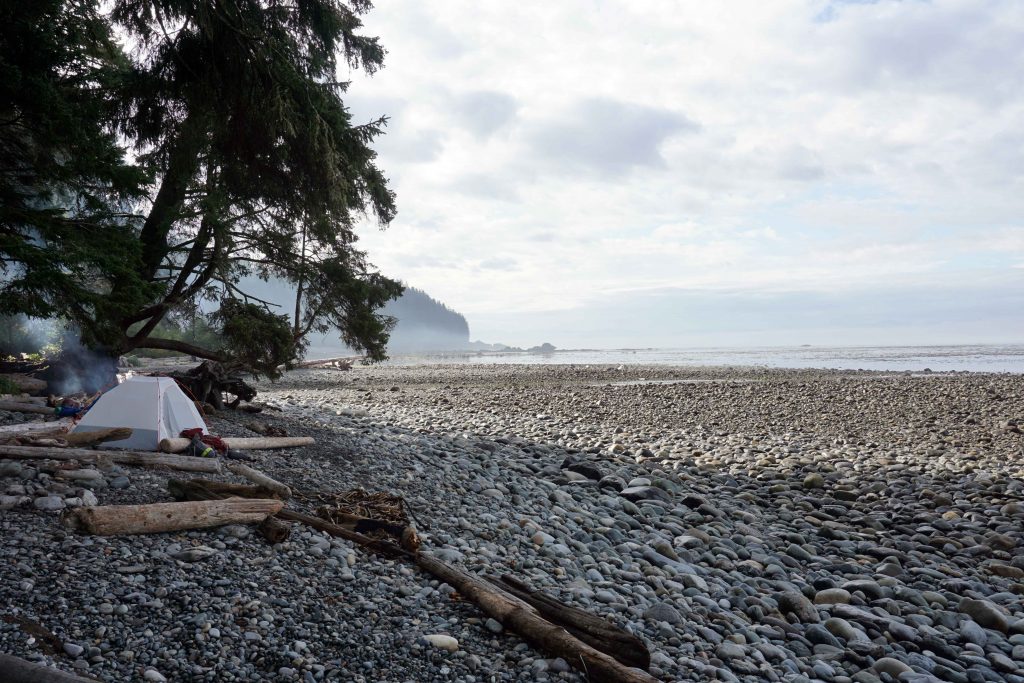
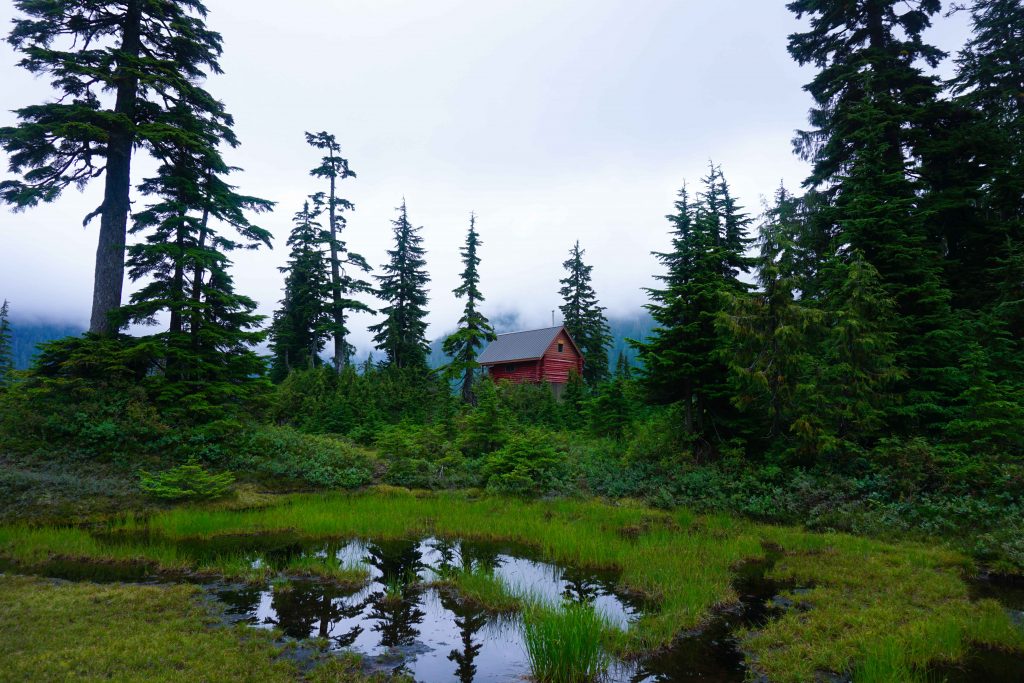
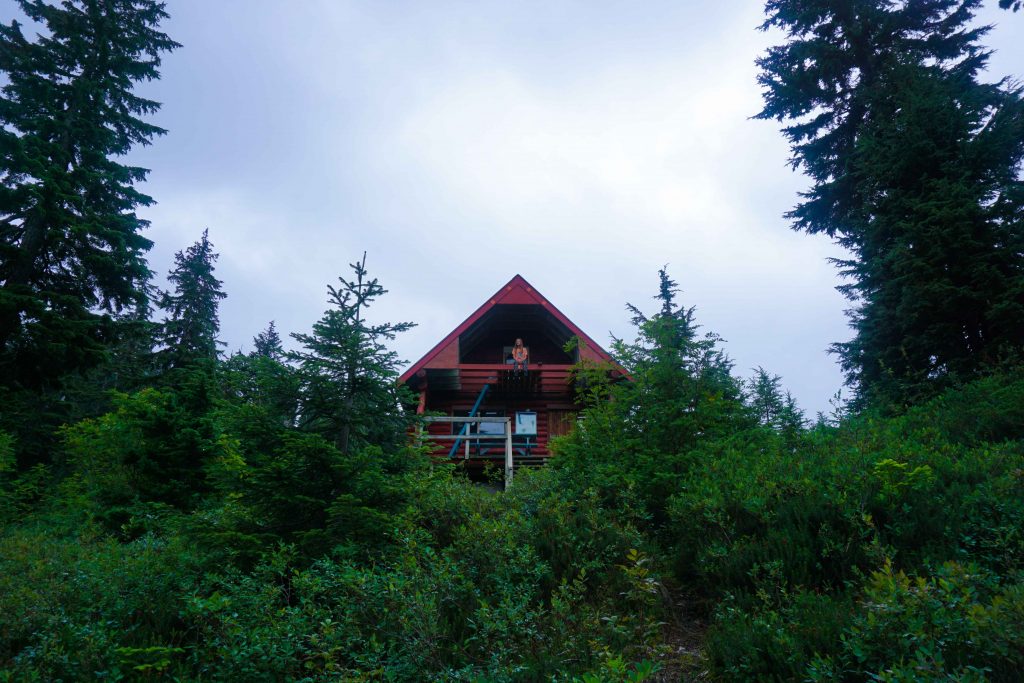
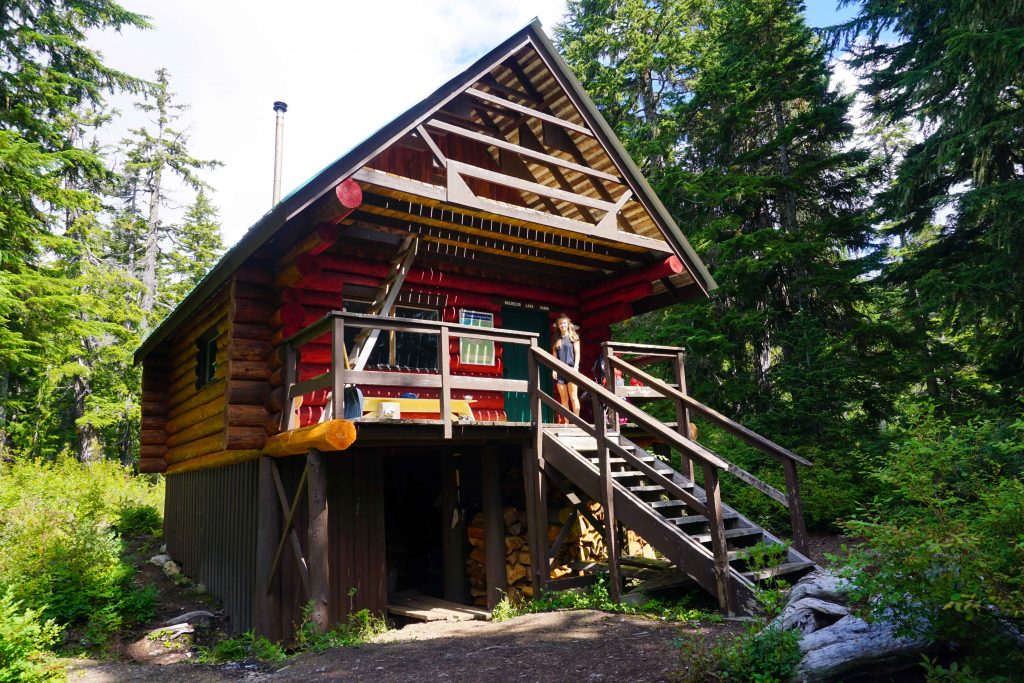
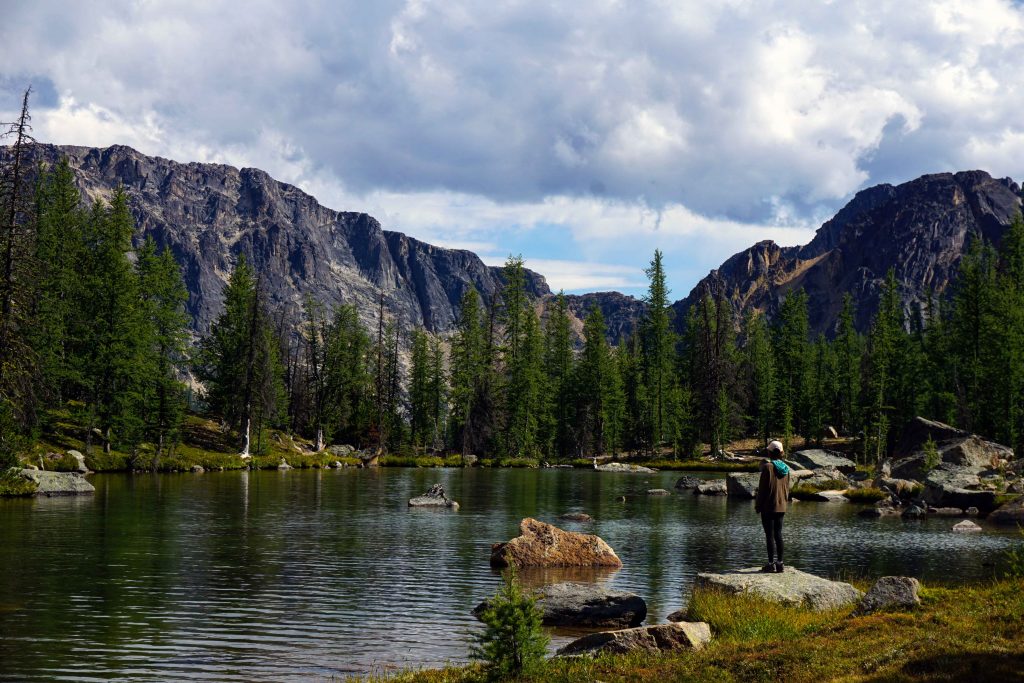
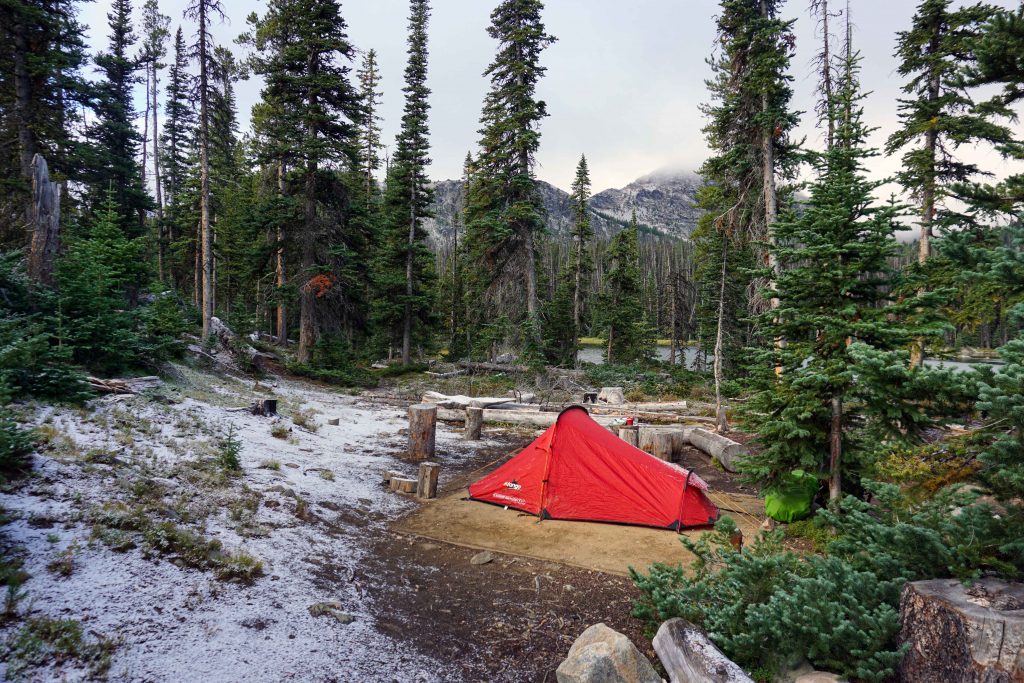
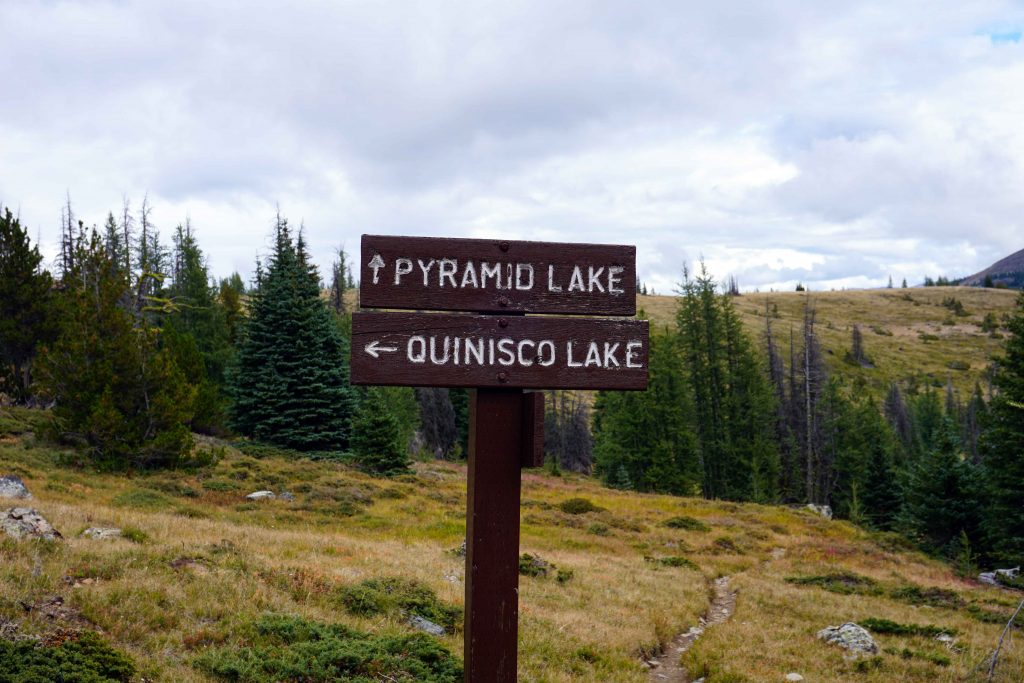
There are three backcountry campgrounds in Cathedral Lakes Provincial Park, but Pyramid Lake campground has been closed due to spruce pine beetle. Sadly, this has affected lots of trees in the park. That leaves Quiniscoe Lake and Lake of the Woods campgrounds. Quiniscoe Lake campground is closest to the lodge, so if you get the shuttle up, then you barely have to walk a few steps to find a pitch. It has bear caches and campfires are allowed. Firewood can be purchased from the park operator. Lake of the Woods is about a 15 minute walk from the shuttle drop-off, but there are no caches (only pulleys) and campfires are prohibited.
Seeing as there was a fire ban, we opted for Lake of the Woods campground as we wanted to be further from the lodge. Personally, I think Lake of the Woods campground is prettier than Quiniscoe, with full frontal views of the mountains. But it is perhaps more exposed with greater wind chill. There are outhouses in the campgrounds which the rangers keep stocked with toilet paper. You’re asked not to pee on the ground because it attracts the mountain goats. There’s a lot of information about this in the park.
Paying your fees
The backcountry campgrounds aren’t free, however. It costs $10 per night, per adult, or $5 per night, per child (between six and 15 years of age). You can either buy your permit in advance via Discover Camping. Or, you can take cash with you. There is a ranger station near the lodge, and when the ranger is on duty, he/she will do the rounds in the evening. Otherwise, there are envelopes at the information kiosk near the lodge which you can fill out and post in the adjacent letterbox. The campgrounds aren’t reservable, so paying in advance doesn’t necessarily secure you a spot.
The hiking and fishing
Most people who make the journey to Cathedral Lakes have one of two things on their mind: hiking or fishing.
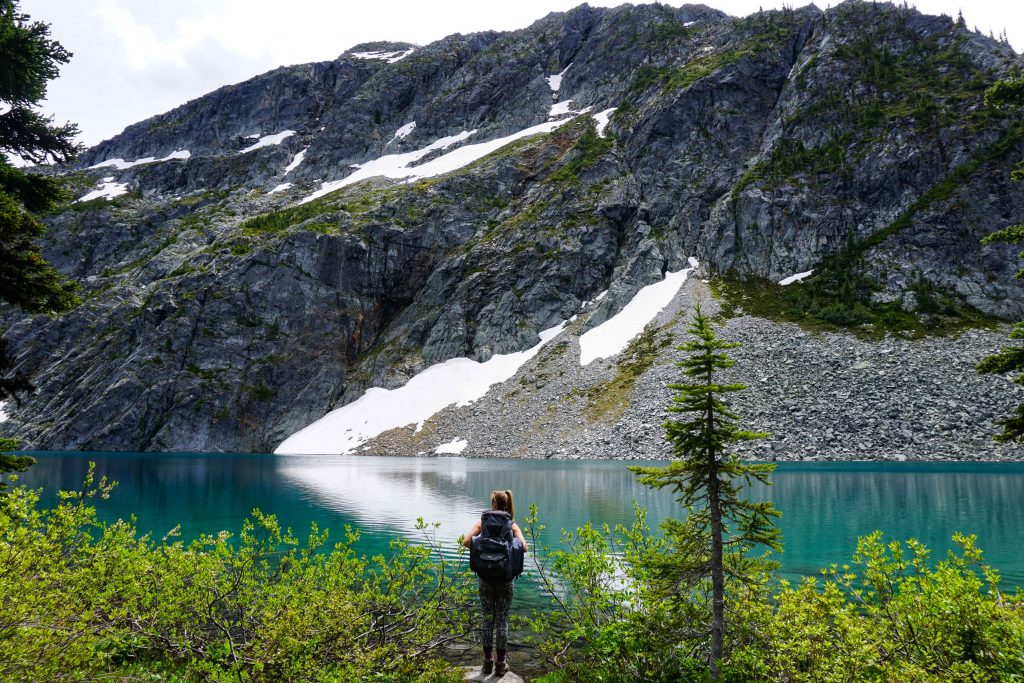
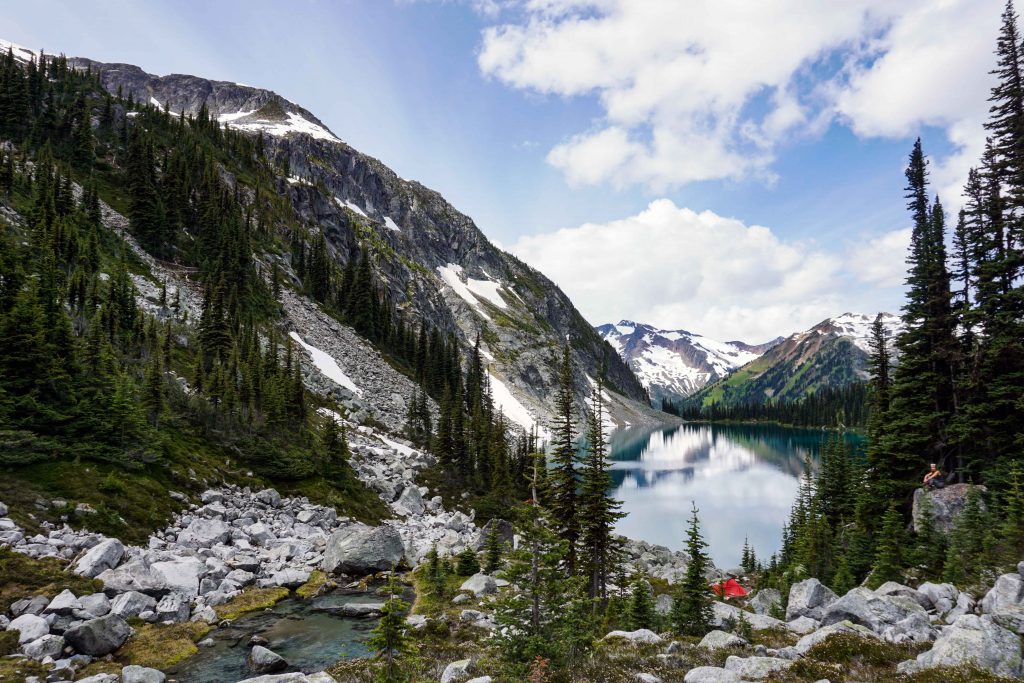
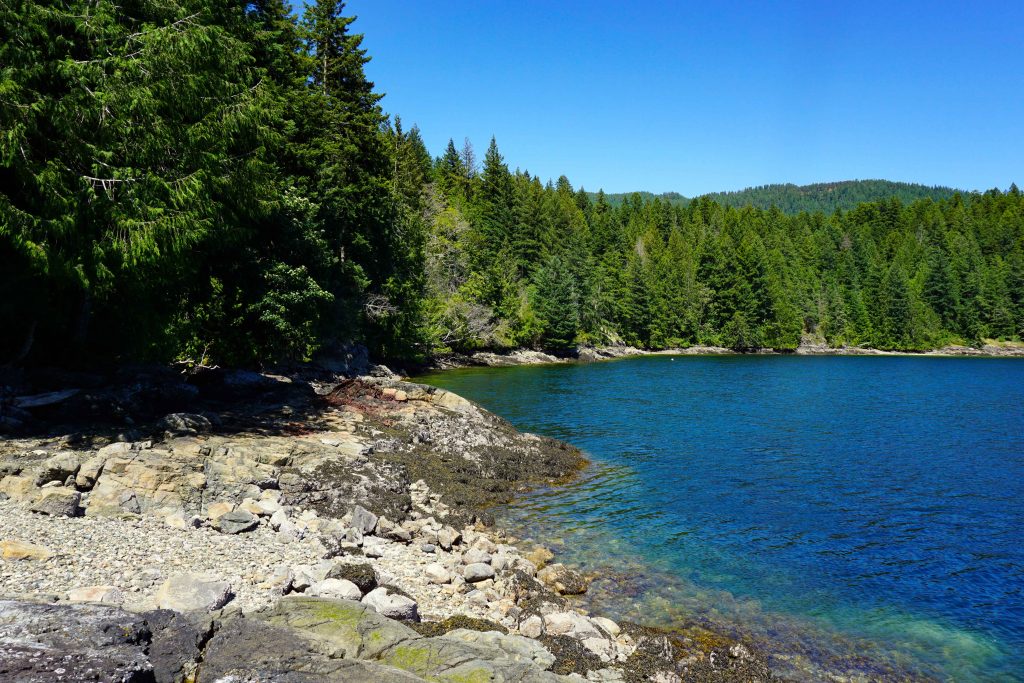
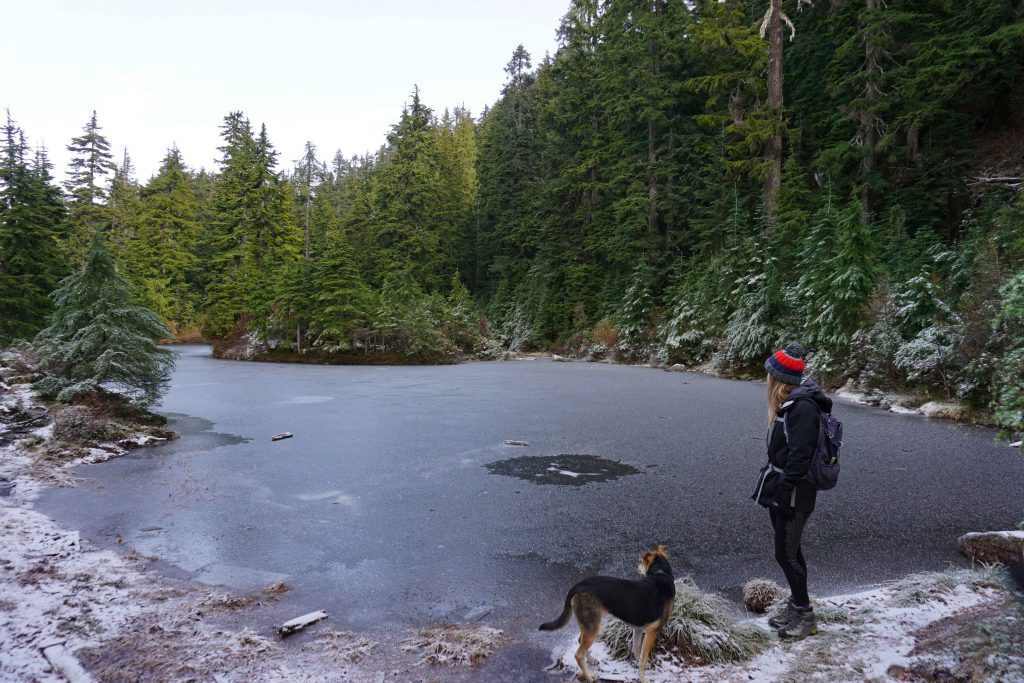
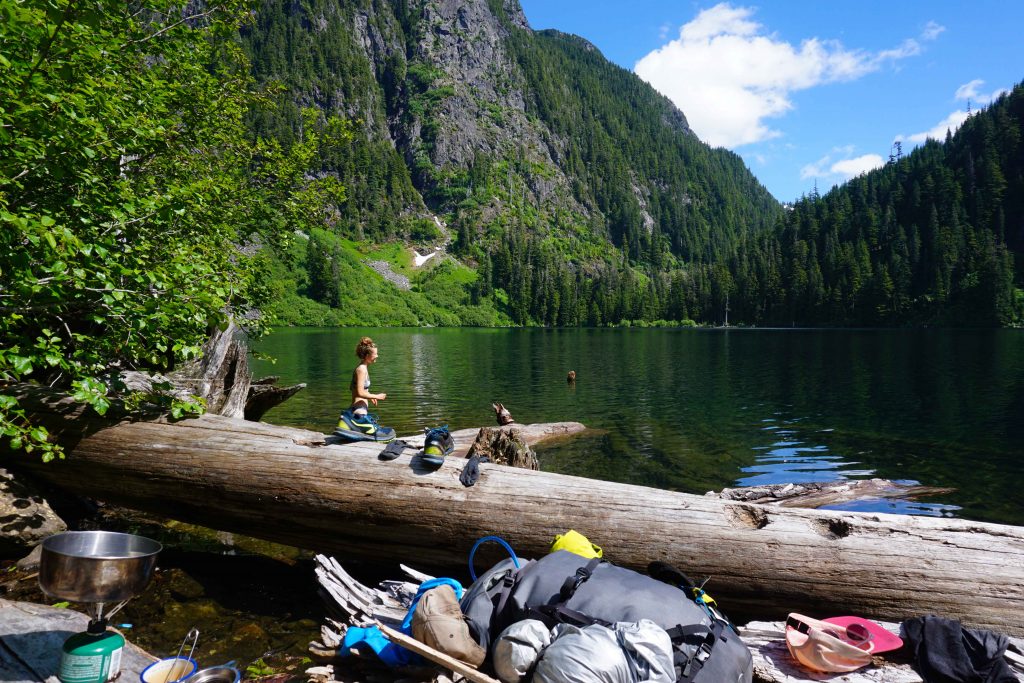
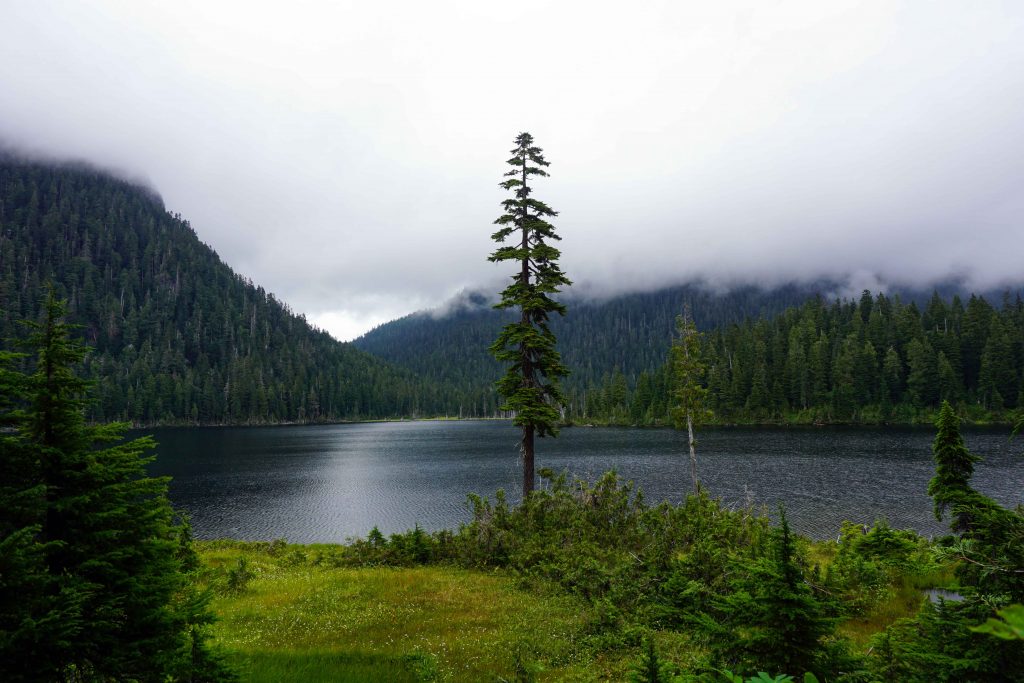
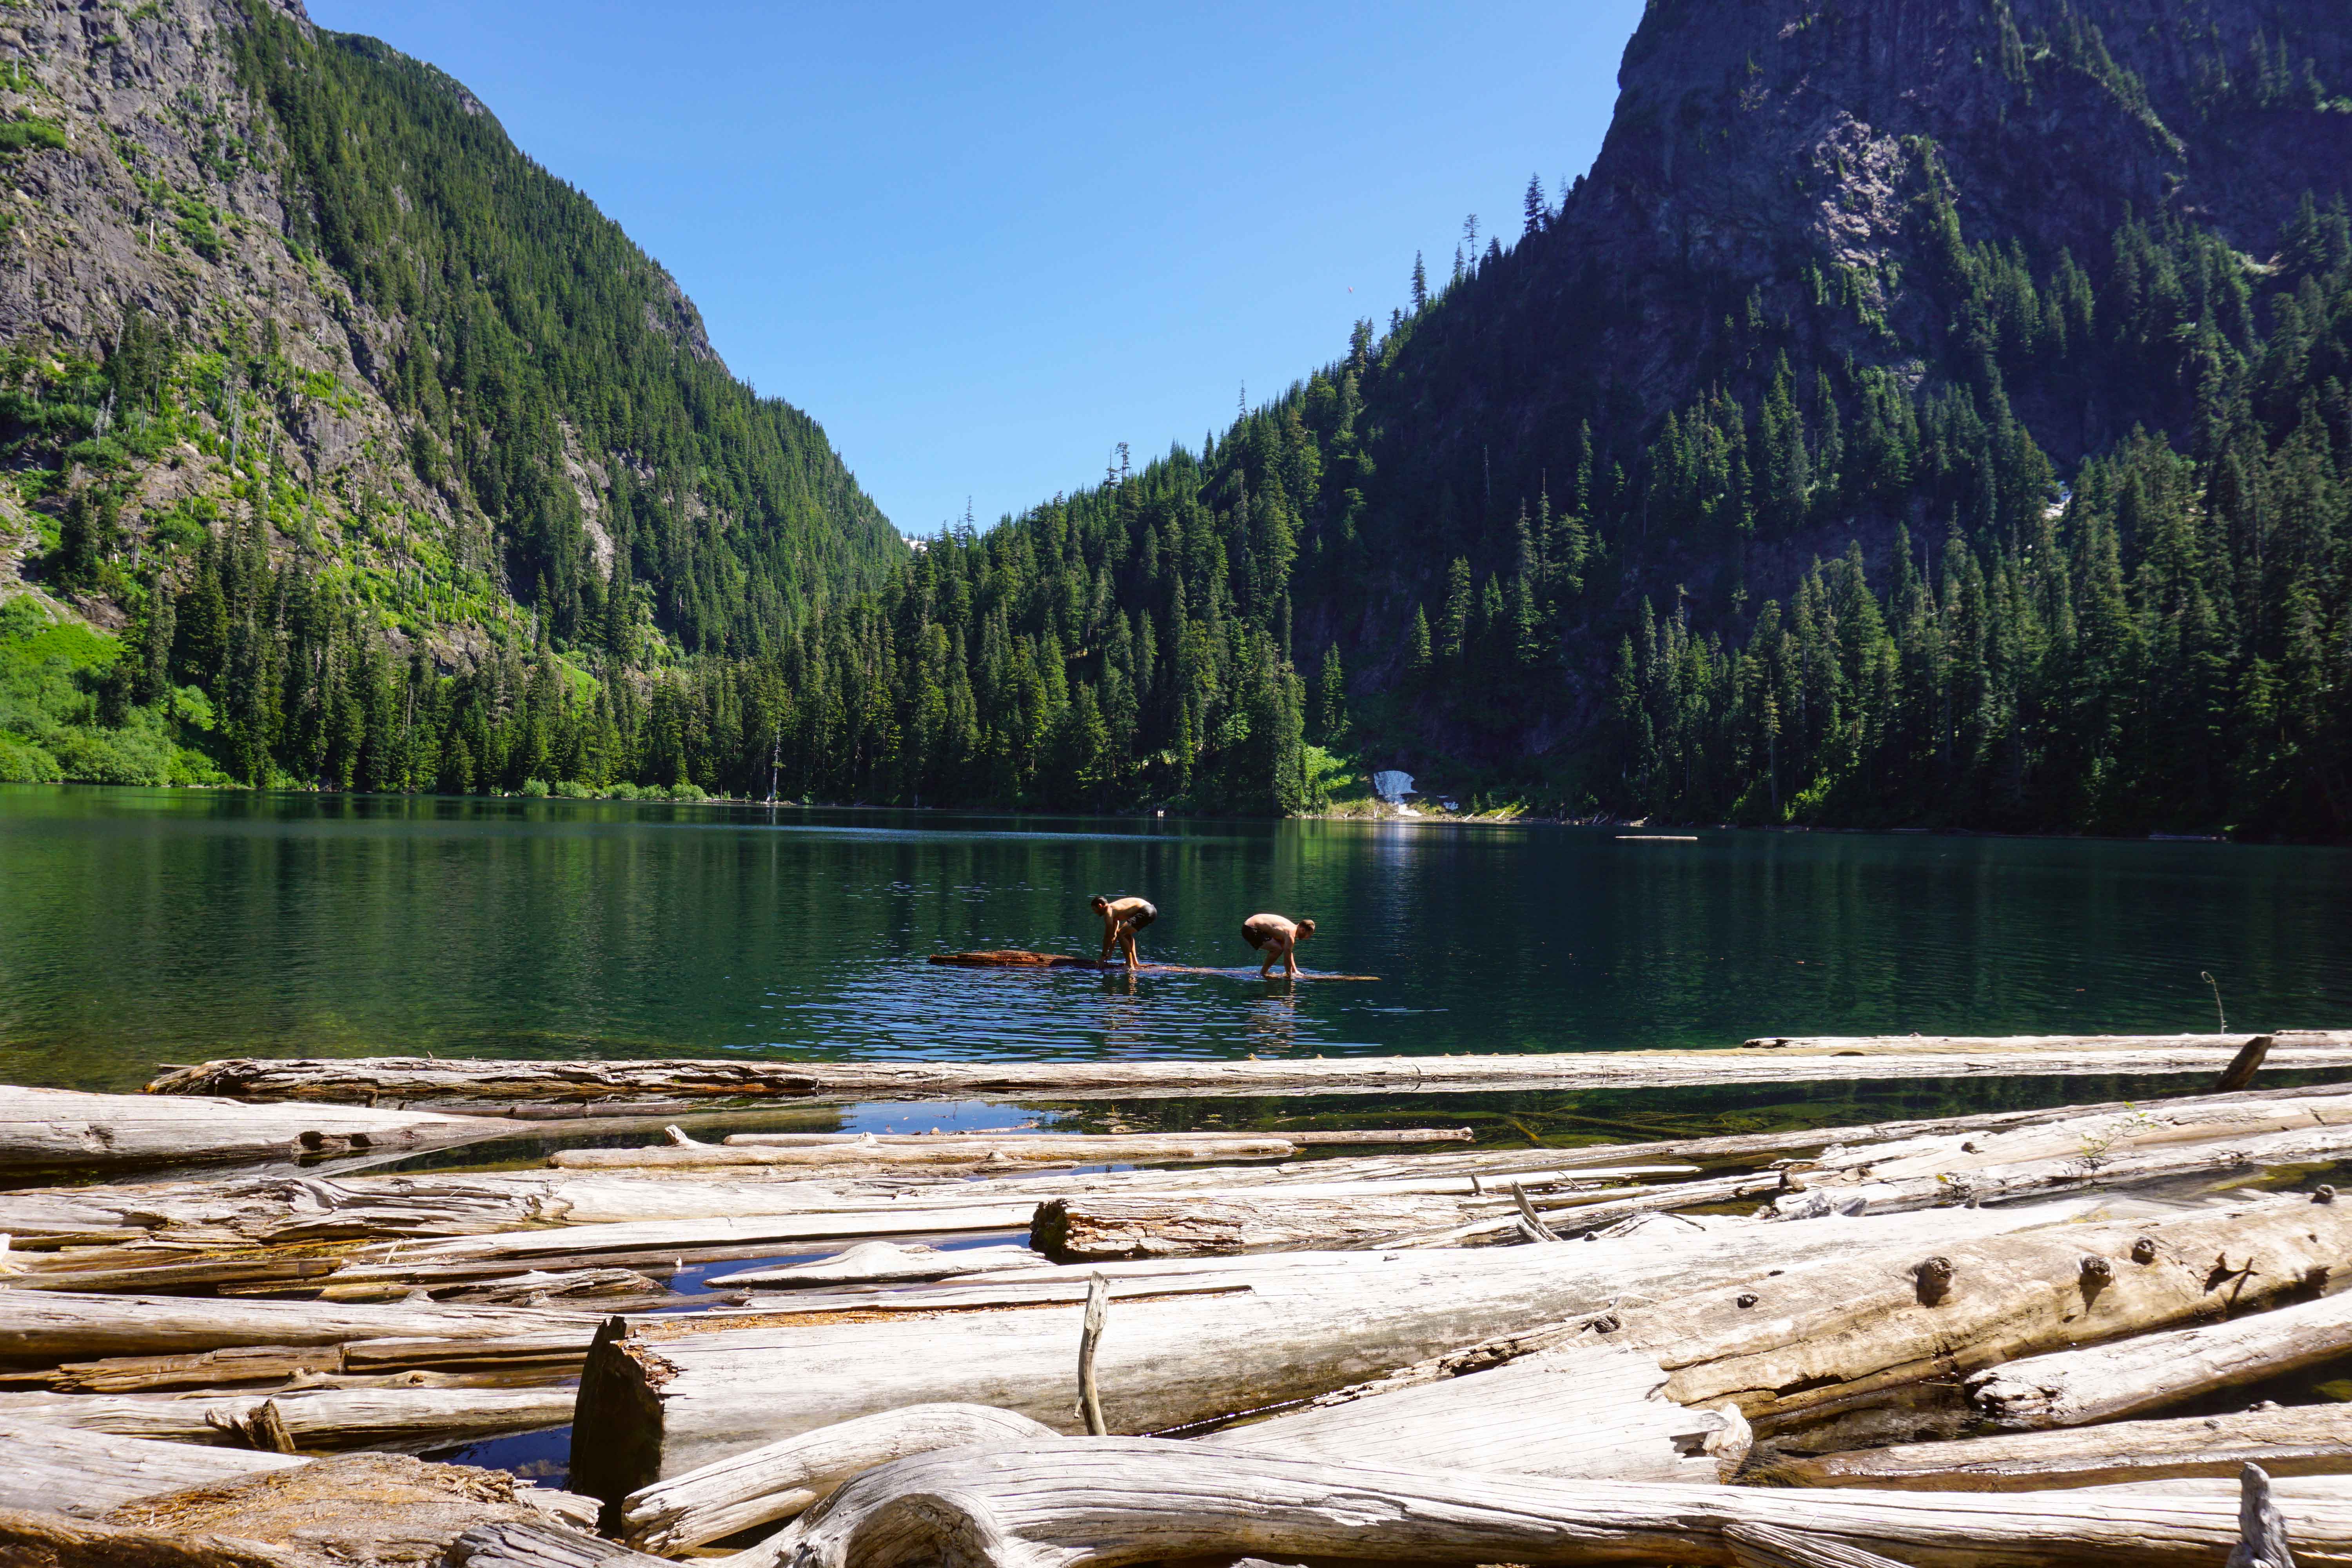
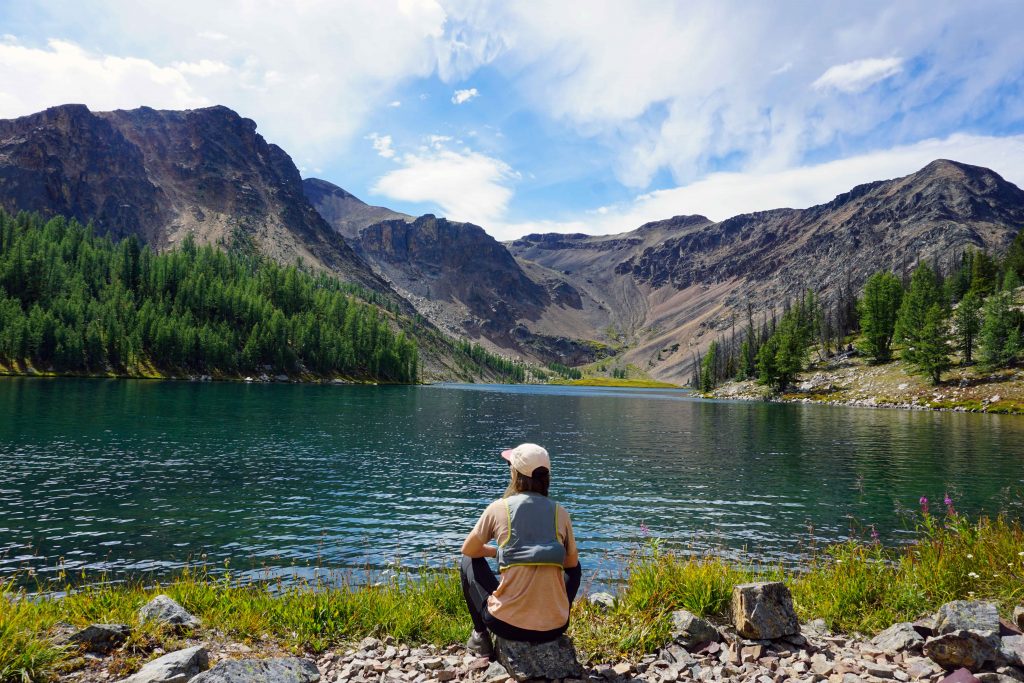
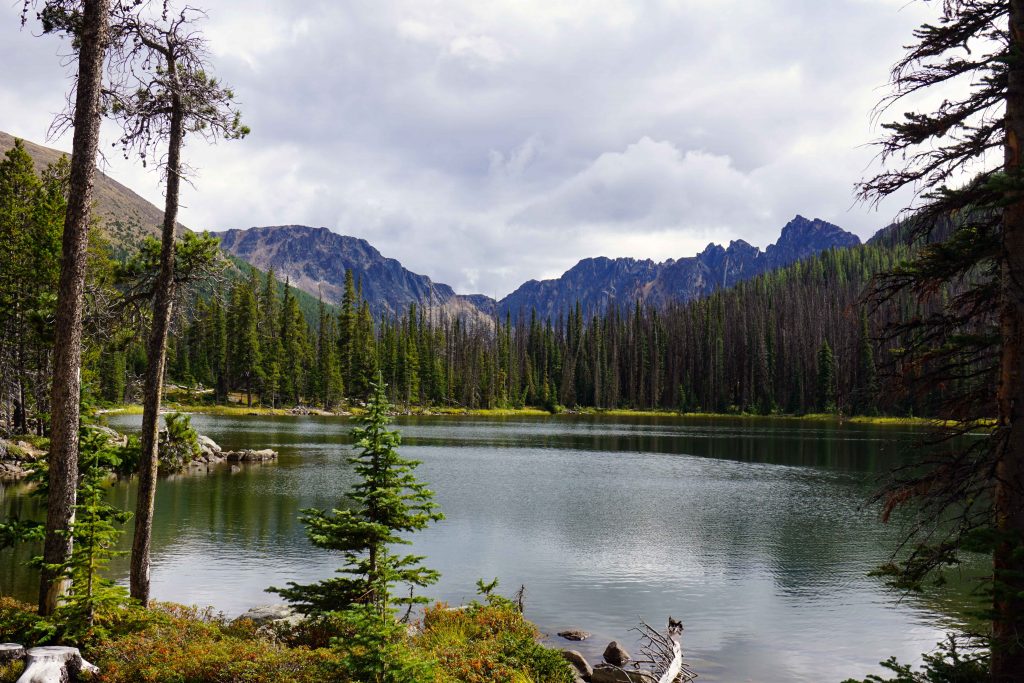
There are seven lakes in the core area. Although they haven’t been stocked for decades, they have healthy populations of both cutthroat and rainbow trout. We found Ladyslipper Lake to be especially plentiful. Remember to buy a freshwater licence if you plan to fish.
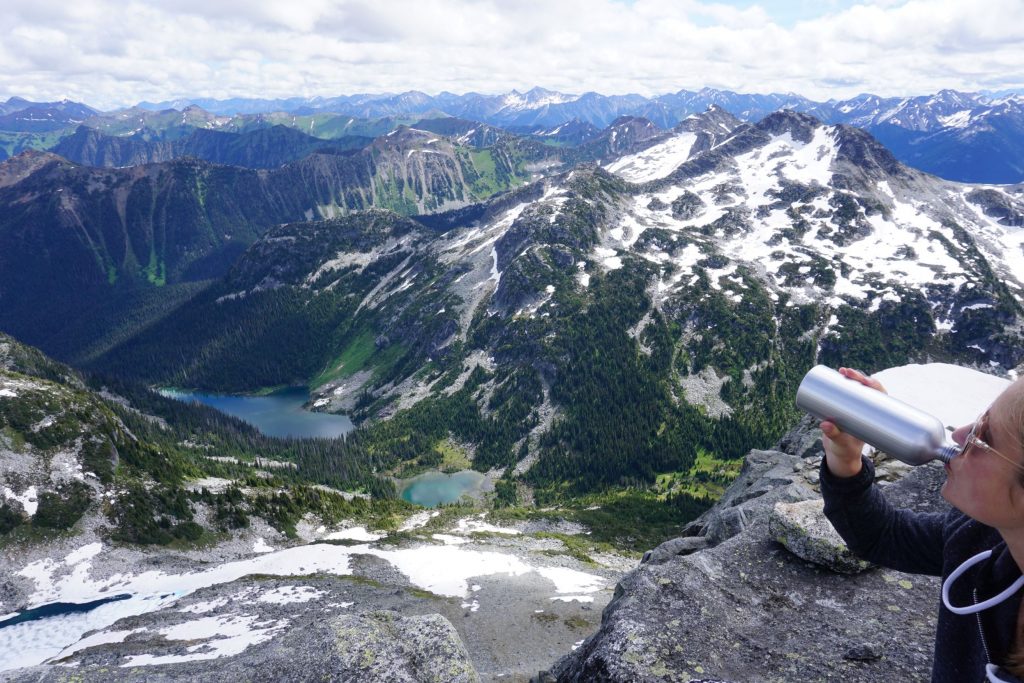
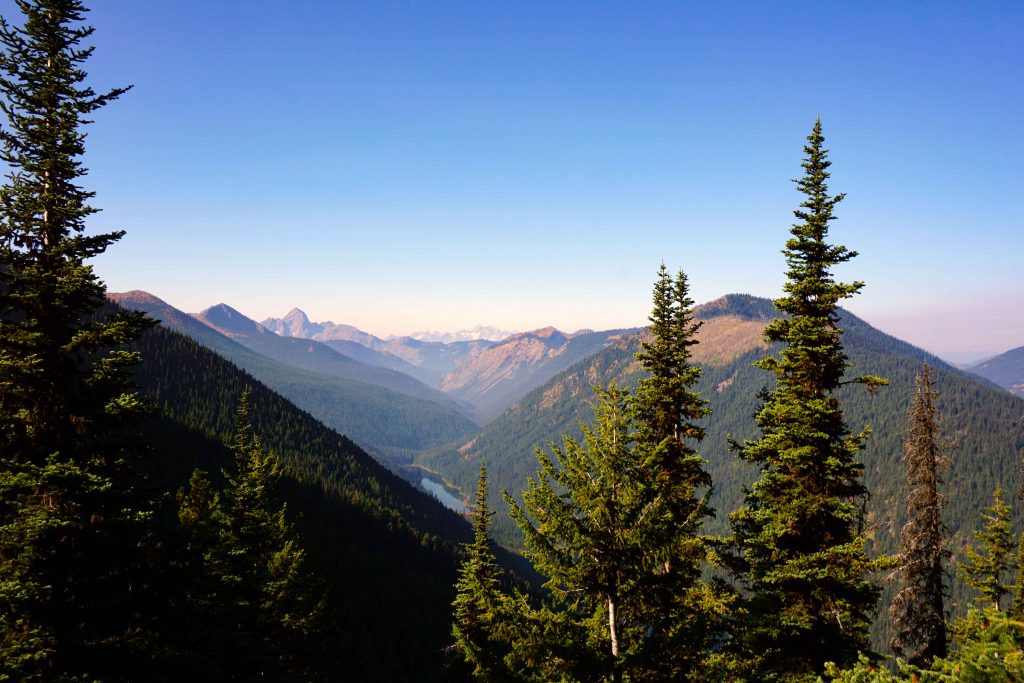
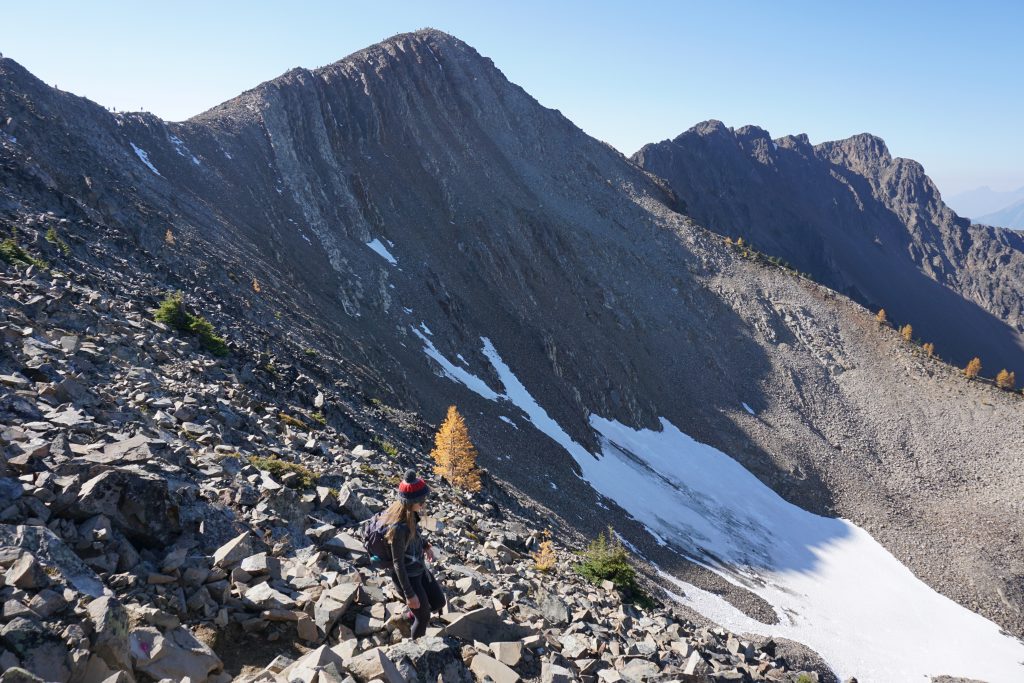
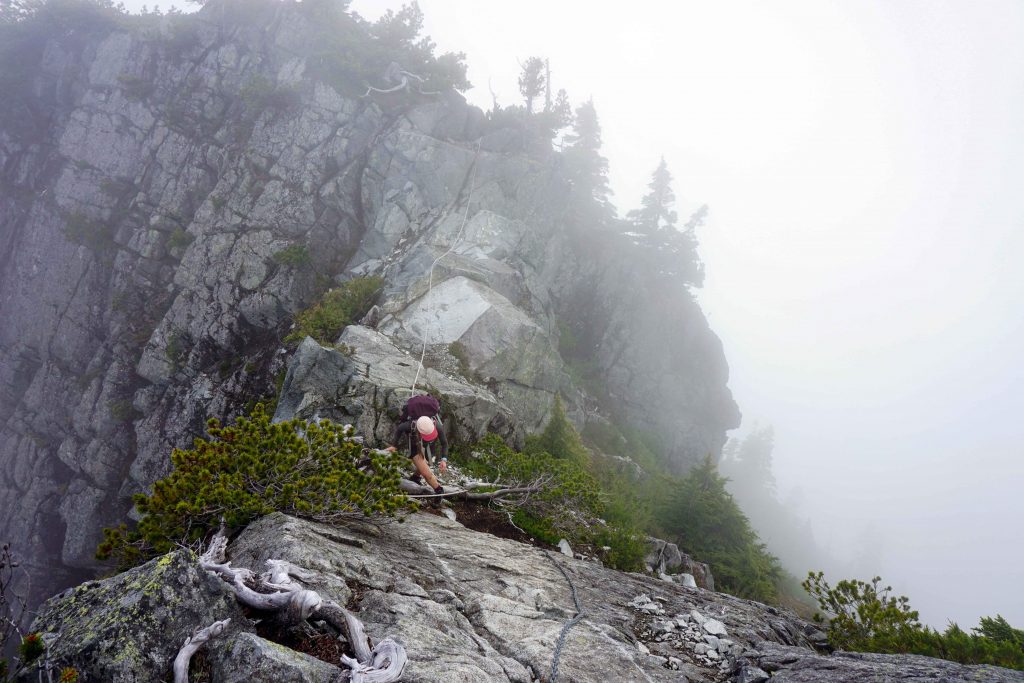
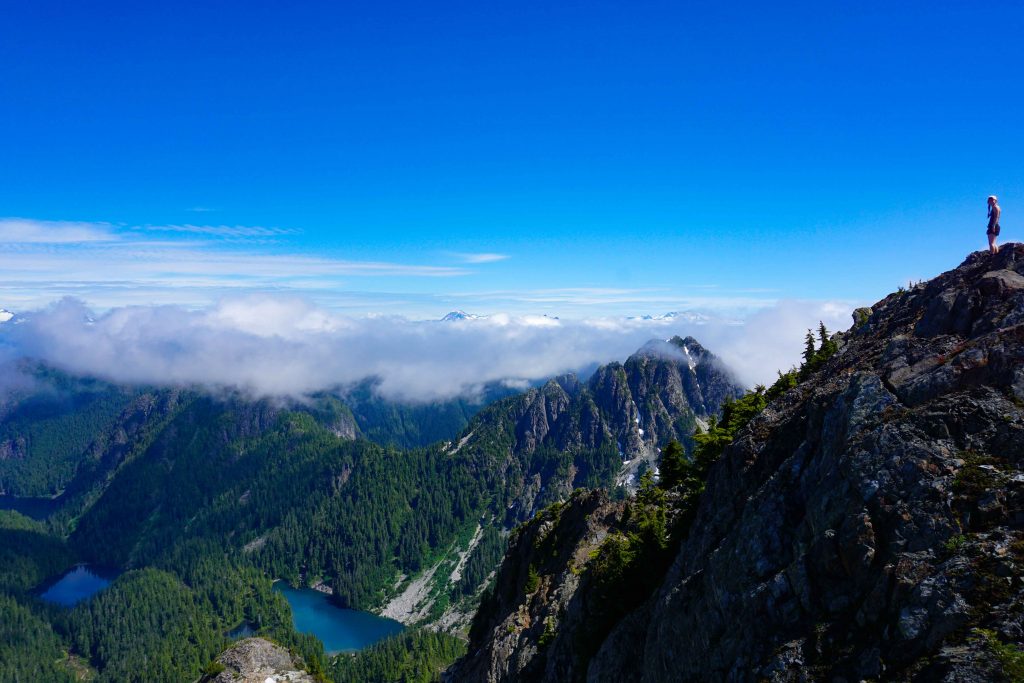
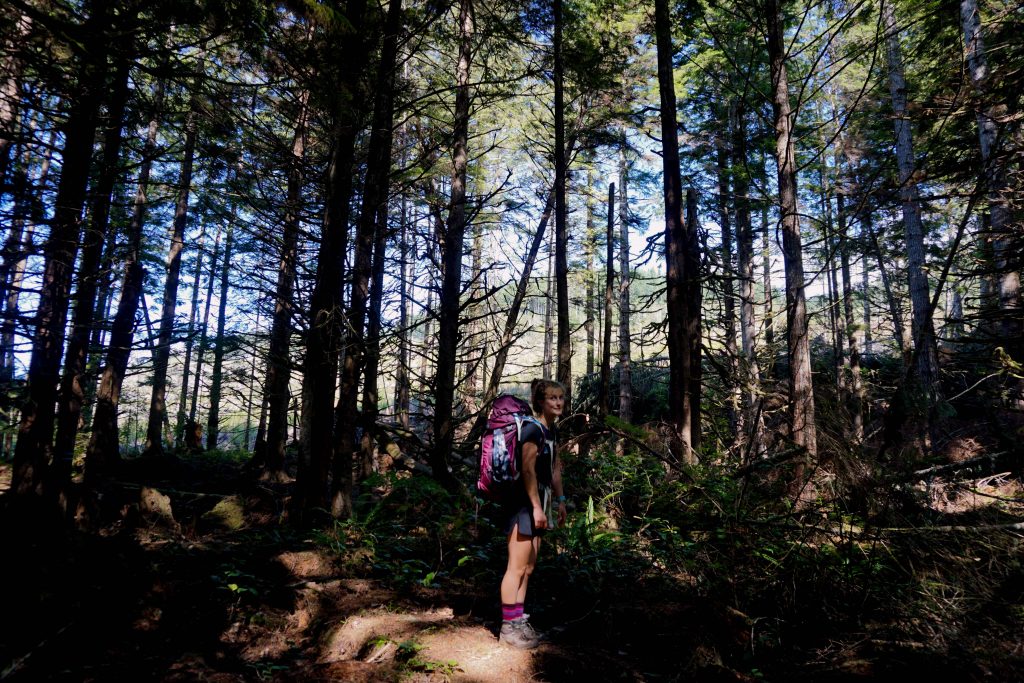
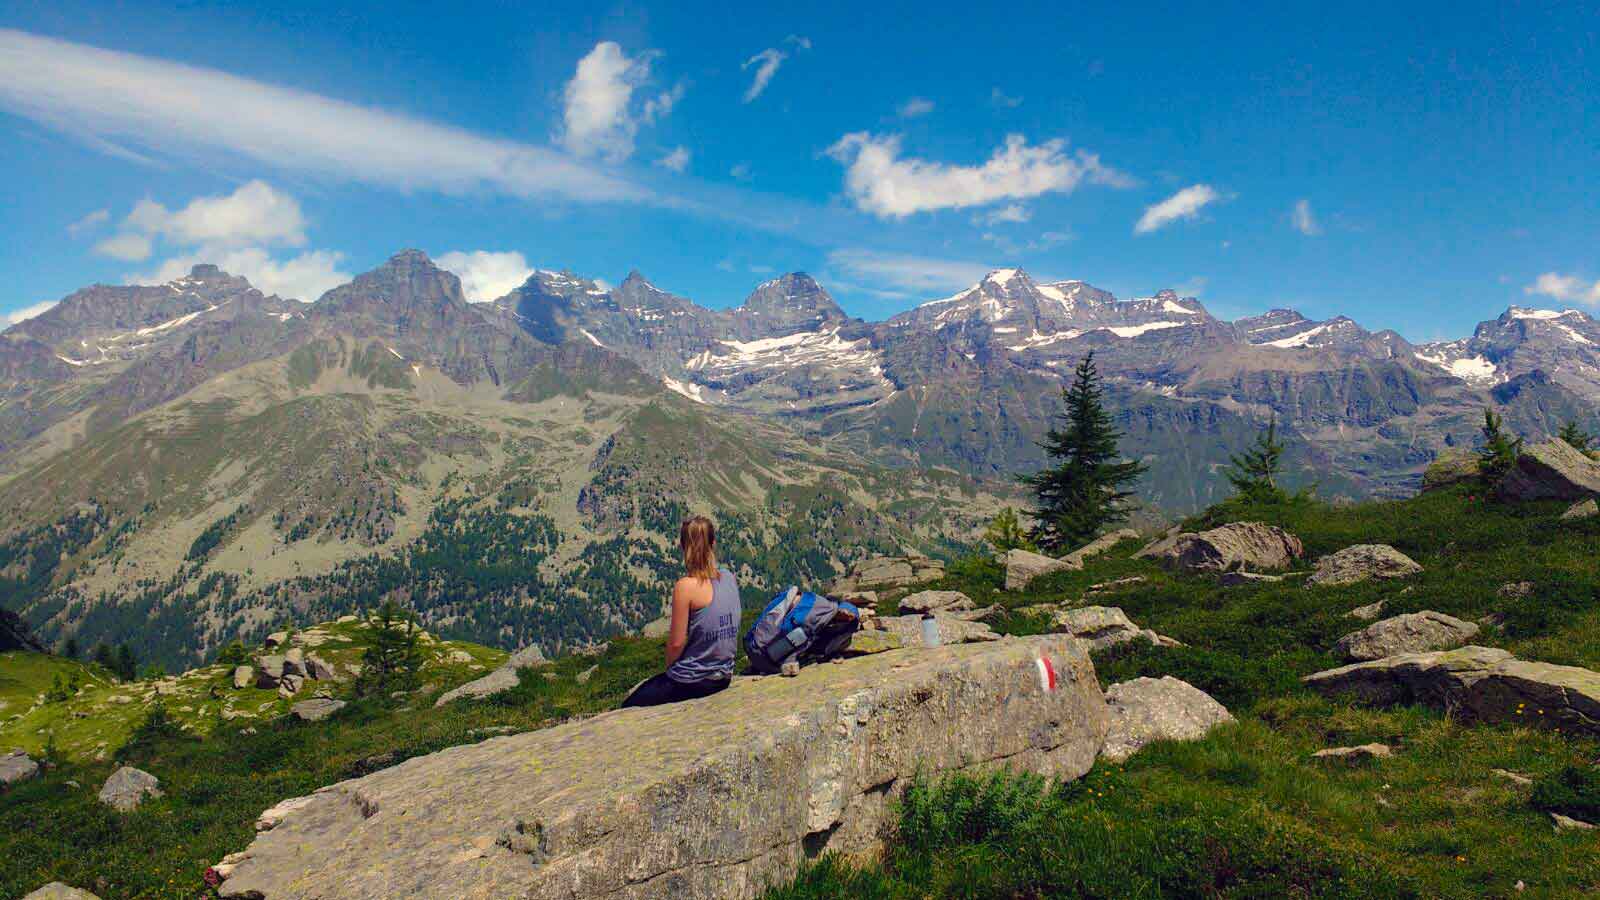
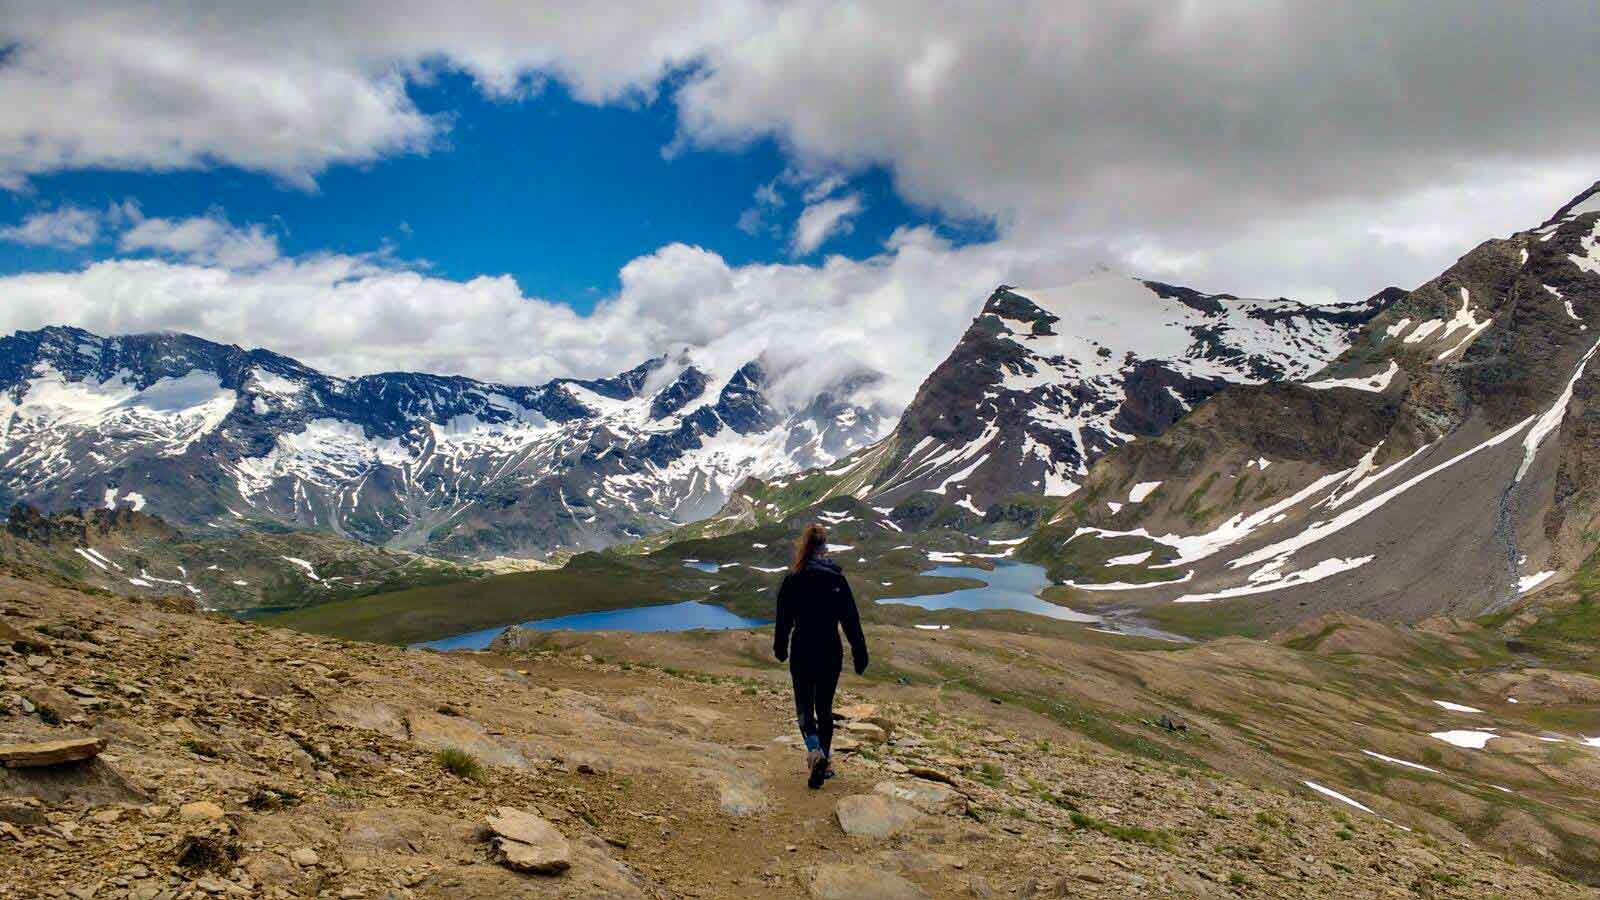
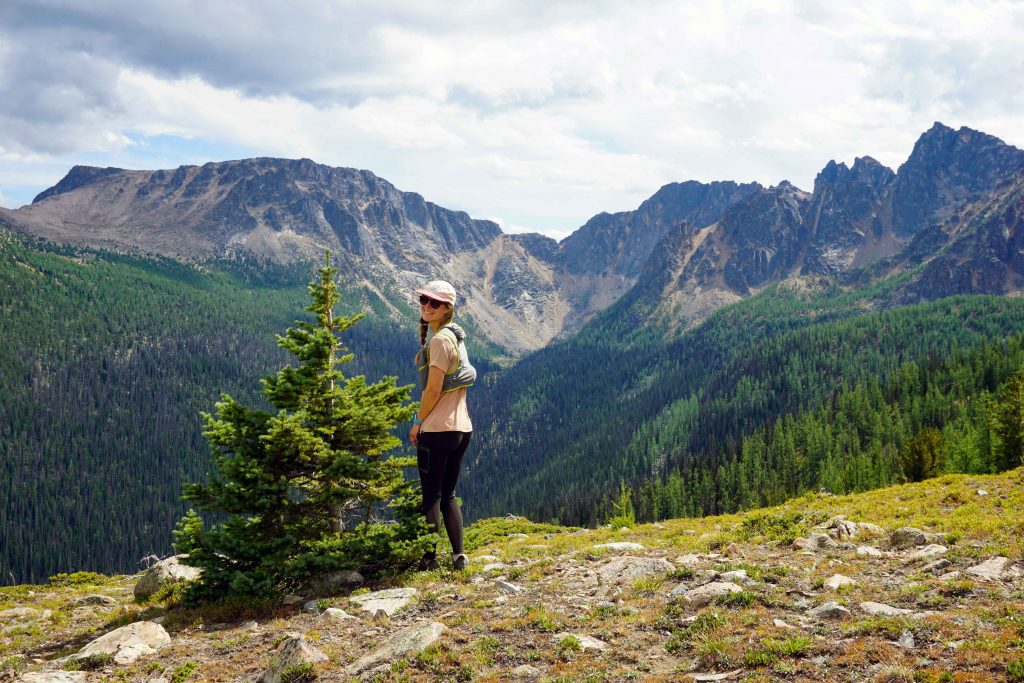
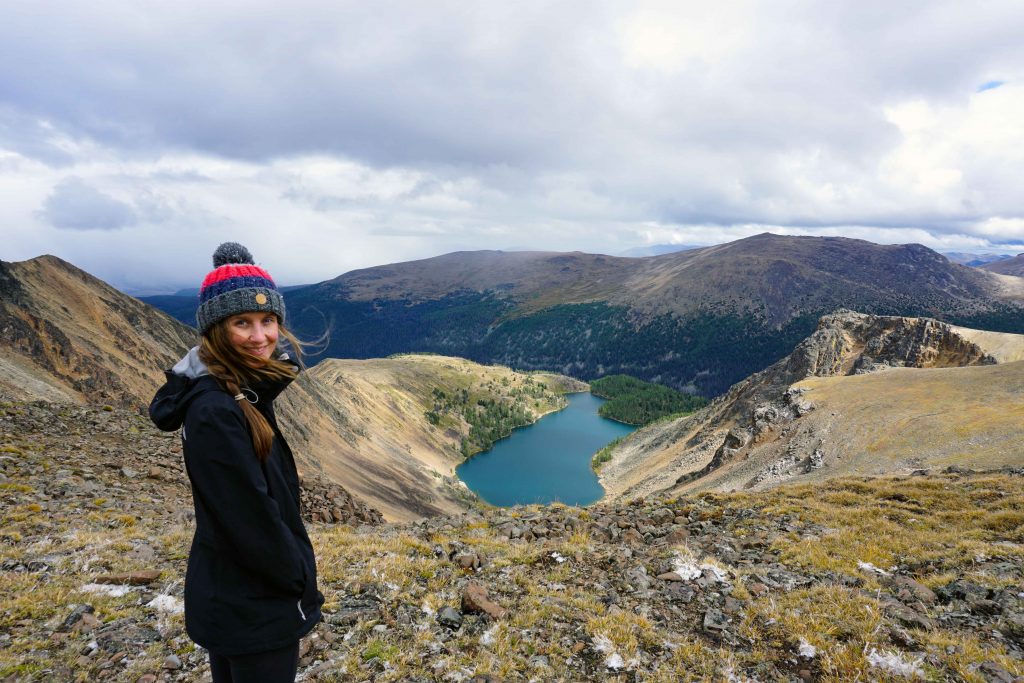
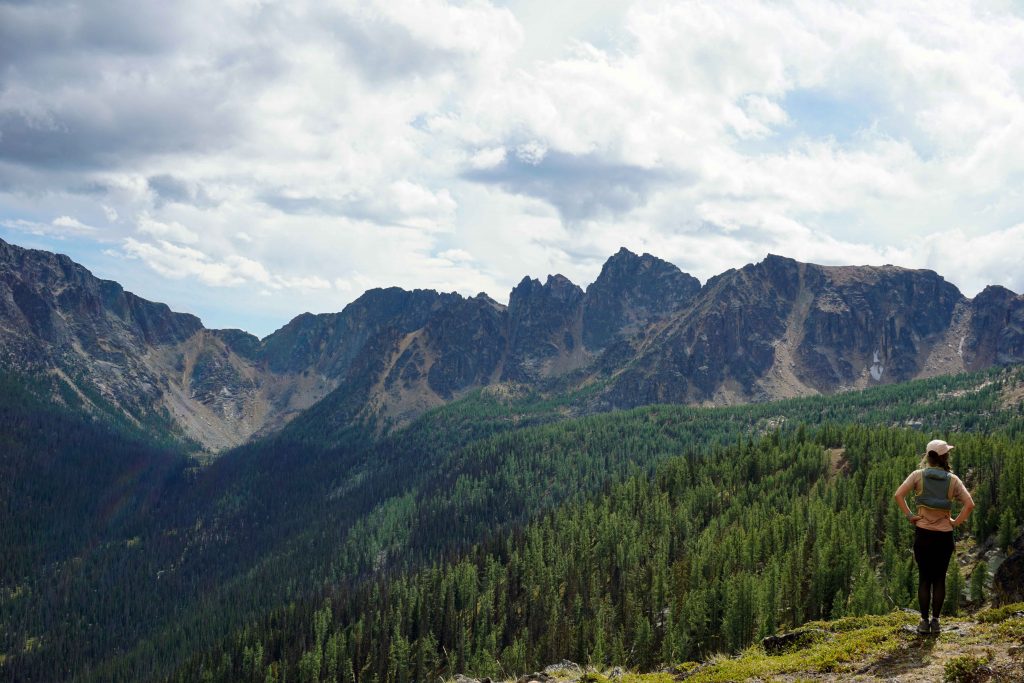
The information kiosk near the ranger station has a map of the core area, along with a description of all the hiking trails. The options range from easy loops of the lakes to full day hikes. The Rim Trail is the most popular and with good reason. The route follows a ridgeline in a sort of horseshoe shape, providing 360-degree views of the Cascade Mountains and the Okanagan Mountain Range. The rock formations are like nothing I’ve seen in Canada, and looking down on the lakes from above is really spectacular.
Two-night itinerary
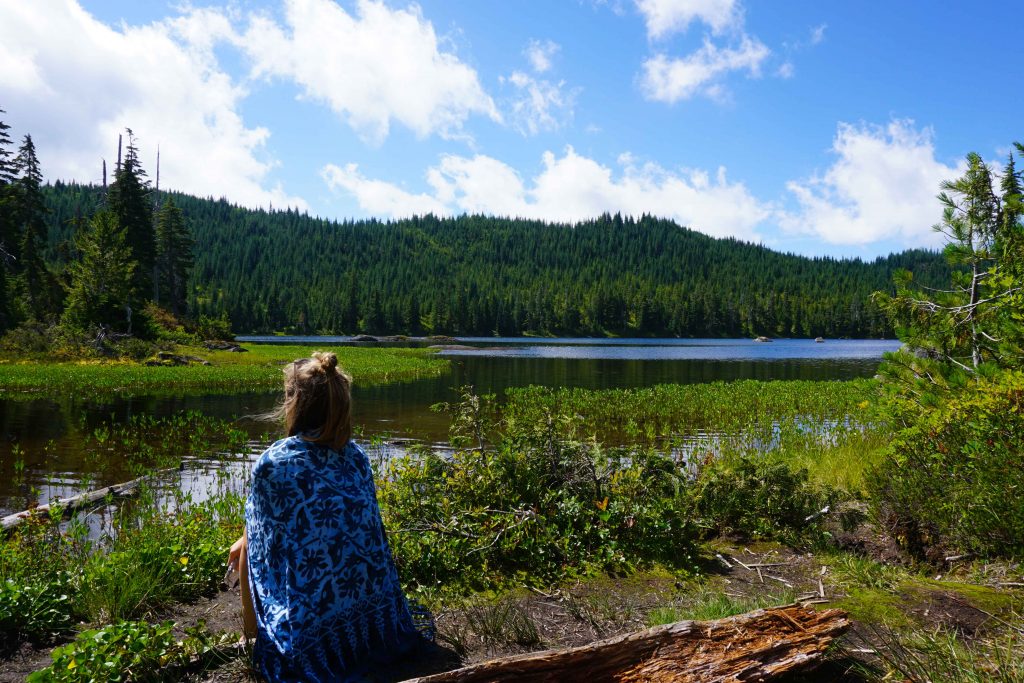
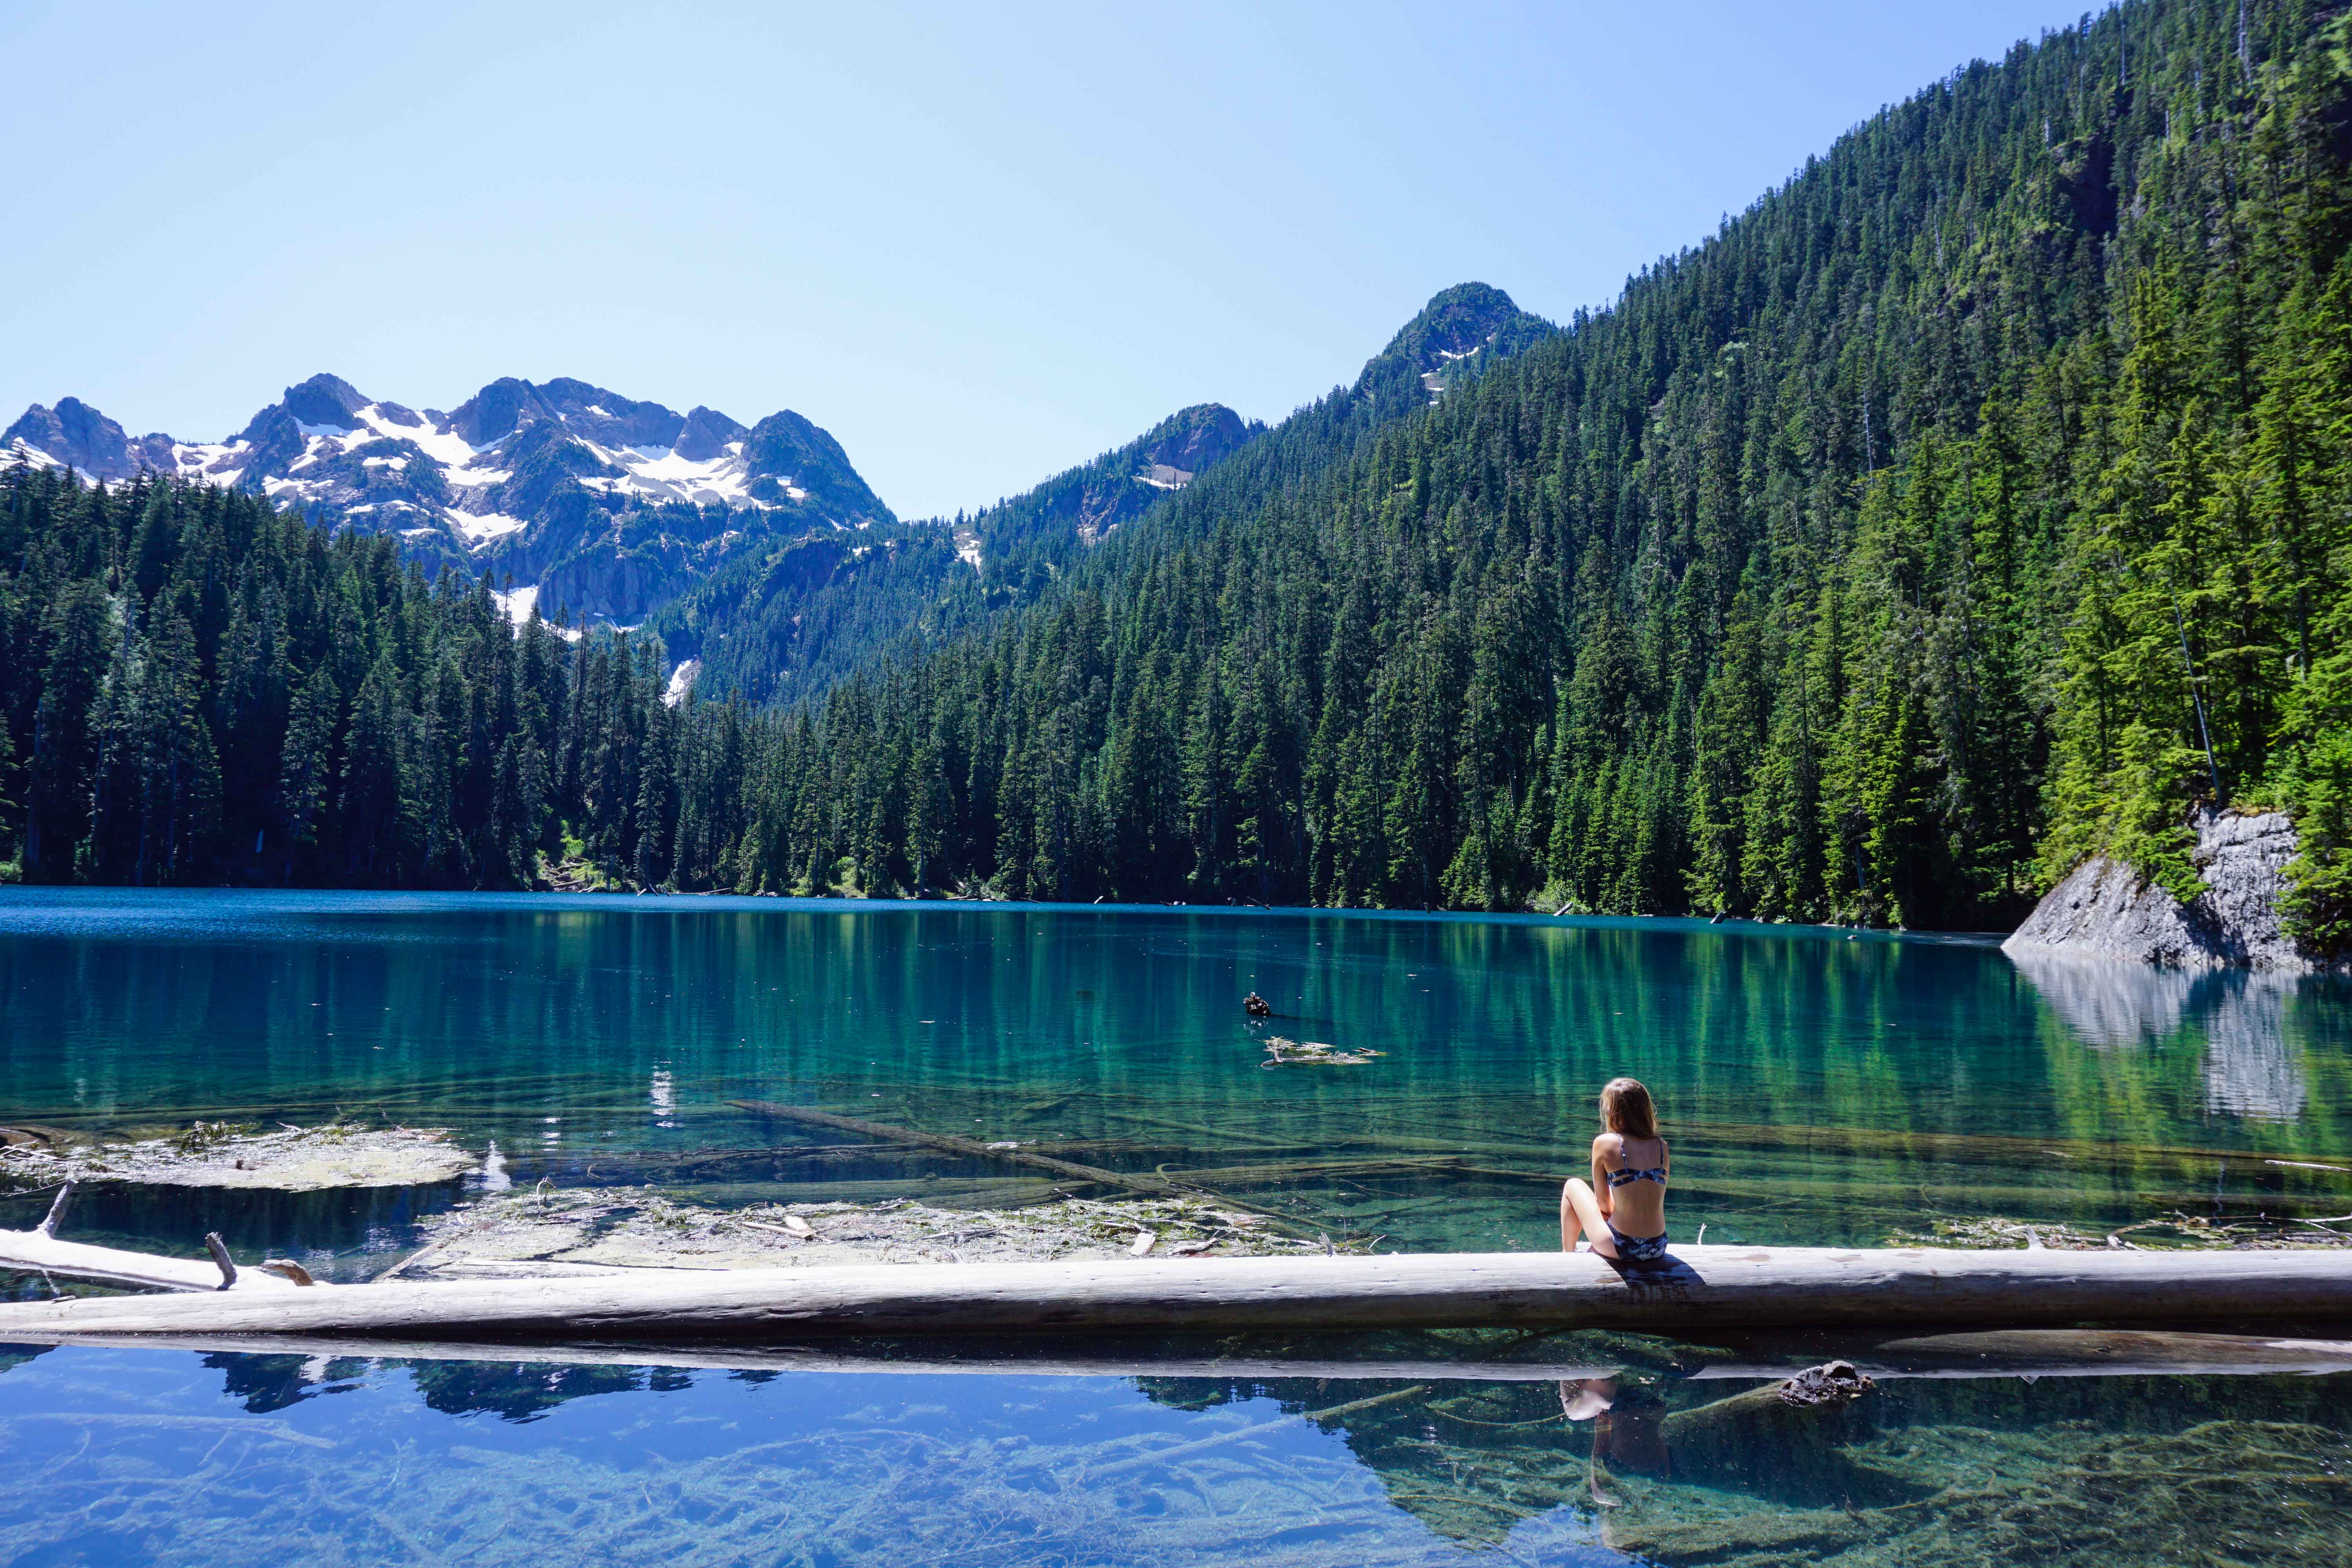
We spent two nights up at Cathedral Lakes. We took the 10am shuttle and arrived at the lodge about an hour later. After carrying our things to Lake of the Woods campground, we set up camp and had some lunch. We knew we wanted to go to Ladyslipper Lake that day but we weren’t sure of the way. So we walked back to look at the map at Quiniscoe Lake, retraced our steps to Lake of the Woods and continued on to Ladyslipper Lake. It’s not a long hike, but there is a steep uphill section. Soon the trail heads downhill and the turquoise blue of Ladyslipper Lake appeared before us. The sun was shining, so we spent a relaxing afternoon fishing and sunbathing by the lake before heading back to camp.
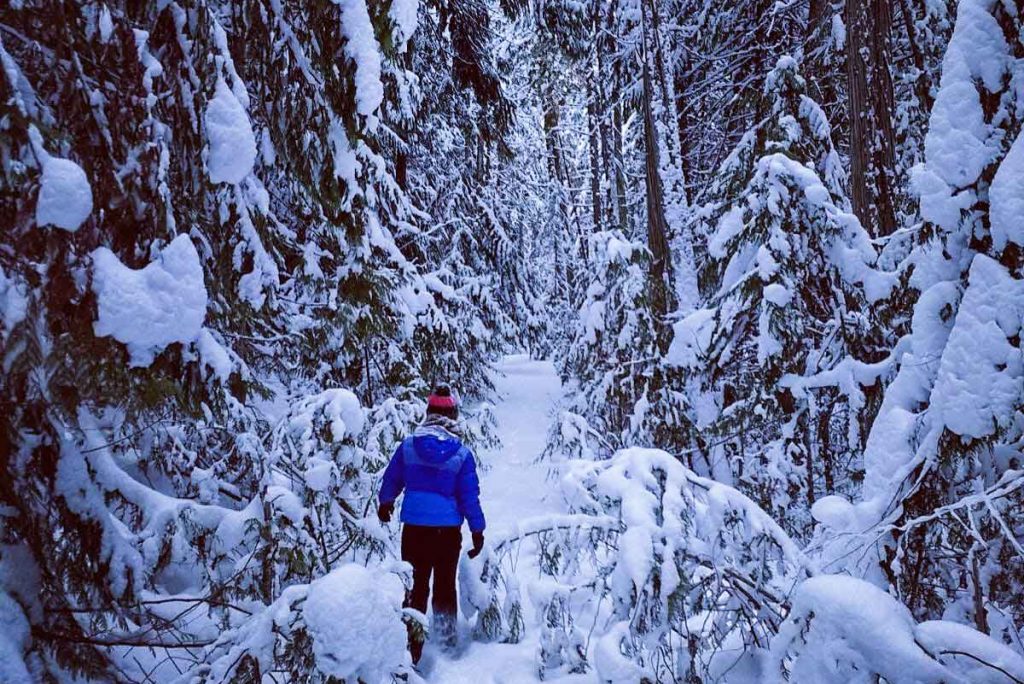
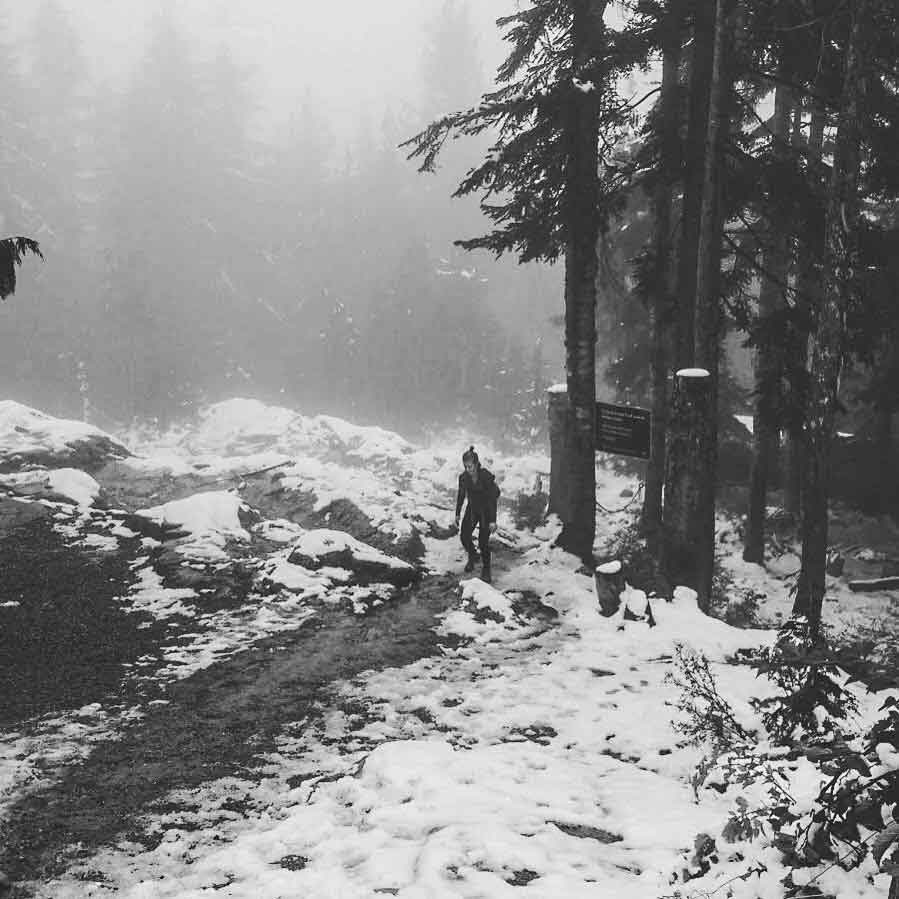
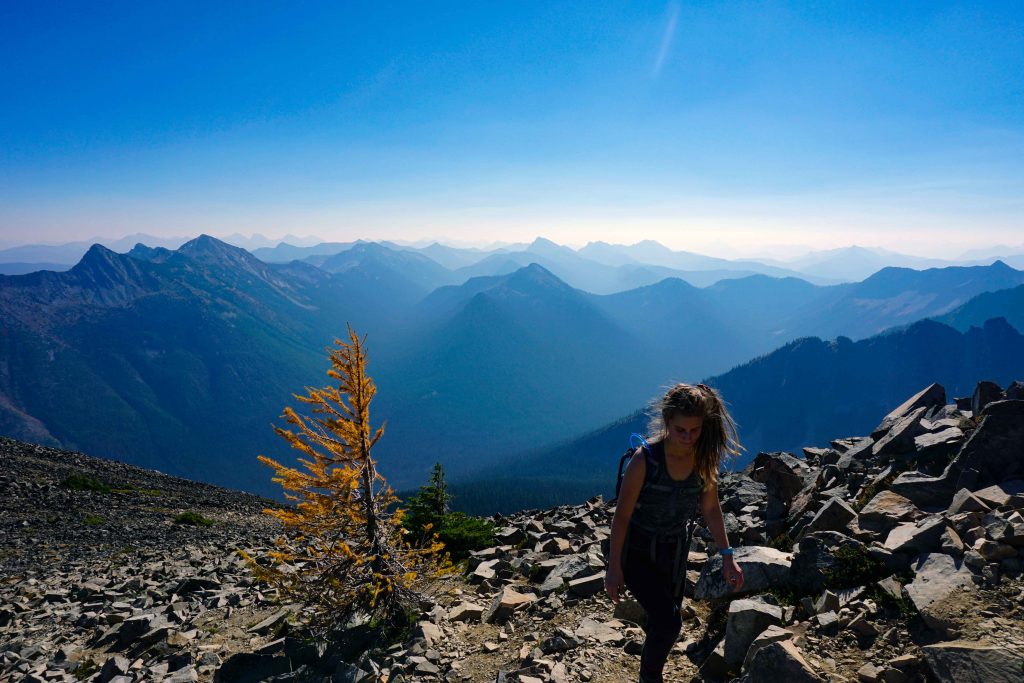
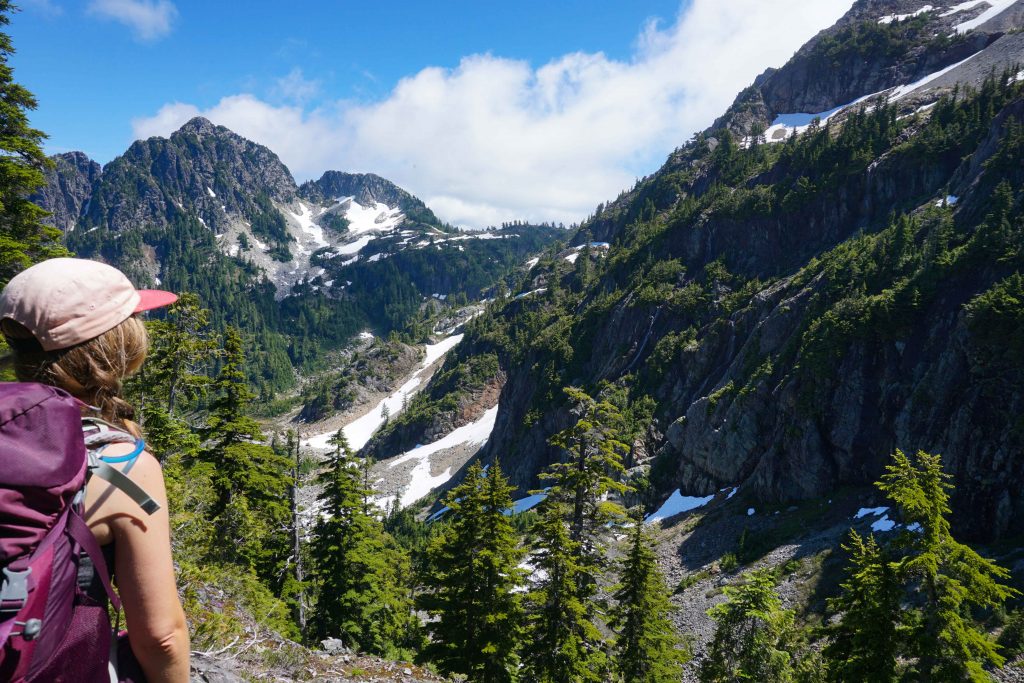
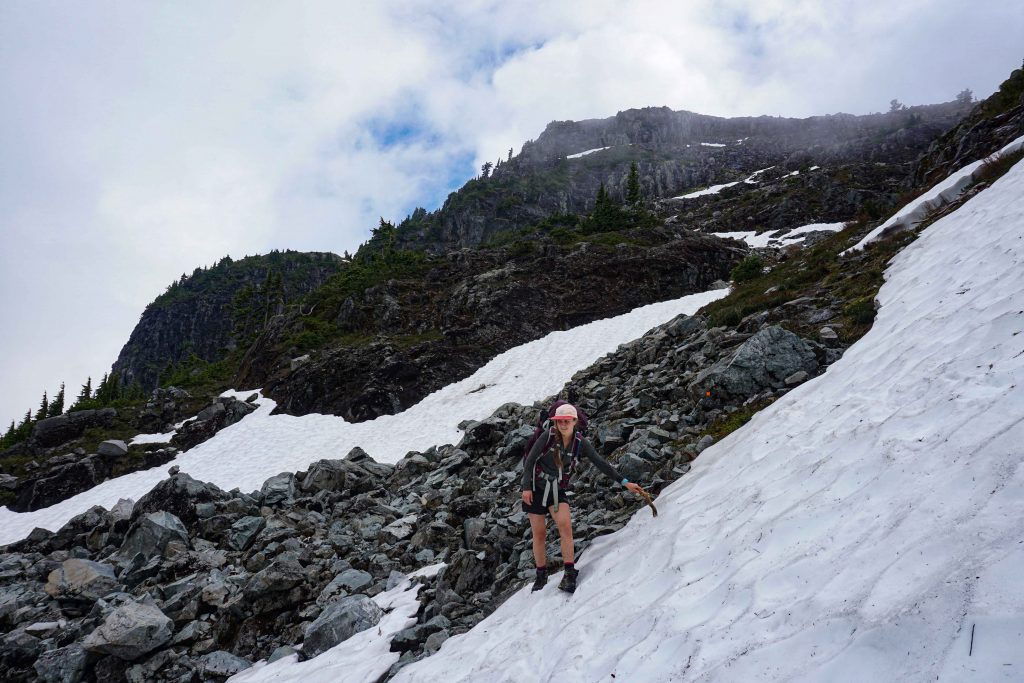
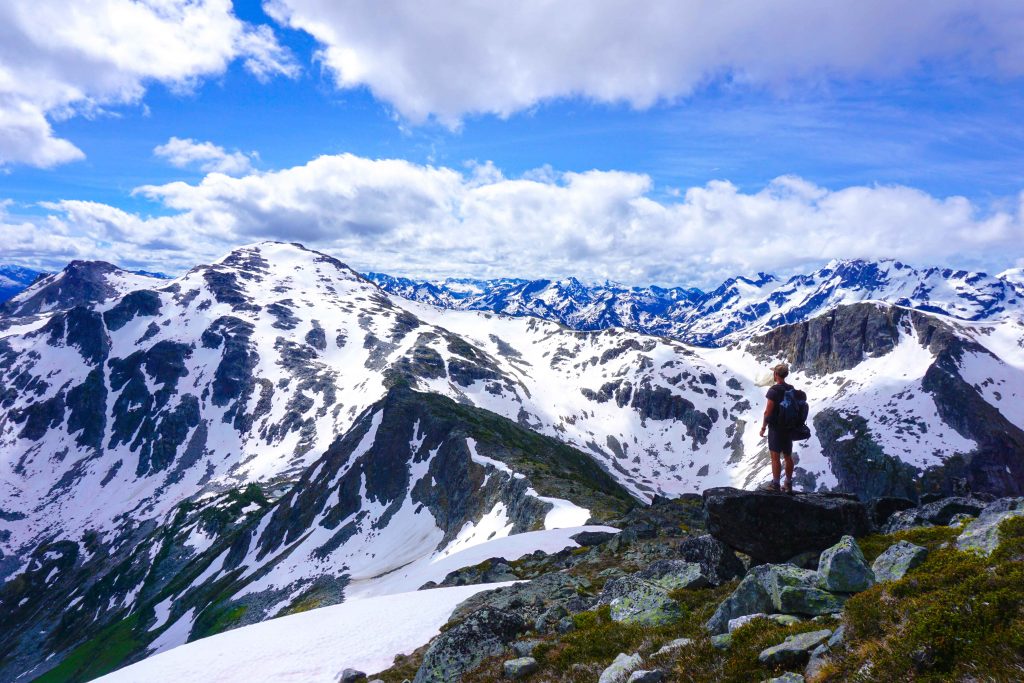
That evening the wind really picked up and the temperature dropped dramatically. That was when the ranger came round and informed us that it would be seriously cold and wet the following day. We got into bed early because it was so cold and didn’t resurface until late the next morning. At this point we weren’t too sure what to do. It had snowed in the night and there was a lot of cloud coverage. Also, we hadn’t really banked on hiking in adverse weather conditions. At about 11am we decided to go for it, and thank goodness we did! The clouds dispersed and we were treated to some really amazing views.
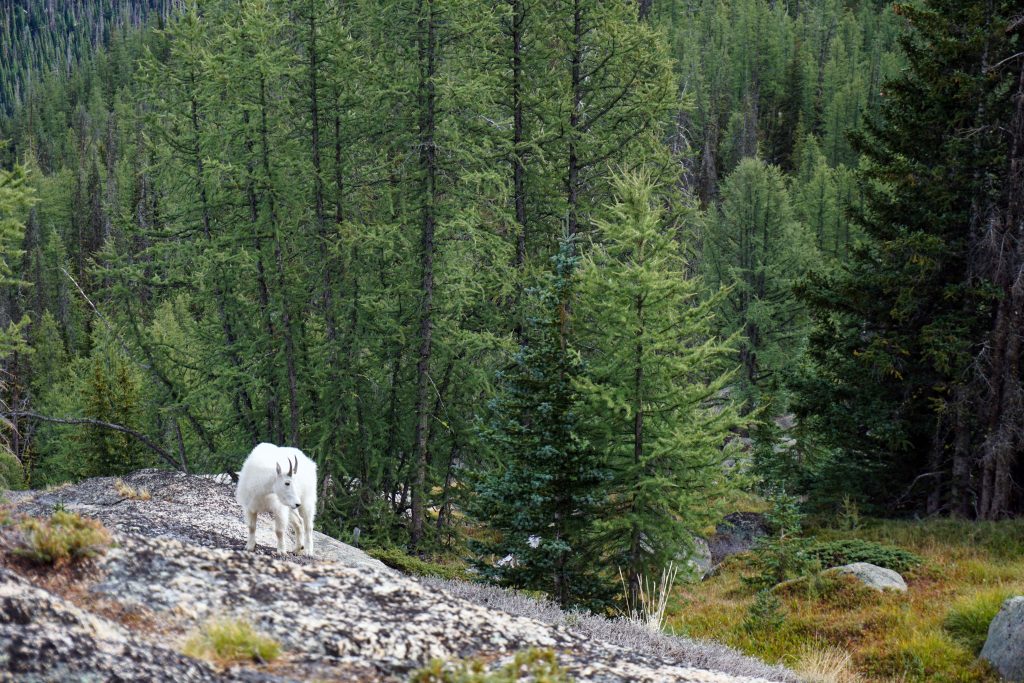
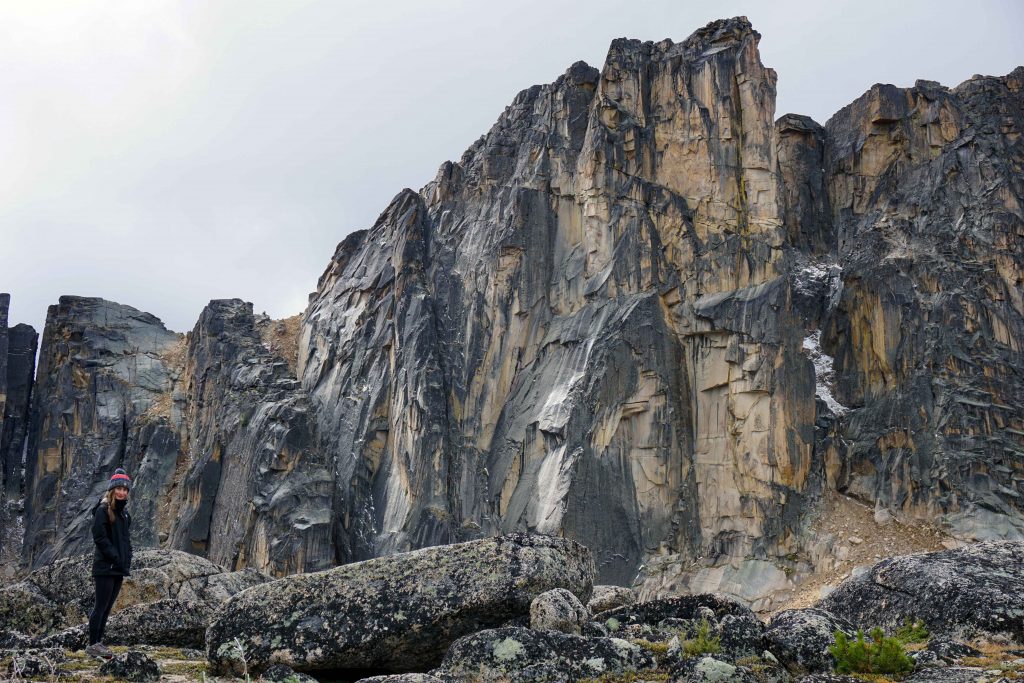
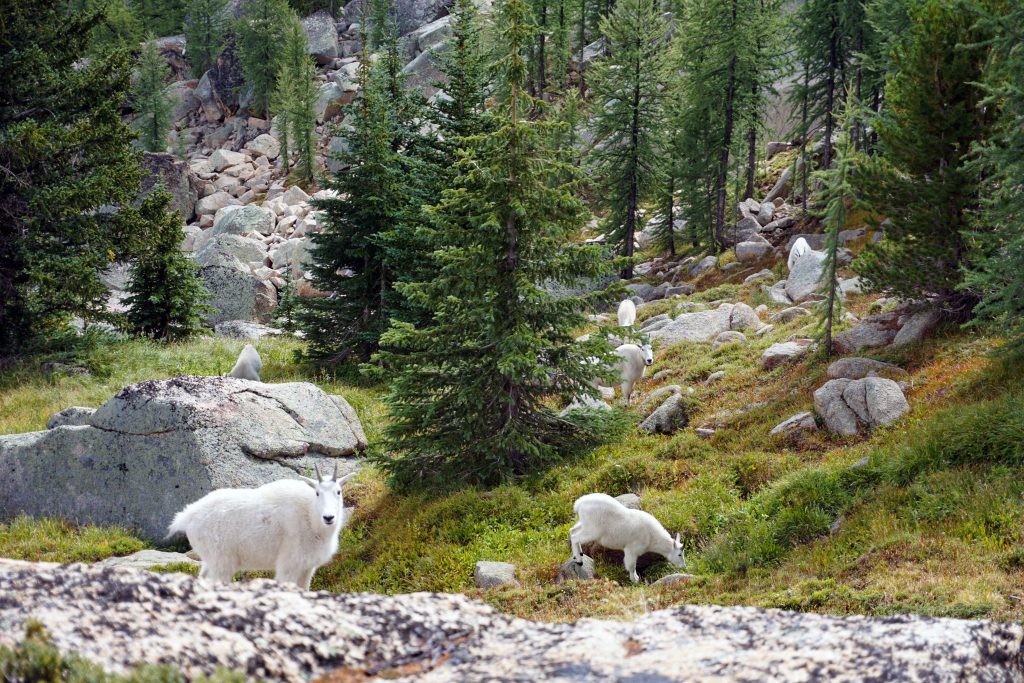
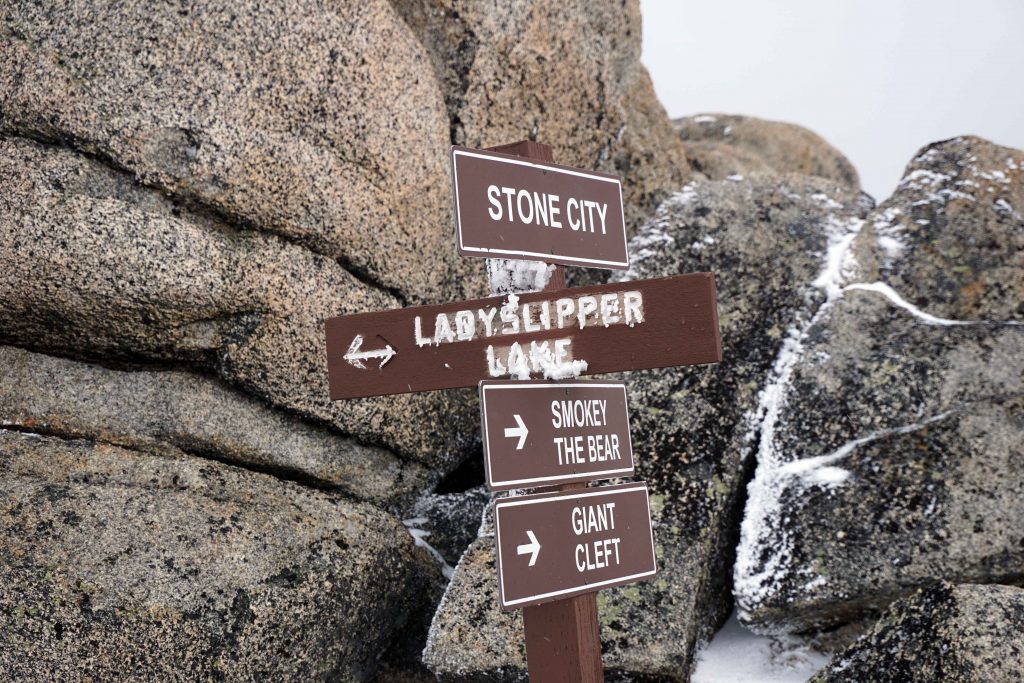
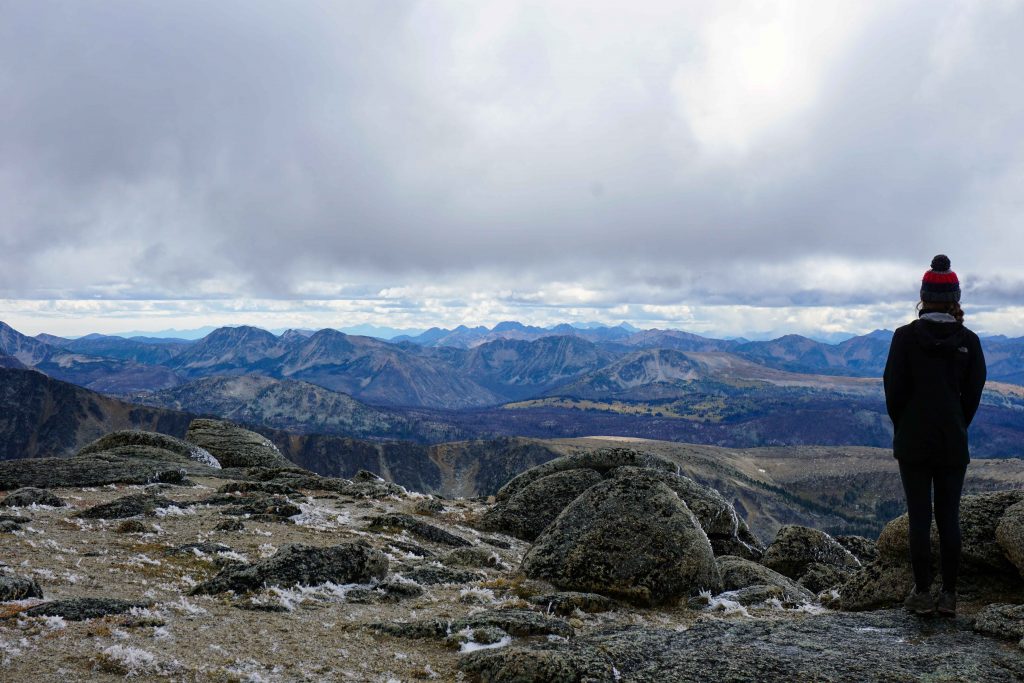
This was our only full day and had planned to do the Rim Trail. We retraced our steps from the day before, skirting Lake of the Woods and heading up to Ladyslipper Lake. After the little inlet the trail heads uphill towards Stone City. It was on Ladyslipper Trail that we were lucky enough to see a herd of mountain goats chilling out and munching on grass. They began moving along the trail in the direction we were headed, so we waited a while to give them some space. We then carried on up to Stone City, stopping to admire the amazing rockfaces along the way.
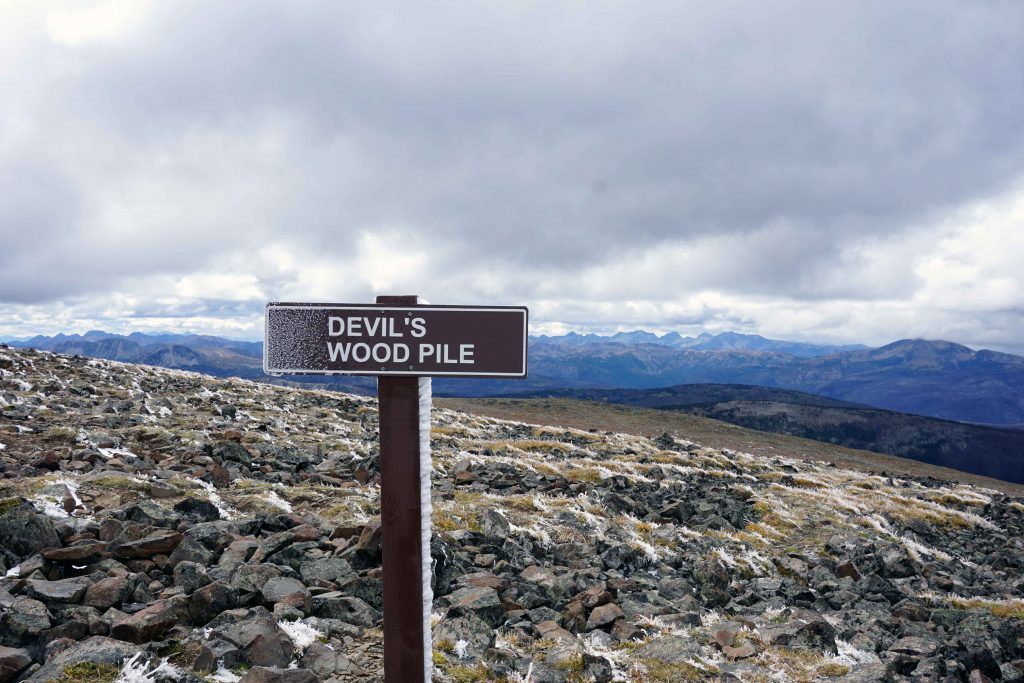
Once at Stone City you can take a detour to Smokey the Bear and the Giant Cleft, after which you have to return the way you came to get back to Stone City. From there, we carried on to Devil’s Woodpile. This section of the hike is where the real money shots are. The scenery is amazing and the views extend for miles in every direction.
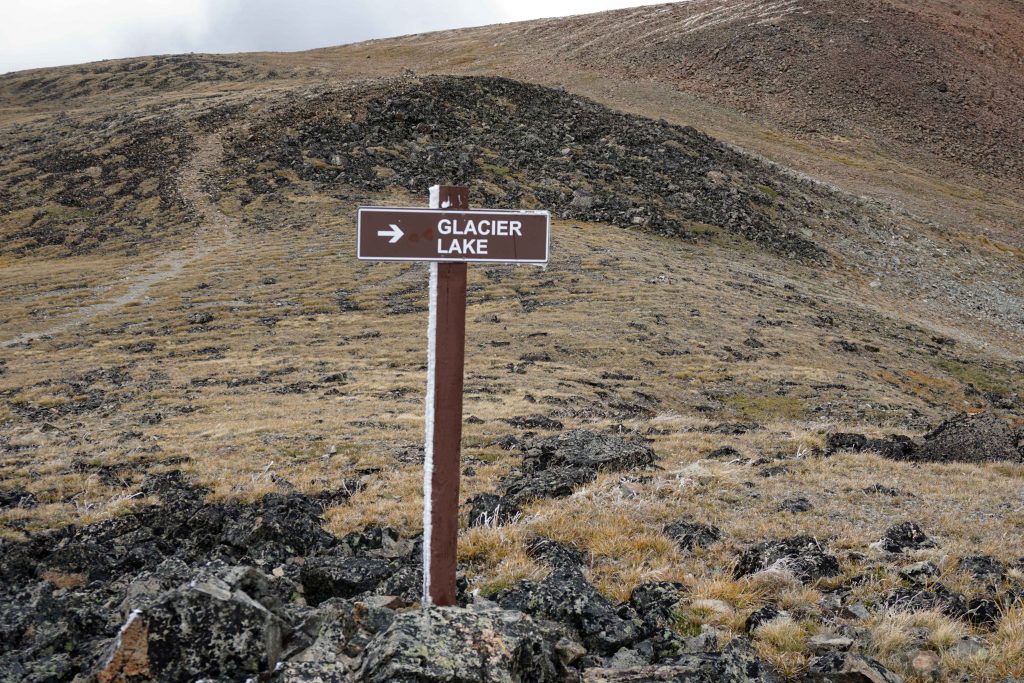
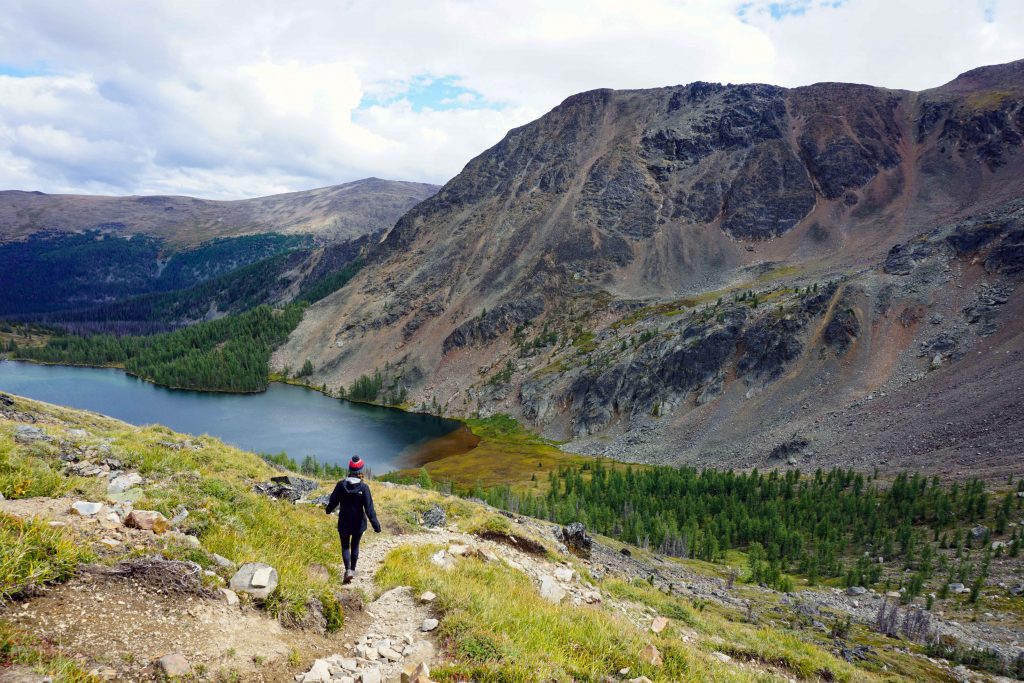
I’d have loved to have stayed up there all day, but it was so windy and cold! We’d also started later than intended, so after Devil’s Woodpile we chose to take a right hand turn down to Glacier Lake. However, you can carry on along the ridgeline to Quiniscoe Mountain and Red Mountain. At Glacier Lake, we took the left-hand spur that leads to Quiniscoe Lake. We then returned to camp at Lake of the Woods for the evening.
The following day, we had breakfast and strolled up to Pyramid Lake with our coffees. Then we packed up our camp and dropped our bags at the shuttle pick-up. Finally we hiked the loop around Quiniscoe Lake before heading back down to our car.
Getting to Cathedral Lakes Provincial Park
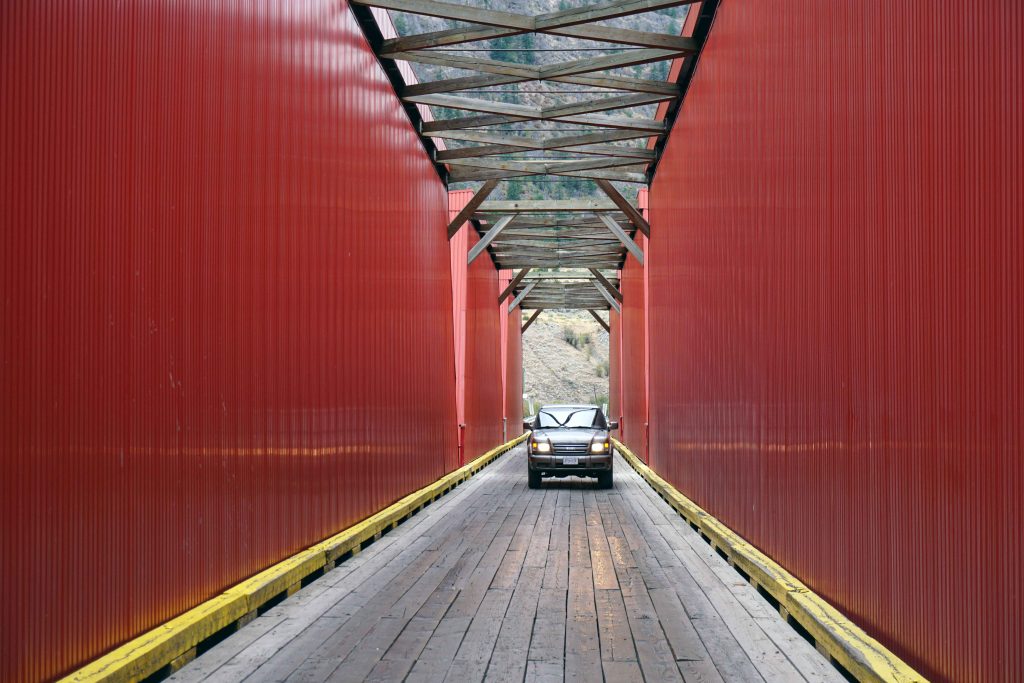
From Vancouver, take Highway 1 eastbound and merge onto Highway 3. Drive past Manning Provincial Park towards Keremeos. Around three miles before you reach Keremeos, you’ll see a sign for ‘Cathedral Lakes Lodge’. Turn off the highway here and follow the Ashnola Forest Service Road. You’ll go over a red bridge and pass a couple of recreation sites along the way. The road turns to gravel but keep going. If you’re taking the shuttle, continue along this road for about 13 miles (20.8km). Eventually you’ll see a bridge with a big gate on your left hand side. Wait here until the gate opens, which will be about 15 minutes before your departure time. Continue along the road a little further for the Lakeview Trailhead.
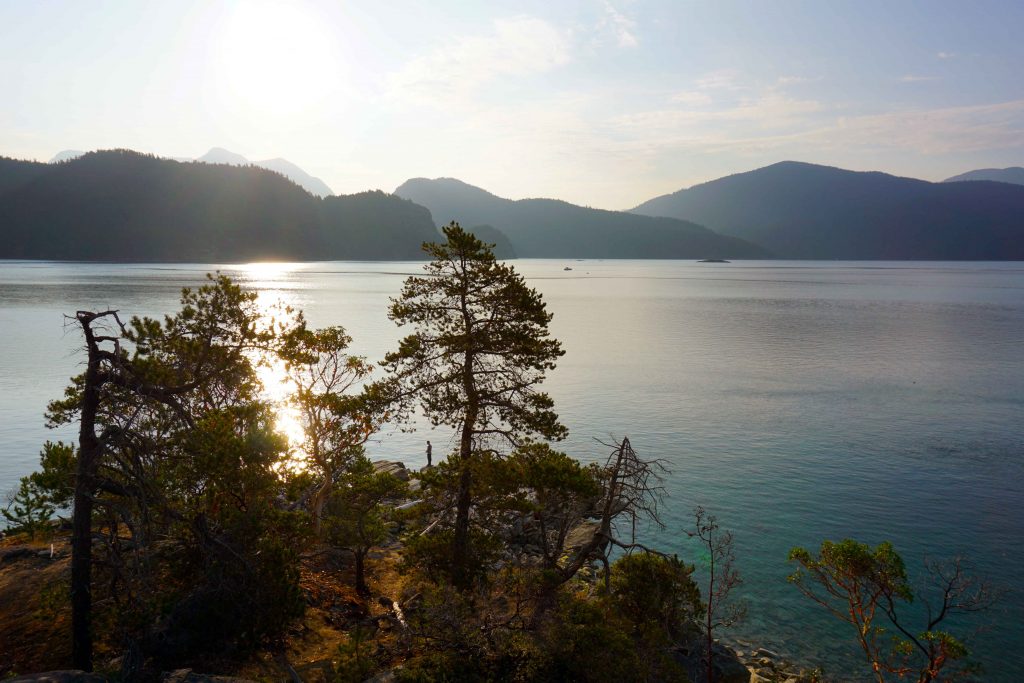
Camping nearby
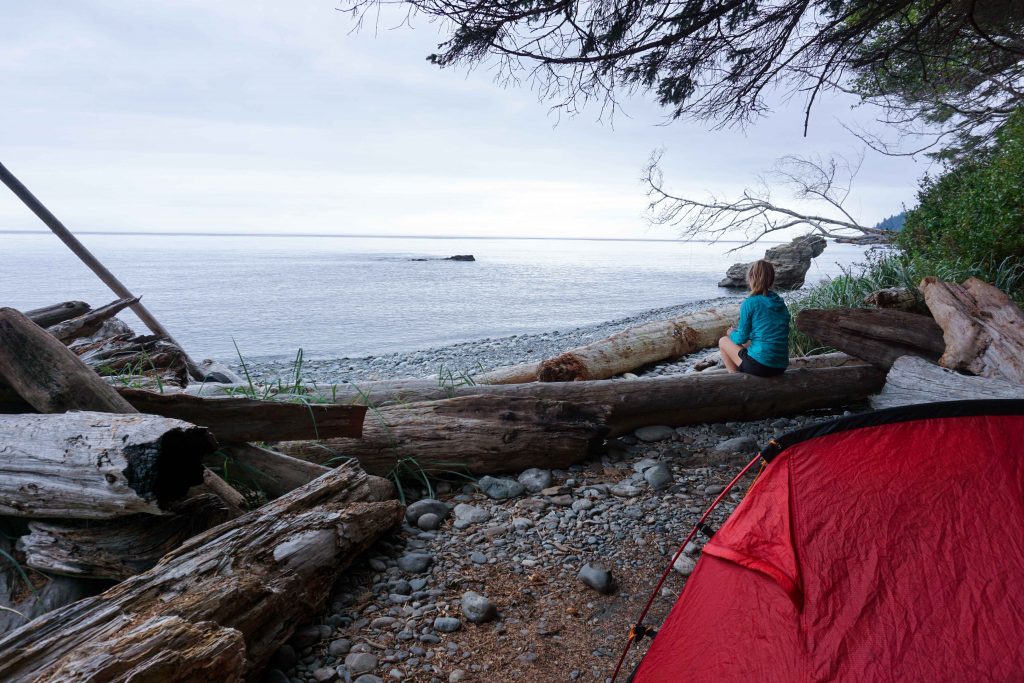
If you’re on an early shuttle and you don’t want to get up at the crack of sparrow’s fart, you can always camp nearby. That’s what we did, spending the night Horeshoe Canyon Recreation Site. There are quite a few campsites down the Ashnola Forest Service Road, with other options including Red Bridge Recreation Site, Ashnola River Recreation Site, Lakeview Trailhead campground and Buckhorn campground.
Other information
Hopefully this blog post tells you everything you need to know about backcountry camping in Cathedral Lakes Provincial Parks. A few other bits of information I haven’t touched on yet:
- Phone service is limited but you might be able to get signal near the ranger station
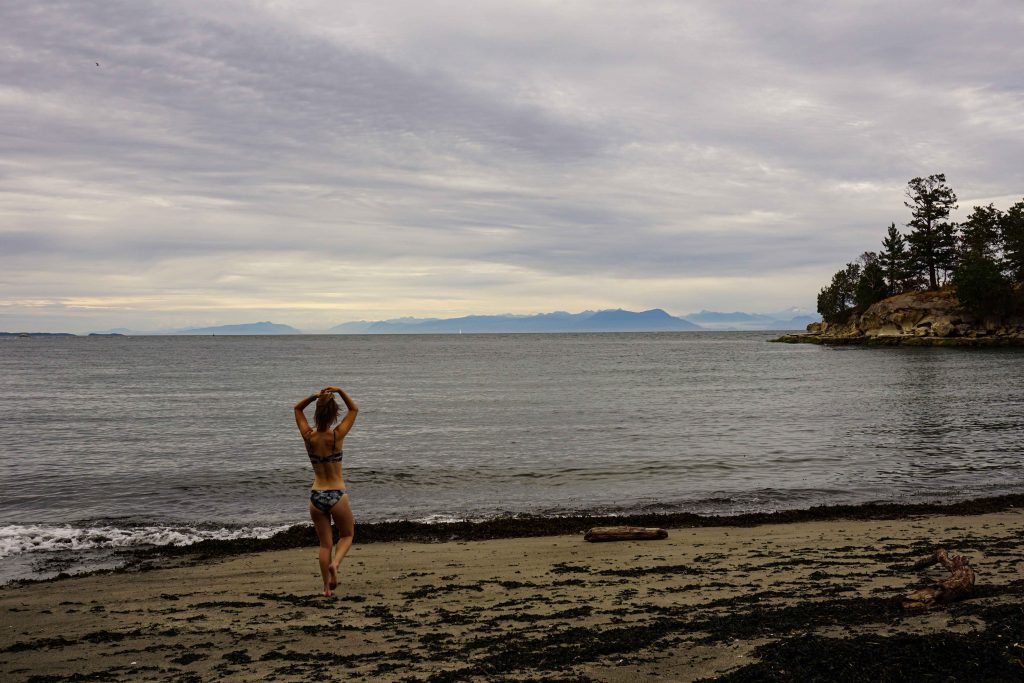
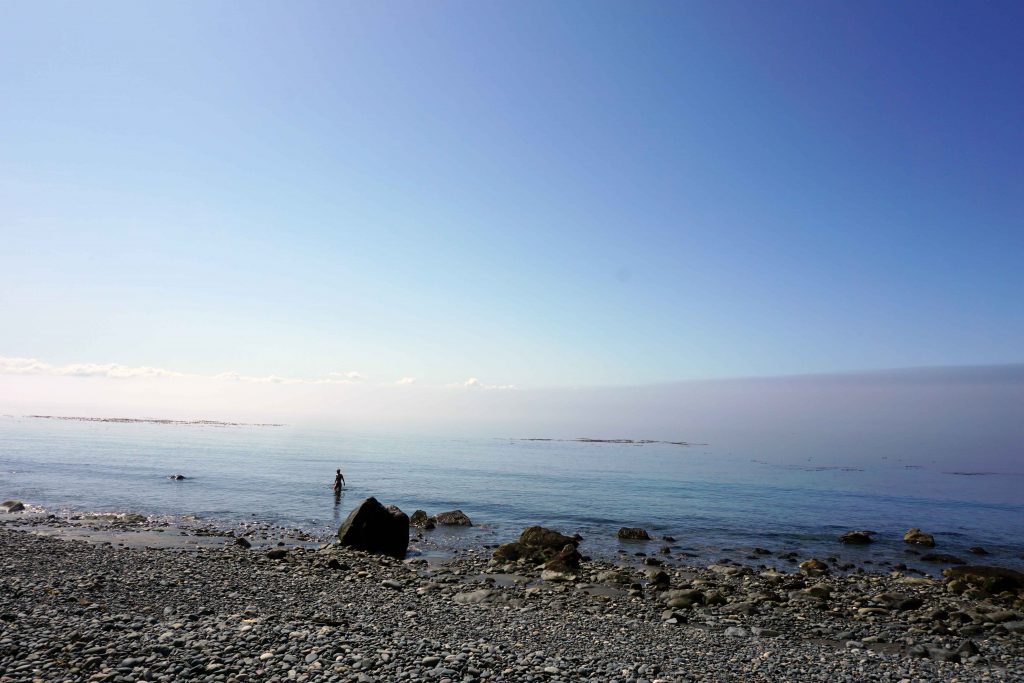
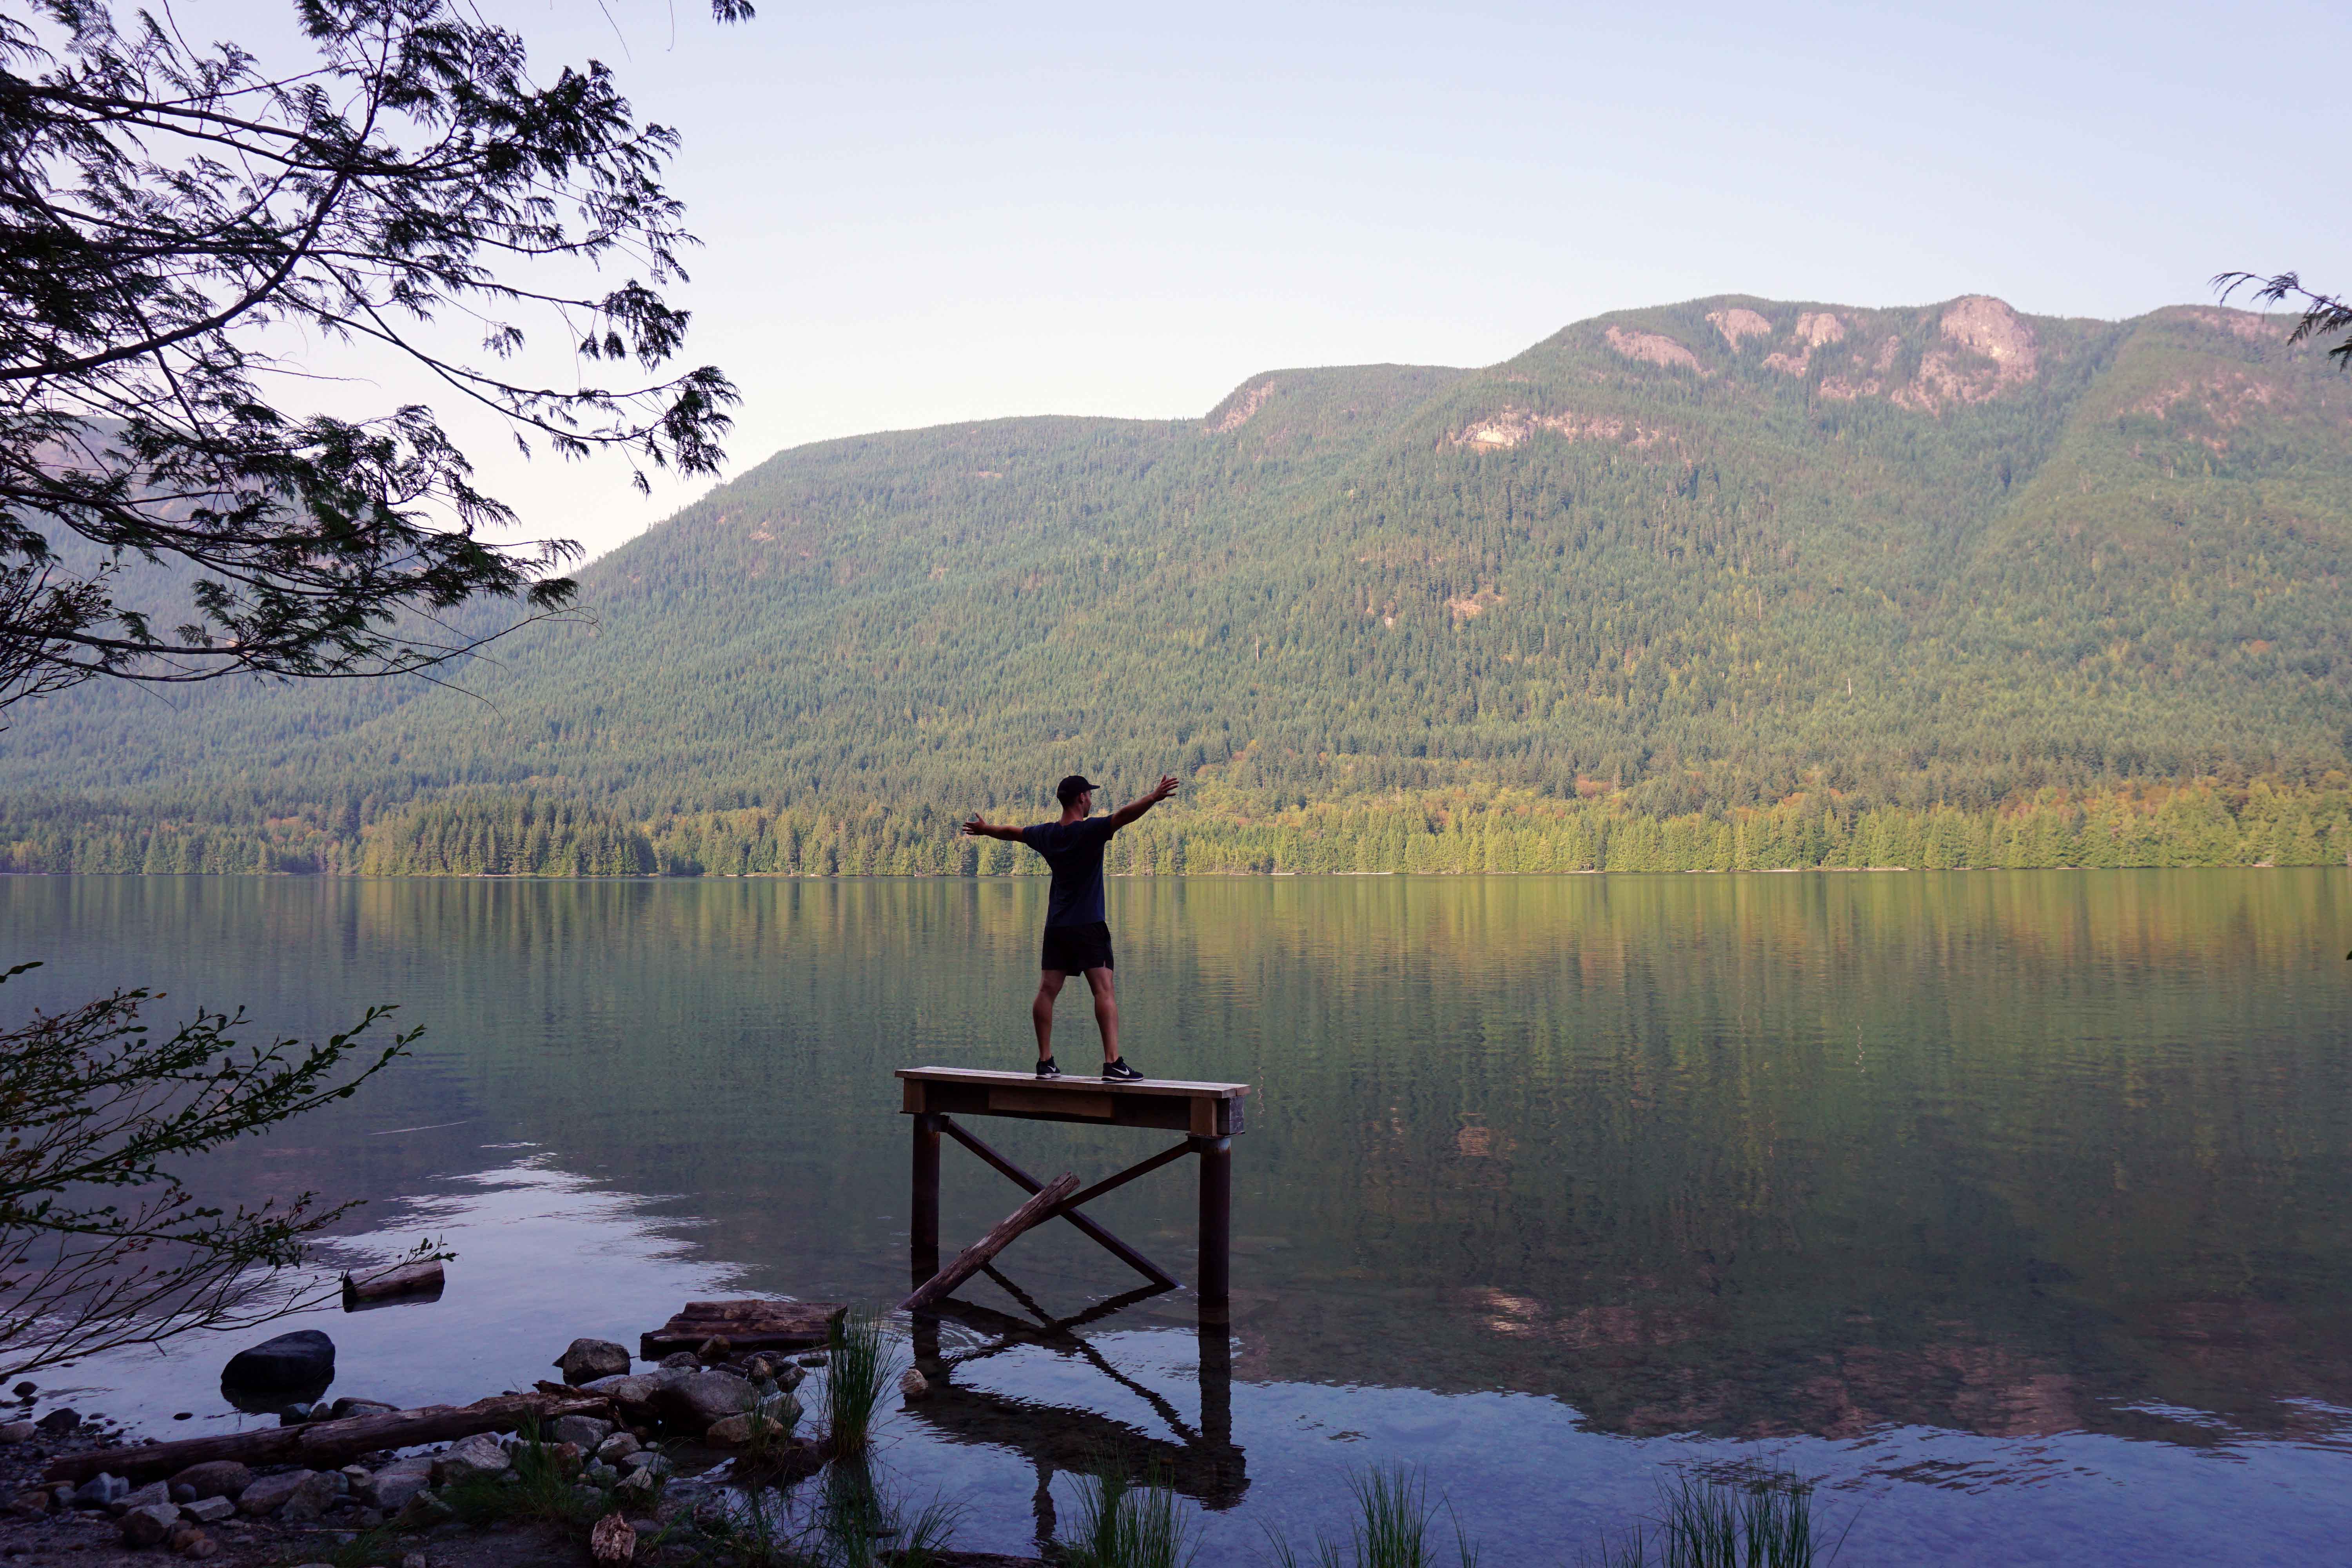
- Swimming is allowed in the lakes but the water is very cold
- There are no garbage facilities – you must pack out when you pack in
- The hiking trails are well-marked and easy to follow
- There isn’t an information kiosk at Lake of the Woods campground, so take a photo of the map at Quiniscoe Lake for reference
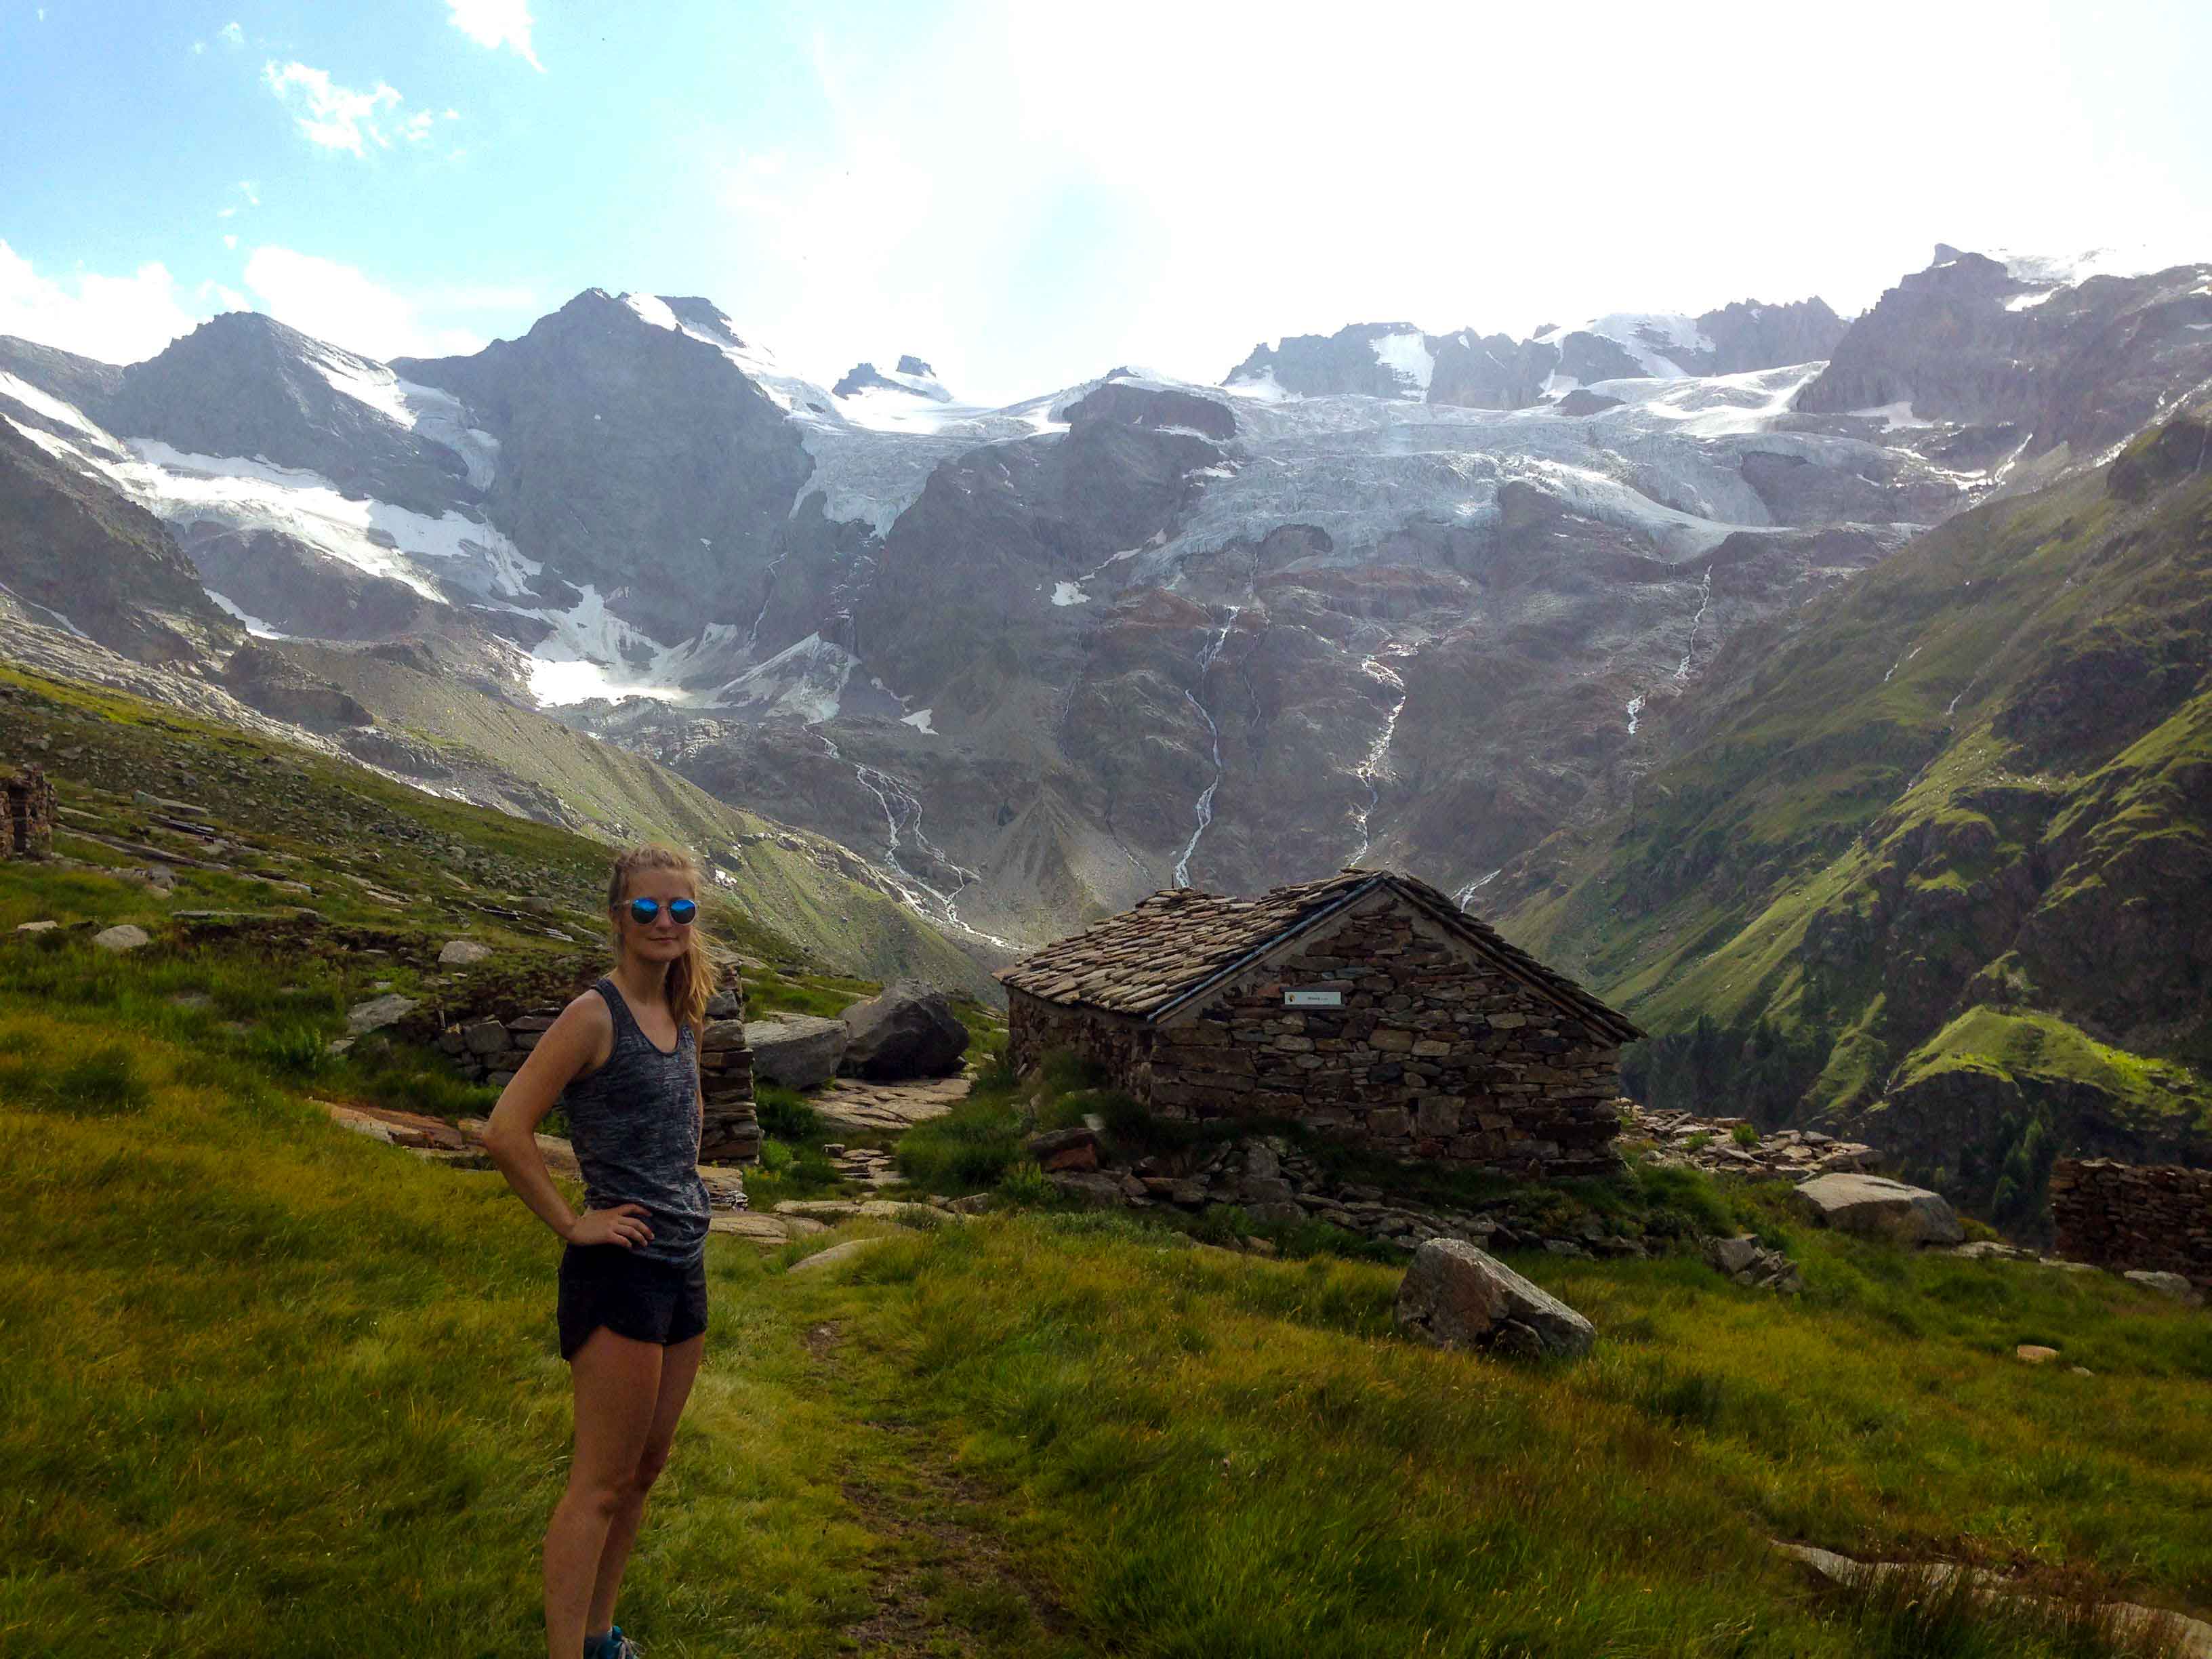
Cathedral Lakes is a really stunning area and allows easy access into the backcountry wilderness thanks to the shuttle service. It’s a trip that I thoroughly recommend!