Tag Archives: winter hiking

Frozen river and mountain

What to Wear Hiking in Winter

Dressing for winter hiking is an exact science. Dress too warmly and you’ll get too hot. You’ll then sweat, which as it turns out, will only make you colder (that’s the very point of sweat, after all). But if you wear too little then you’ll be cold anyway. And guess what – you don’t want to be cold, because that’s dangerous. Instead, you want your body temperature to be just right.

What a conundrum.

I’ve been in pursuit of the perfect winter hiking wardrobe for many years now. I’ve made plenty of mistakes. I’ve worn ridiculously heavy coats. I’ve cried because my hands were so cold. I’ve had trench foot and made numerous other rookie errors. Now, however, I know what works and what doesn’t.

You’ll probably go through the same learning curve, because despite all the advice out there, it’s always relative to the situation. What’s ‘right’ and what’s ‘wrong’ very much depends on who you are and where you are in the world. Some of you will be living in a polar vortex, while others will think it’s cold at 15°c.

Ultimately, the key to winter hiking is to dress in layers, including a base layer, a mid-layer and an outer shell. This is known as the three-layer system. You can peel these layers off as required – hence the expression ‘dress like an onion’. Then you need to add a few extra accessories to keep your extremities toasty.

What to wear winter hiking

If you live in a cold, wet or snowy climate, then here’s what I suggest you wear for winter hikes.

On the top half

Let’s start with the top half of the body.

Underwear

Wow, straight in there with the underwear. But seriously, if you’re wearing a sports bra/underwear, be sure to choose woollen or synthetic materials. You don’t want to wear any cotton while hiking, even if it’s your undies.

Base layer

Next up is a base layer. This is a lightweight layer which should preferably be made from merino wool or synthetic materials. I run very cold (honestly, you’ve never met someone as cold as me) which is why I actually wear two base layers – one short-sleeve and one long-sleeve. They are both snug fitting but not cut-your-circulation-off kind of tight.

You can spend a lot of money on technical base layers, and honestly, it would be money well spent. But unfortunately, that’s not a luxury we can all afford. I do perfectly well with an acrylic base layer I bought from Marks & Spencer (in the UK) and a polyester top I bought from Go Outdoors (also in the UK). I use both of them for skiing, too. The main problem with these is that they retain body odour, meaning they get quite stinky.

Base layers are categorised in terms of the weight. The heavier it is, the thicker it will be. If you’re in the market for a winter hiking base layer, I recommend a mid-weight base layer from Icebreaker. Woolx, Patagonia and Smartwool also have some great options. If you run warm or you want something more versatile that you can use year-round, get a lightweight base layer instead.

Mid-layer

On top of your base layer, you should wear a mid-layer. This should insulate you, but it should also be breathable. You don’t want anything too heavy duty or you’ll get too hot. A fleece or a lightweight woollen jumper is ideal. As always, stay away from cotton. I wear a 100% wool jumper that I found in a thrift store.

Some people also use lightweight down jackets or vests, like the Nano Puff from Patagonia. This is great if it’s very cold and dry. However, you may get too warm. Also, down isn’t effective when it’s wet, unlike fleece which dries quickly. If you’re looking to buy, then anything rated ‘R1’ by Patagonia is a sound investment.

Your mid-layer is actually the hardest layer to get right because the amount of insulation you need fluctuates according to the air temperature and your body temperature. On the ascent, I can sometimes do without a mid-layer if it’s very mild outside. On the flip side, I can get very cold on the descent, meaning I actually need several mid-layers. That’s why you need to dress like an onion. Peel layers off (and add layers on) as needed.

Outer shell jacket

The final piece of the three-layer system for hiking is your shell jacket. You’re probably used to wearing a nice big coat when you’re out and about in winter. But this isn’t what you want for winter hiking. Instead, you need a lightweight jacket that’s waterproof and breathable. Remember, it’s your mid-layers that are keeping you warm. Your jacket’s job is to protect you from the elements, be it the rain, wind or snow.

Although it costs more money, I really recommend getting a jacket with Gore-Tex technology. This ensures that it’s waterproof AND breathable. Otherwise, you’ll get wet when it rains. You’ll also retain moisture when you sweat, making you overheat.

I wear a North Face Gore-Tex rain jacket (which is no longer in production) or the Women’s Calcite Jacket from Patagonia (which I also wear for ski touring).

Hat

You lose a lot of heat through your head, which is why it’s a good idea to wear a warm hat. This has the added benefit of keeping your ears warm, which I find tend to really suffer in cold winds. When it’s dry, I usually wear a woolly bobble hat (or beanie/toque). If it’s raining then I’ll swap this for a cap which I wear under my jacket hood. This does a good job of keeping the rain off my face.

If I want to wear my hair in a pony tail then I might ditch the hat and use a headband/rolled up buff instead. This ensures my ears stay warm.

Gloves

Personally, I find it very difficult to keep my hands warm while hiking in winter. Even when the rest of me is nice and toasty, my hands are like little ice cubes. That’s why I wear two pairs of gloves. This includes some heavy-duty mittens from Marmot and a glove liner from MEC. I pack spare gloves in my backpack and a re-suable hand warmer.

Buff/Balaclava

If it’s really cold and windy outside, then you don’t want any part of your body to be exposed. Wind chill on your face can really hurt. Because of this, you might want a buff or balaclava to cover your neck and face.

Eyewear

If you’re hiking in snow, then the glare from the sun can be blinding. Consider taking a pair of sunglasses, even if it’s overcast. Conversely, if there’s a cold wind whipping around you (or a snow storm) then this can affect your eyes. If so, a pair of ski goggles provides good protection. This is reserved for extreme weather and you probably won’t encounter such elements if you’re new to winter hiking.
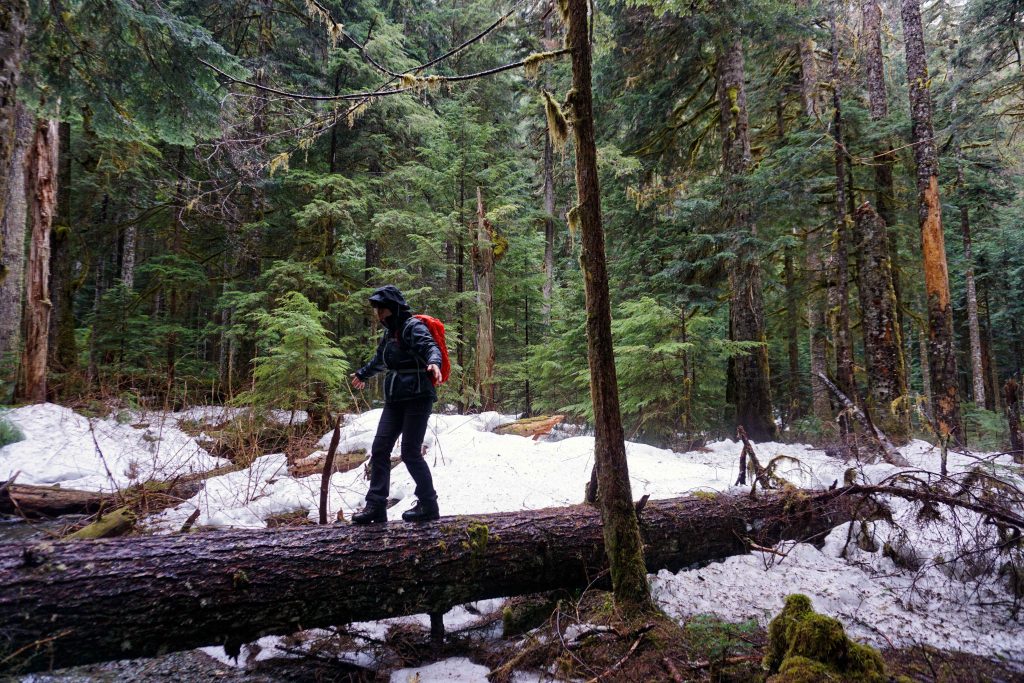
Woman in wet weather hiking gear walks along fallen log in snowy forest

On the bottom half

Now on to the bottom half of your body. There are lots of options when it comes to layering the bottom half of your body. I don’t always stick to the traditional three-layer system. Sometimes I just wear leggings, or leggings and soft shell pants, or leggings and rain pants. The right combination depends on how cold it is and whether or not you’re hiking in rain, mud or snow.

Base layer leggings/tights/pants

Usually, I wear winter running tights as my base layer. These are thicker than your average exercise leggings. Or I wear thermal leggings (often called thermal underwear or long johns) which I also use for skiing. You can get these in pretty much any activewear range. For top specification, take a look at midweight base layer leggings/tights from brands such as Woolx and Icebreaker. Don’t wear denim or cotton.

Soft shell pants

If it’s really cold, I’ll then wear a pair of soft shell pants over the top of my leggings. (If not, I just stick to my winter running tights). Soft shell pants are wind and water resistant, but not waterproof. Sometimes they are insulated and/or fleece lined. Ideally, they will have zippered vents so you can cool down without having to take anything off.

If you’re in to backcountry skiing or splitboarding, then you can re-purpose your touring pants/bibs for winter hiking. I use a pair of lightweight hiking pants because I prefer to have a more dynamic range of movement, rather than be too bulky or hot. More technical options are available from brands such as Fjallraven, Patagonia and Arc’teryx.

Hard shell pants/rain pants

Soft shell pants aren’t normally waterproof, which is why you might also want a pair of hard shell pants or rain pants. I only wear rain pants (from MEC) if the heavens open because otherwise I find them to be too sweaty. The rest of the time they live in my backpack.

Winter hiking socks

Specialist hiking socks are always preferable over ‘normal’ socks because they are designed to wick away moisture and limit blisters. Winter hiking socks are that little bit thicker for added warmth. I’ve recently been testing out some waterproof socks from Seal Skinz. Wool socks from Icebreaker, Smartwool and Darn Tough are also good options.

Hiking boots

You can get hiking boots specifically designed for winter. These have more insulation. However, any hiking boot that is waterproof, has good traction and ankle support will do. I use La Sportiva Trango TRK GTX hiking boots year-round.

Related: Kit Review – La Sportiva Trango TRK GTX hiking boots

Gaiters

Mud, snow and water can all spill over the top of your hiking boots and get your socks wet. The result will be cold, soggy feet. Gaiters stop this from happening, making them a useful hiking tool, especially in the winter.
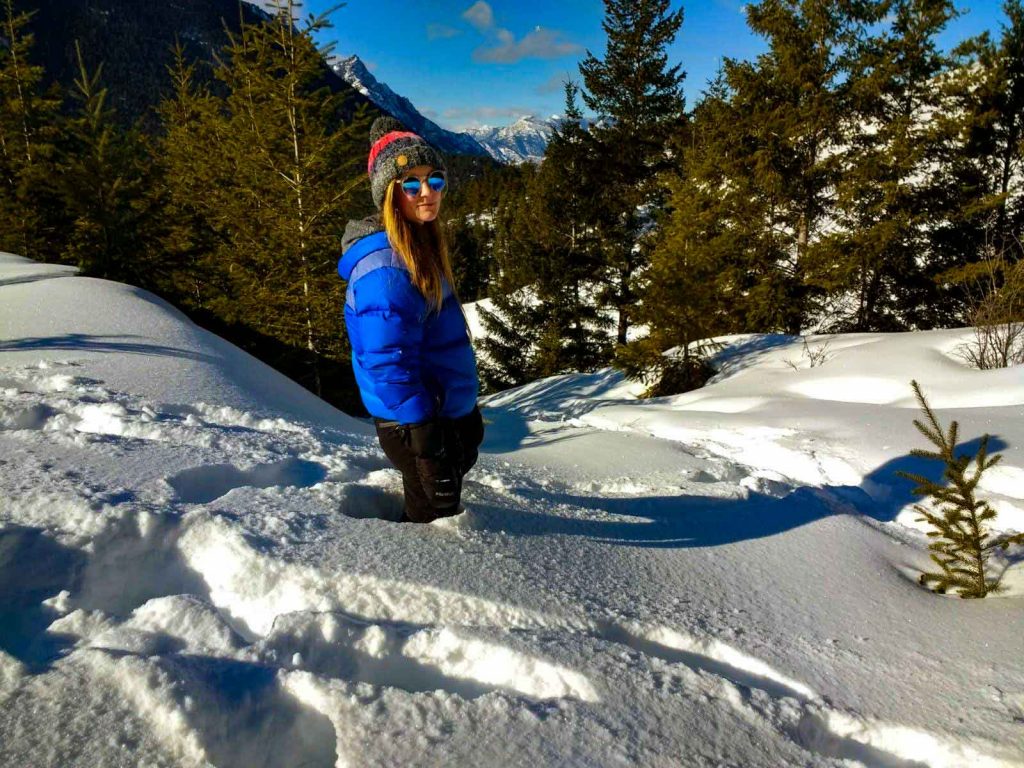
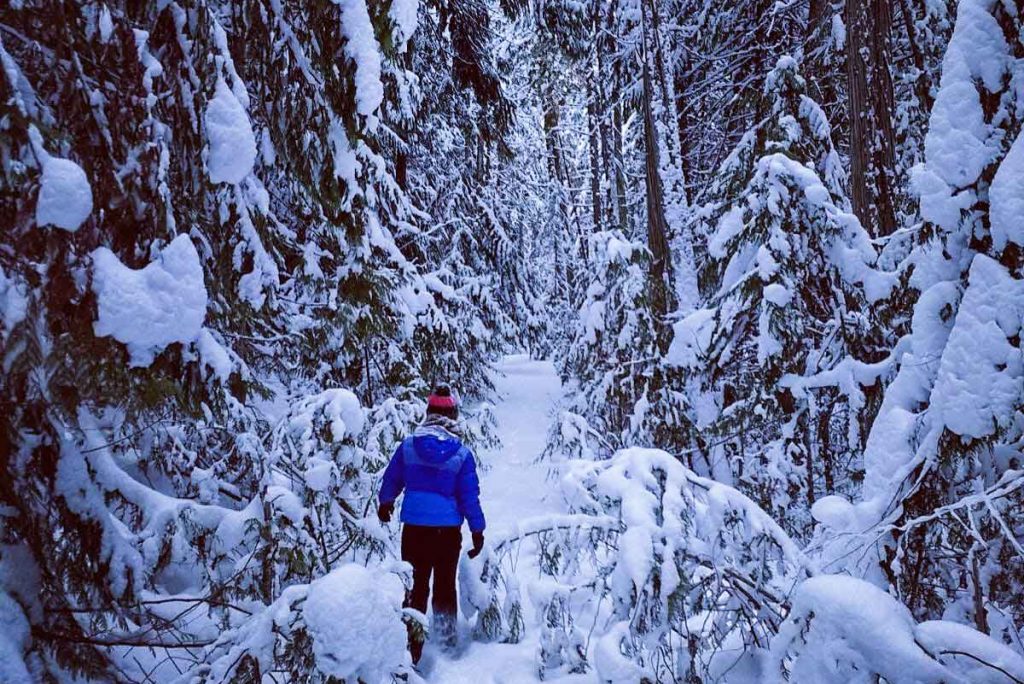
Woman in blue coat and bobble hat stands in deep snow

What else to pack

The above is what I’d expect to be wearing when I arrive at the trailhead, aside from gaiters/ski goggles which are dependent on the conditions. I will also have:

  • Extra mid-layers that I can add/remove when I get too cold/hot
  • A down jacket that I wear underneath my shell jacket when I stop for a break. I might also wear it if I’m not generating much body heat – for example, on the descent
  • Extra socks and gloves
  • The 10 Essentials for hiking safety
  • Micro-spikes and snowshoes, if hiking in ice or snow
  • A shovel, probe and transceiver, if hiking in avalanche terrain

Your backpack

Because you need so much extra stuff when hiking in winter, you’ll probably need a larger backpack than you would for summer day hikes. I use the Norrøna Lyngen 35L ski touring pack (which, as you might guess, I also use for ski touring).

Related: Kit Review – Norrøna Lyngen 35L ski touring pack.

What else do you need to know?

When it comes to dressing for winter hikes, there are a few important things to remember.

Be bold, start cold

The first is to ‘be bold, start cold’. In other words, you should be slightly cold at the start of the trailhead. Don’t worry, you’ll soon warm up.

Act quickly if you’re too hot or too cold

If you are too hot or too cold, take action straightaway. Don’t wait until you’re really freezing or you’re sweating profusely. Both things will work against you. Stop immediately and add/remove layers as needed, even if that means stopping your group.

Add layers as soon as you stop for a break

If you break for lunch, to admire the view or simply for a rest, put more layers on right away. Even if you feel hot, you will cool down incredibly quickly. Pre-empt this by putting on a down jacket or more mid-layers.

Keep moving but don’t sweat it

If you’ve stopped and you start to shiver, the best thing is to get moving again. Having said that, you don’t want to adopt such a quick pace that you start to sweat.

Cotton is rotten

I’ve mentioned this a few times, but never wear cotton while hiking. Hikers practically chant the mantra ‘cotton is rotten’. This is because if it gets wet, it stays wet (therefore making you cold). Choose wool or synthetic materials. Generally, synthetic clothing is cheaper but is worse for the environment, as it’s essentially plastic. Wool garments are naturally odour resistant.

Related: Top Tips for Winter Hiking
Did you like this post? Save it for later!

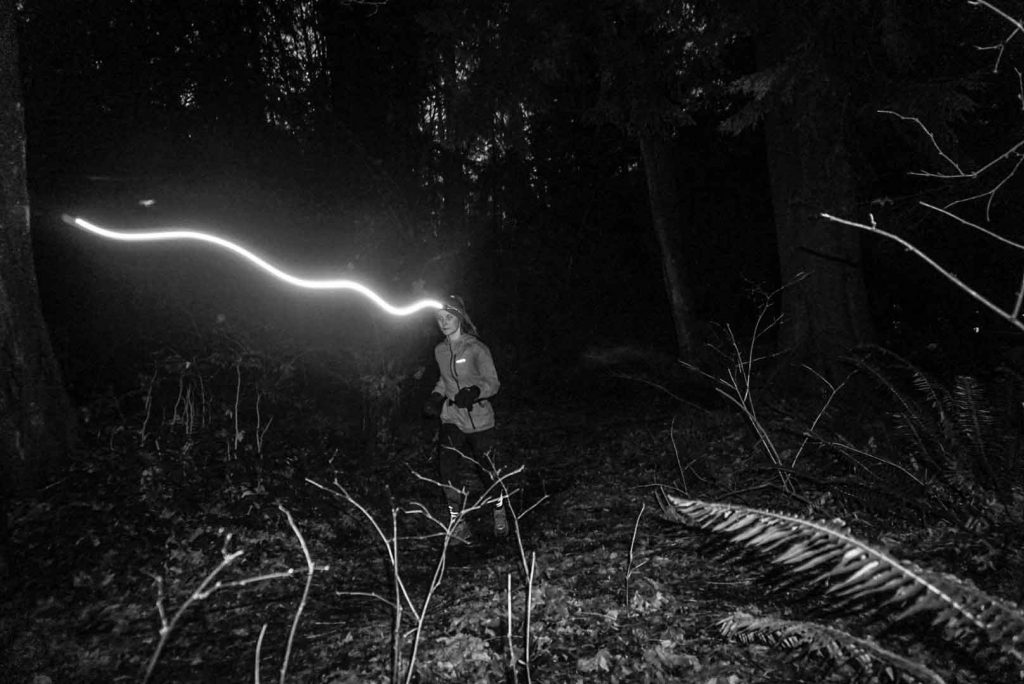
Woman trail running at night with head torch illuminated

How to Hit the Trails After Dark

When the winter months roll around, it’s all too easy to give up on your week-day activities. There are precious few daylight hours, and these are typically consumed by the working day. The oh-so very long nights seem like a bar to staying active.

But it doesn’t have to be that way. There’s no reason why you shouldn’t stick to your normal routine. You can still hit the trails in the early mornings or evenings – even if it’s dark outside. This has so many benefits, both for your mental and physical health.

So, before you hang up your boots or put your bike away, please read on. There are ways to defy winter and turn yourself in a four-season hiker, trail runner or mountain biker. Here’s how.

Invest in good lights

Good quality lights are your number one tool for getting out after dark. For hiking and trail running, you’ll want a head torch. For mountain biking, you’ll need a light for both your helmet and your handlebars. The more lumens the better! Most are rechargeable these days. Just remember to recharge them after each and every outing. You don’t want the lights to go out mid-run, ride or hike.

Be seen

If you’re on the roads, then it’s absolutely vital that other road users can see you. Wear brightly coloured clothes, light yourself up like a Christmas tree and place reflective straps around your wrists and ankles. Although you probably won’t encounter many vehicles on the trails, it’s still beneficial to be seen. Firstly, you won’t alarm other trail users. (There’s nothing more disconcerting than a panting shadow heading in your direction). Secondly, you’ll be easier to find, should anything happen.

Wear layers and warm clothing

For most people, winters are cold and wet, with non-daylight hours adding an extra chill to the equation. Invest in waterproof pants for mountain biking, or warm leggings for running and hiking. Wear layers, and take more to the trail with you, just in case you get cold. Pay extra attention to your hands and feet which often continue to suffer, even once you’ve started to work up a sweat. Consider buying some winter gloves and cold weather waterproof socks.

Related: Kit Review – Sealskinz Waterproof All Weather Mid Length Sock

Stick to trails you know

It’s amazing how different everything looks in the dark. You can miss way markers, overlook junctions and lose the trail altogether. So, stick to trails that you know well. Don’t attempt to ride something you’ve never done before, or run or hike a new route. By keeping to familiar places, you’ll know where to go and what features you’re going to encounter. This limits your chance of injury and ensures you won’t get lost.

Ditch the headphones

When your vision is reduced, you come to rely on your other senses, particularly your sense of hearing. With this in mind, it’s a good idea to ditch the headphones. That way, you are more aware of the hazards around you, be it another person trying to overtake you, a creek, a vehicle or an errant dog.

Slow down

Even with lights, your field of vision is limited. This means that you only see objects when you’re close to them. To prevent any collisions or falls, it’s wise to slow down. Don’t worry about getting a personal best for now. Just be glad that you’re out and about. And anyway, it probably won’t feel like you’ve reduced your pace thanks to a phenomenon called the ‘optic flow influence’. This makes it seem as though your surroundings are passing quickly in the dark, making it feel as though you’re moving faster than you really are.

Take a friend

Lots of people find the trails eerie in the dark. Fair enough. It can be easy to spook yourself or panic over the slightest noise. Personally, I love the forest at night-time. It’s so quiet and peaceful. But I’m certainly not immune to an over-active imagination, and my thoughts often turn to bears, cougars and creepy goings-on. The solution? Take a friend. Hell, take a few friends. Or join a local club. As the saying goes, there’s strength in numbers. This is especially true for ladies and anyone else who feels vulnerable. It’s also great motivation if you’ve arranged to meet someone, as you’re much less likely to bail at the last minute.

Leave a trip plan

Whether or not you drag a friend along with you, you should always leave a trip plan. This might sound excessive for a few after-work laps or a quick run. But you never know when something might happen. You could get lost or hurt yourself. Always tell someone where you’re going, including what trails you’re going to run, ride or hike. Once you’re out, stick to the plan, so long as it’s safe to do so.

Take a satellite communications device

Take a phone, but remember, there might not be any signal and batteries usually die quickly in the cold weather. So for an added layer of safety, consider taking a satellite communications device with you. There are lots of options out there. Some let you send a pre-set message to a friend or family member. Others alert a designated contact if you’ve fallen and remained immobile.

Remind yourself – it will be fun!

When it’s dark, cold and wet outside, it can be very tempting to stay indoors. Of course, if there’s a blizzard or storm howling outside, then this is a wise choice. But if it’s just a bog-standard winter’s day, try to find ways to motivate yourself. You might meet up with a friend or treat yourself to something special afterwards, such as a hot bath. I like to remind myself just how much better I’ll feel for getting outdoors and doing something I love.

So go on, I dare you – don’t be afraid of the dark. Get out and hit the trails this winter. You’ll be glad you did.

Winter snowshoeing

Top Tips for Winter Hiking

Hiking can absolutely be a year-round activity. However, hiking in winter is a little different to hiking in summer. It’s cold and dark. There are more hazards. And having the right gear can make the difference between a great day out and a downright miserable experience.

If you’re hoping to hit the trails this winter, here are some top tips to keep you safe and warm.

Check the trail conditions

If you’re planning a hike, then you probably have an objective in mind. Do some research to find out what the trail conditions are like.

For recent events, find the nearest mountain listed on mountain-forecast.com and cross-reference the week’s weather with your intended destination. If the hike is in the vicinity of a ski resort, check snow-forecast.com instead. The resort might also have webcams you can check. Then take a look at local hiking forums and social media. Reach out to anyone who’s recently been in the area and ask them questions – was there snow on the trail? Was it horrendously muddy? How’s the access road? Hikers are a friendly bunch and will be more than happy to share information with you.

Let the conditions guide your decision-making. If the trail is likely to present difficulties – such as snow, ice or swollen waterways – then ask yourself if you’re equipped to deal with those kinds of conditions. If not, explore alternative options instead.

Check the weather and time of sunrise/sunset

Checking the weather forecast on the day of your hike is good practice, no matter what month it is. But it’s particularly important during the winter months when small temperature drops can make the difference between hiking in the rain and hiking in a blizzard.

If the weather is less than favourable, don’t be afraid to shelve your plans for another day. Remember, heavy rains can cause rivers to swell, low visibility can make navigation impossible, high winds can cause trees to fall and unstable loading in avalanche terrain. If the weather is going to compromise your safety, don’t go.

Also pay close attention to the number of daylight hours you have available. When checking the forecast, take note of when the sun sets. You can of course hike in the dark if you want (provided you have a sufficient light source), but don’t let it catch you out. You might prefer to start early and finish early. That way, you can be home safe and sound by the time darkness falls.

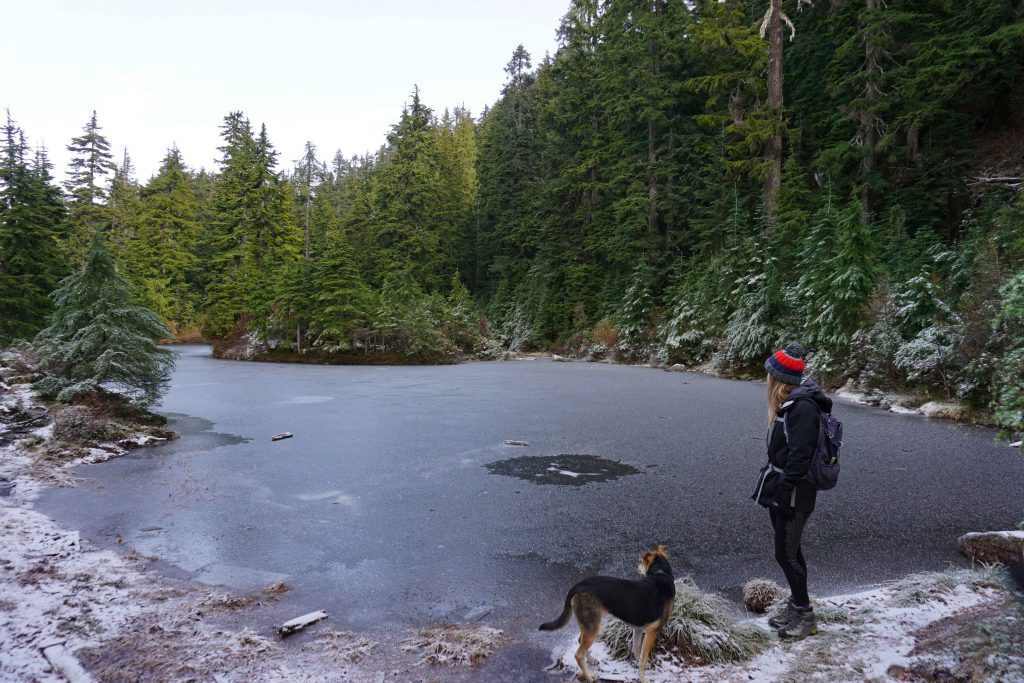
Woman and dog stand by nearly frozen lake
First snowfall of the season

Wear and carry layers – and lots of them!

Once you’re on the trails, the key is to dress in layers. Actually, this applies year-round, but all the more so in winter when you’ll quickly switch between hot and cold.

In the past, I’d arrive at the trailhead shivering and put all my layers on. Then I’d hike for about five minutes, be sweltering hot and have to take them all off again. I’ve finally learned that I’ll quickly warm up once I get moving. I’ve also learned that it’s bad to overheat while hiking in the winter. Someone once said to me: “you sweat; you die.” This is slightly alarmist, but I get the point. If you start sweating, that moisture will cool on your skin. When you stop, you’ll suddenly be extremely cold.

So, dress in layers. During the hike, remove and add layers as needed. If you’re getting hot, stop and peel some clothes off. If you’re getting cold, stop and add more. It can be tempting to ignore your body temperature and carry on hiking. However, you either risk over-heating – meaning you’ll get sweaty and then eventually become very cold. Or you risk a steady descent into mild hypothermia, from which it can be very difficult to warm up from. Don’t worry about stopping your group so you can layer/un-layer. Chances are, everyone else will want to do the same thing.

On the top, you’ll want a base layer which wicks sweat away. Don’t wear cotton – it retains moisture and will make you colder in the long-run. Then you’ll want a mid-layer, which is something a little warmer like a fleece. Then you’ll want a shell jacket for your outer layer. A waterproof jacket is ideal because it prevents wind chill and keeps you dry. When you stop (or if you get cold), whip out a down jacket and some additional mid-layers to keep you toasty. On your lower half, you’ll want moisture wicking tights/leggings and some waterproof trousers (pants) on top. You can remove the latter if you get hot or conditions are dry.

You should also take a warm hat, gloves and a buff to protect your face from wind chill. I like to take spare gloves and socks, just in case the pair I’m wearing get wet or I’m really, really cold. Take more clothes than you think you need – even if that means taking a bigger bag than you normally would on a day hike.

Top tip – when you stop for lunch or to admire the view, put your warmer layers on immediately! You might feel fine to begin with but you’ll cool down very quickly. Stave off the cold by layering up straightaway.

Related: What to Wear Hiking in Winter

Wear the right footwear

You can get away with hiking in trainers in the summer. Not so in the winter. You’ll absolutely need waterproof hiking boots. They should be high-cut, meaning they wrap around your ankle. They should also have aggressive lugs which allow for better traction in wet, slippery conditions. If it’s going to be really cold, you can invest in a pair of insulated hiking boots.

Synthetic or wool socks will help keep your feet dry. Gaiters can also be helpful if you’re going to be wading through mud, slush or snow.

Carry micro spikes and snowshoes

If the trail is snow-covered, you’ll either need micro spikes, snowshoes or both. Lots of people automatically reach for snowshoes when they’re hiking in snow. However, snowshoes are only useful for floating in deep snow. They provide a greater surface area so prevent you from sinking. But they don’t have very good grip. If the trail is full of compressed, icy snow, then micro spikes are better. If it’s steep, then you might need crampons.

It’s very easy to slip and hurt yourself in winter conditions. In fact, this is a common cause of winter hiking accidents. Even the first snowfall of the season can turn the trail into an ice rink. If you don’t want to be sliding down on your backside, be sure to carry micro spikes and/or snowshoes with you. Micro spikes can be easily stashed in your bag when you don’t need them, while snowshoes can be lashed onto the outside of your rucksack.

Keep eating and drinking

You might not feel very hungry or thirsty while hiking in winter, yet it’s vital that you keep eating and drinking.

You actually burn more calories while hiking in winter because your body is working harder to keep warm. Stay fuelled by guzzling high-energy snacks at regular intervals. Some foods become solid at low temperatures, so things like a traditional sandwich might not be too palatable. Hunks of hard cheese and dark chocolate work well. I also like to take a flask of hot soup to glug at lunchtime.

Stay hydrated by taking regular sips of water. You might not sweat as much as you do when hiking in summer, but you’re still losing moisture. The tubes on hydration bladders often freeze in cold weather. You can combat this by filling your bladder with warm water and sipping on it frequently throughout the day. You can also try an insulated tube cover, or simply switch to insulated bottles instead.

Prepare for the unexpected

I once read that when even if you’re planning on a day hike, you should be prepared for an overnight hike. This is all the more pertinent in winter when you have fewer daylight hours to get yourself out of a jam.

Always carry the 10 Essentials with you. Then, think like a catastrophist and pack extra of everything. This includes extra layers, food, lights and batteries or chargers for electronics (which often die in cold weather!) Take a bivvy bag just in case you end up camping overnight. Stick some handwarmers in your bag which will save your fingers if you get really cold. And always leave a trip plan with a friend or family member.

Get avalanche safety training

If you plan on venturing into avalanche terrain, then you need to attend an Avalanche Skills Training (AST) course. This gives you the knowledge required to identify avalanche hazards and minimise the risks. You and every member of your party will need to carry an avalanche receiver, probe and shovel – and know how to use them!

It’s a common misconception that only skiers and snowboarders get caught in avalanches. Actually, snowshoers and winter hikers are frequently killed or injured in the mountains, be it in avalanches or collapsed cornices. Obviously, it all depends on where you’re hiking. If you’re trudging across the Mendip Hills in England, you don’t need to know the meaning of surface hoar. But if you’re headed to snowy peaks, it could be crucial. If you’re not sure, book yourself onto a course anyway. You’ll learn a bunch of interesting (and potentially life-saving) information and maybe even make some new hiking buddies in the process.

If you have any other tips for winter hiking then I’d love to hear them!

Did you like this post? Save it for later!