Backcountry camping is one big learning curve. Unless you grew up in an outdoorsy family, it’s very likely that you’ll make mistakes the first time you sleep in the wilds. The next time you go, you’ll be a little bit better at it. Eventually, you’ll stride along the trails with the confidence of a seasoned hiking veteran.
Until you reach that point, please remember that making mistakes isn’t something to be ashamed of. Not everyone was raised to knowing how to poop in the woods or rustle up a fire from a few pinecones. Yet that doesn’t mean you can’t learn. People often scoff at beginners, but they forget that everyone has to start somewhere.
Mistakes can, however, be problematic when it comes to safety. The backcountry is, by its very definition, a wilderness. Getting by on a wing and a prayer isn’t recommended. For your own well-being – and that of the natural habitat around you – it’s best that you try to minimise any errors. Get advice, do research and read up on best practice. It could just save your bacon.
To help you on your way, I’ve outlined 12 common mistakes that rookie backcountry campers make – and how you can avoid them.
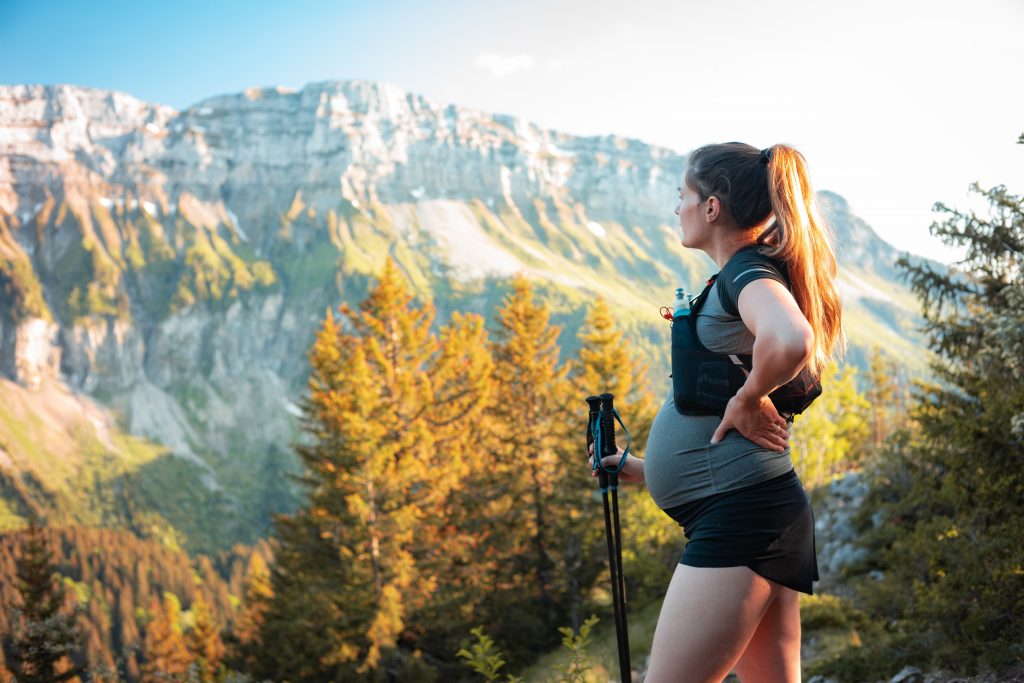
Mistake #1: wearing the wrong clothes and footwear
The garments that make up your everyday wardrobe won’t generally be suitable for hiking into the backcountry for an overnight camp. This is a mistake I made on my first wild camping expedition to Dartmoor National Park in the UK. It was February, so I wore jeans, a cotton T-shirt, a huge jumper, a bottle hat and a heavy coat that I’d normally use for horse-riding. I was sweating within seconds.
Ideally, you want to wear lightweight clothes that wick away sweat. These should be made of wool or synthetic fibres. Don’t wear cotton or denim. You should also adopt the three-layer system of a baselayer, a mid-layer and an outer layer. You won’t necessarily need to wear all three layers at once if it’s warm outside, but you should pack them in case of bad weather. Remember the mantra ‘be bold, start cold’. In other words, don’t overdress when you begin your hike. You’ll warm up very quickly. You can add layers when you stop at camp for the evening.
On your feet, you need hiking boots or trail running shoes at a minimum. Trainers with a poor tread (and other footwear, like flip flops) increase the risk of slips and trips. Be sure to get hiking boots that fit your feet properly (this in itself is a common problem for new hikers). Too big and your feet will slide around. Too small and your toenails will fall off. Either way, you’ll get blisters, which are so incredibly painful when you’re hiking with a heavy pack. Stores that specialise in outdoor gear can help you choose the right footwear. It’s also wise to take a blister kit, such as Compeed or 2nd Skin, just in case.
Do:
- Wear proper hiking boots
- Wear clothes made of wool or synthetic materials
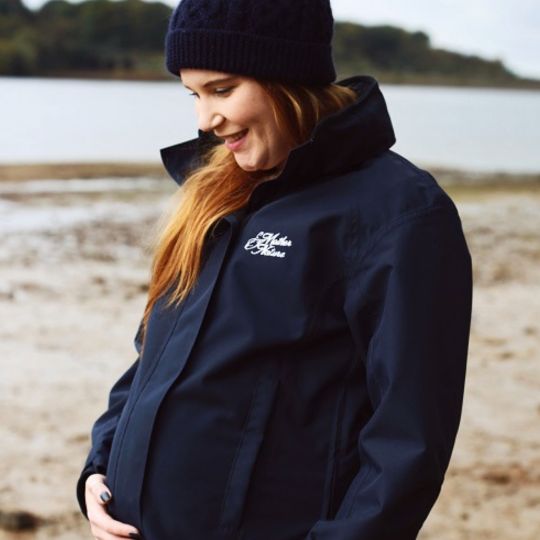
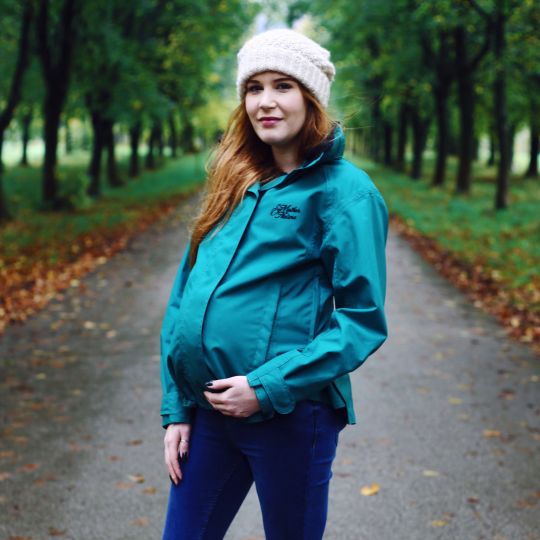
- Get a lightweight waterproof rain jacket
- Use a three-layer system
- Pack extra clothes for the evening
- Pack a blister kit
- Try to wear your hiking boots in before you go
Don’t:
- Wear cotton or denim
- Wear trainers, sandals or flip flops
- Wear so many clothes that you overheat
- Take too many clothes with you – you only really need one outfit for hiking in, plus some extra layers for sleeping in
Related: What to Wear Hiking in Winter
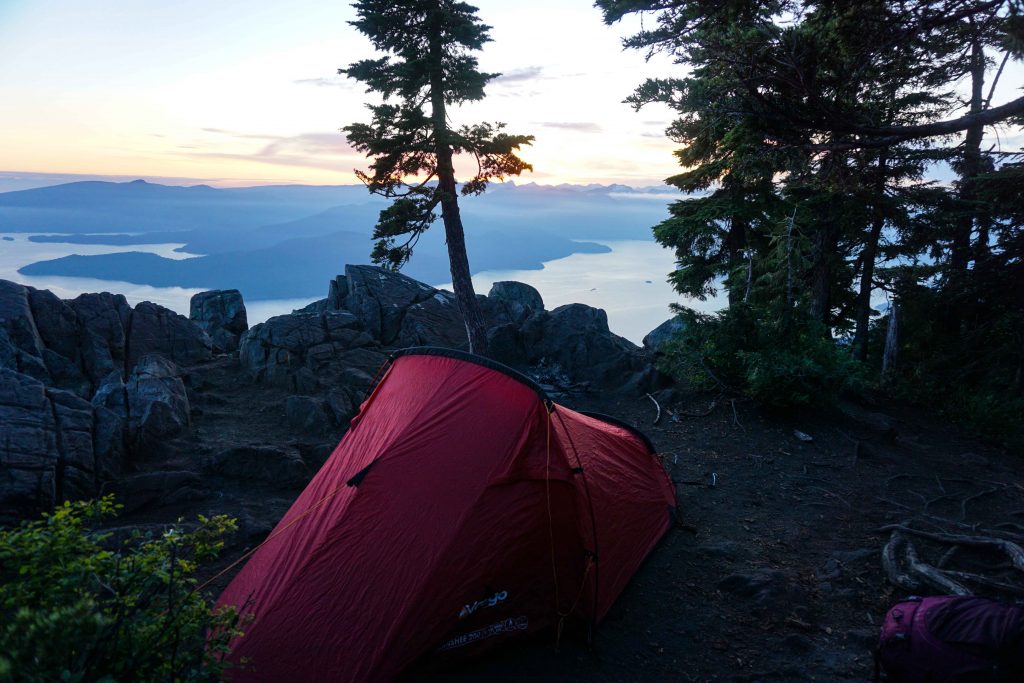
Mistake #2: not taking the right gear
People often wrongly assume that backcountry camping is much like car camping. Actually, they’re two entirely different beasts, and as such require a completely different set of gear. Your normal camping tent will likely be far too bulky to carry, as will your kitchen pots and pans. Instead, you’ll want stuff that’s lightweight and efficient. That means a lightweight tent, a lightweight sleeping mat, a lightweight sleeping bag, a lightweight stove and lightweight cooking utensils. Oh, and you’ll need a hiking backpack to put it all in, preferably one that fits your frame.
Lots of stores and online retailers sell goods that are specifically designed for backcountry camping. The amount of choice can be seriously overwhelming for the uninitiated. Staff at outdoor shops can advise you further, and kit reviews on outdoor blogs are another useful source of information. Unfortunately, all this new gear comes with a considerable price tag. However, there are ways to buy good gear on the cheap. Alternatively, you can always borrow from outdoorsy friends or rent items.
At a bare minimum, you’ll need to take a sleeping system, a cooking system and the 10 Essentials. You need to tailor some of this gear to the conditions that you’ll encounter. A sleeping bag that’s rated for +5°c won’t keep you warm in a cold alpine setting. Check what season each item is suited to and be sure that it corresponds to the conditions you’ll likely experience on your hike.
Do:
- Invest in (or borrow) lightweight backcountry camping gear
- Get a proper hiking backpack and make sure it’s fitted to your body shape
- Carry the 10 Essentials
- Take back-up items like matches and batteries for a headtorch
Don’t:
- Use gear designed only for car camping
- Use gear that is inappropriate for the season
- Bankrupt yourself getting all the best gear (unless you the funds of course!) Build it up slowly or buy second-hand
Mistake #3: not testing out gear beforehand
This is a classic rookie error, and one that I’ve made before. After purchasing a new stove, I didn’t check how to use it until I was camped on top of a snowy mountain in February. There was a seriously hairy moment when I thought I was going to burn the warming hut down.
So, please learn from my faux pas: if you do invest in new gear, then know how to use it, before you set off. Once you’re out on the trail, it may be too late to read the instruction manual or search for online tutorials. It may even be broken or faulty, in which case, you really want to know about it before you need it ‘for real’.
Even if your gear’s not new, you should still check that everything’s in good working order after each expedition. Or, that items you’ve used have been replaced, like band-aids in a first aid kit.
Do:
- Test all your gear at home before you leave
- Know how to use everything
- Put up your tent at home
- Attend to any kit that needs to be recharged, fixed or replaced
Don’t:
- Assume you’ll be able to figure it out on the trail
- Wait to use something for the first time on the trail
Mistake #4: carrying too much stuff
If you’ve read Wild by Cheryl Strayed, you’ll know that she begins hiking the Pacific Crest Trail with a ludicrously heavy backpack that she affectionately names ‘Monster’. Two weeks in, bruised and blistered by its weight, she meets a man who scrutinises the contents of her pack. He ruthlessly discards the items she doesn’t truly need – a foldable saw and a 12-pack of condoms included.
This is an important lesson that almost all backcountry hikers go through. You will inevitably take too much stuff on your first outing and your pack will be unnecessarily heavy. However, you’ll learn what works with time. The all-important backcountry camping gear will also help, as it’s lightweight by design.
In the absence of an all-knowing friend who can advise you of such things, you will have to police yourself on this matter. Remember that you must carry everything on your back. Not only that, but you’ll have to carry this pack for some distance, probably over difficult terrain that requires you to step up, over and down uneven objects (like rocks, roots, stairs and boulders). Select everything you take very carefully and only pack things you actually need.
Having said that, don’t pare back on the essential items. I’ve heard of people trying to lighten their load by not taking a sleeping bag, only to freeze during the nighttime at a high elevation camp. There’s definitely something to be said for cutting down on clutter, but don’t forgo the things that will keep you alive.
Do:
- Research what you need to take backcountry camping
- Cut back on luxury/non-essential items
- Consider lightweight alternatives, such as taking a Kindle rather than a book
- Save weight where possible – some people even saw off the end of their toothbrush to shave a couple of grams from their load
- Share the load with a hiking buddy if possible, such as divvying up the tent
Don’t:
- Leave essential items at home
- Take heavy (or really any) things you don’t need
- Forget that a heavy backpack can get very uncomfortable, very quickly
Mistake #5: not taking enough food and water
Food and water are your life source, especially when you’re exerting yourself on the trail with a heavy pack strapped to your back. You really don’t want to run out of either. Like pretty much every mistake on this list, this is something I’ve done personally. In an attempt to travel lightly, I didn’t take enough food on an overnight hike, meaning I had nothing to eat on the final day. I made it down the mountain feeling a little dizzy, went to the nearest restaurant and quickly inhaled a two-course meal.
Thankfully, I only had to make it through one day without food. Any longer and you start running into problems. So, always take more food that you think you need. I know I just waxed lyrical about cutting back on non-essential items, but I think you’ll agree that food and water are absolutely necessary. You’ll learn how much food you need as you go along. In any event, you should always take extra, just in case something goes wrong and you’re on the trail for longer than expected. However, don’t take stuff like tins which are both bulky and heavy. Instead, consider taking dehydrated meals and snacks such as nuts, chocolate and raisins.
Related: Make Your Own DIY Dehydrated Camping Meals
As for water, this is a tricky one. Water is VERY heavy. But you need to take on enough fluids, and you may need extra for cooking with. Ideally, you’ll fill up with water as you go along, filtering and purifying as needed. You must check you can do this before you set off for your hike. Research whether there are any creeks, streams, rivers or lakes along your route, and whether they’ll likely be flowing (sometimes they can dry up in warm weather). If there isn’t a reliable water source, you’ll need to take enough water to last for the duration of the hike.
If you’re new to backcountry camping, then I recommend choosing a route that has a reliable water source for your first few outings. This will make your life easier as you’ll have one less thing to worry about.
Do:
- Take more food than you think you’ll need
- Learn from each hike as to the amount of food you tend to eat
- Research water sources along your route
- Eat ‘backpacking food’ that’s high in energy but is easy to carry, like dehydrated food
- Treat or boil water before drinking
- Refill your water receptacles whenever you can
- Use water bladders instead of heavy water bottles (unless it’s very cold)
Don’t
- Scrimp on food and water
- Take food that is heavy, such as canned goods
- Drink water that is untreated
Mistake #6: not drinking or eating enough
While we’re on the subject, another common mistake is to carry enough food and water, but to fail to consume it. People often say they don’t feel thirsty or hungry while hiking. Or they’re tempted to miss meals to make up time or because they’re just too tired to bother. However, you need to keep your body fuelled and hydrated properly. Else, you’ll start to feel unwell, making things much harder than they need to be.
Related: What to Eat on a Multi-Day Hike
Do:
- Eat and drink regularly
- Drink more water if you’re not peeing frequently or have a headache
- Eat more food if you feel hungry, faint or low on energy
- Make time to do all of the above
Don’t
- Skip meals
- Forget that you can get dehydrated, even if it’s cold outside
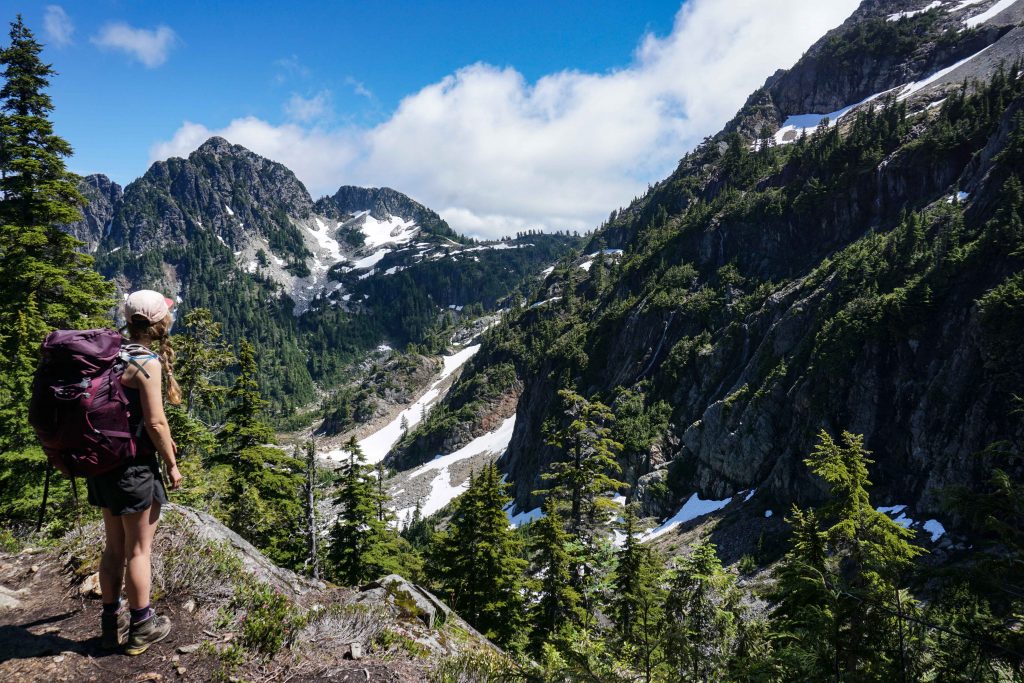
Mistake #7: choosing a route that’s too difficult
As a newbie, it makes sense to start with something easy while you learn the ropes. Hiking a 10km trail is one thing. Hiking a 10km trail with a heavily laden backpack on is quite another. It also requires a certain type of fitness. It’s a cardiovascular workout, but it also requires a lot of strength. After all, your shoulders, back and hips must bear the weight of your pack. In turn, this can take its toll on your legs, feet, glutes and core. This fitness can take a while to build, so it’s best to ease yourself into it.
The difficulty of a hike is dictated by the distance, the amount of elevation gain and the altitude. So, while you may be drawn to a 5km hike, it may be less appealing if there’s 1,000m of elevation gain (in other words, you’ll be walking uphill a lot). You might have your heart set on an epic multi-day hike, but I recommend doing some easier practice runs first, rather than jumping in at the deep end.
There are lots of ways to research hikes. Websites/apps such as All Trails and Trailforks are useful. There are also lots of location-based sites, such as Vancouver Trails. Hiking forums and blogs are additional resources you can use. Be sure to choose a route that allows backcountry camping and has favourable conditions (see mistake number 8 below!) Depending on where you live, it’s probably wise to wait until summer or early autumn to venture on your inaugural backcountry camping trip. This means longer daylight hours, easier trail conditions and (hopefully) better weather.
Do:
- Choose an easy hike for your first outing
- Take the distance, elevation gain and altitude into account
- Build yourself up to longer, more difficult hikes
- Train by going on day hikes with a heavy pack
- Select a hike that is easy to navigate
Don’t
- Be hard on yourself if you find it difficult
- Forget that it takes time to build muscle and endurance
- Camp illegally
- Give up!
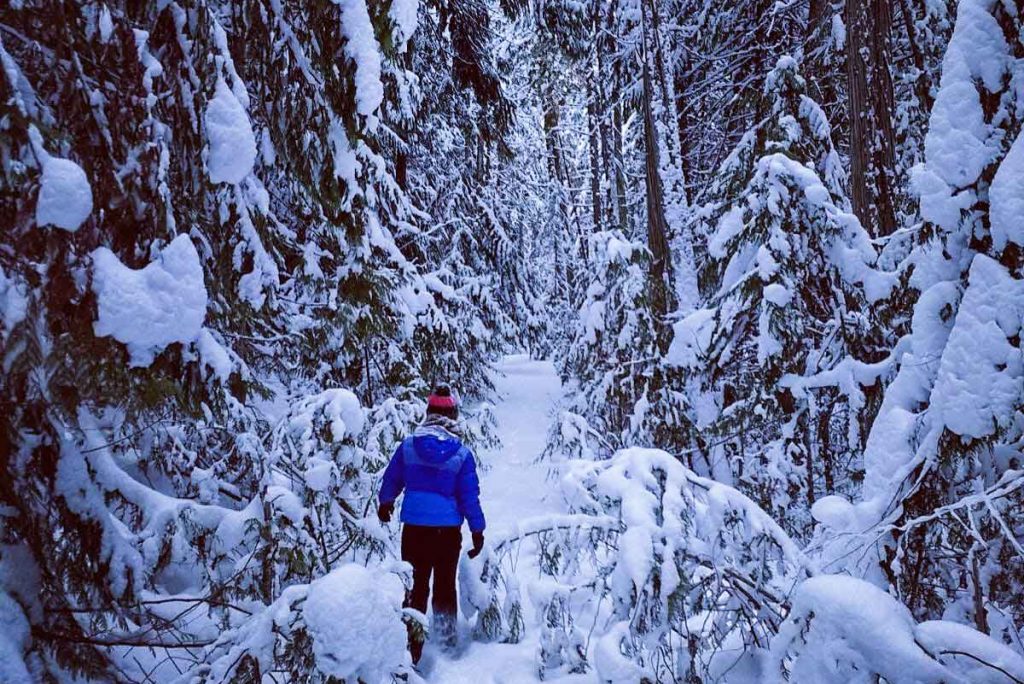
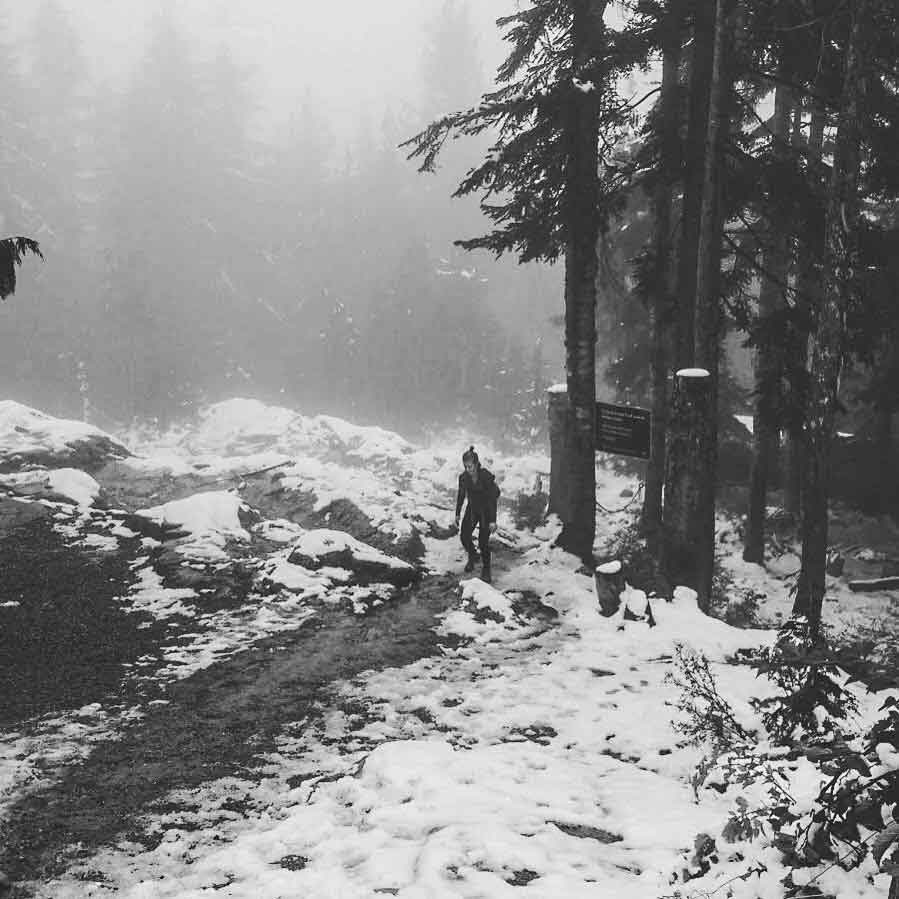
Mistake #8: not checking the trail conditions and weather
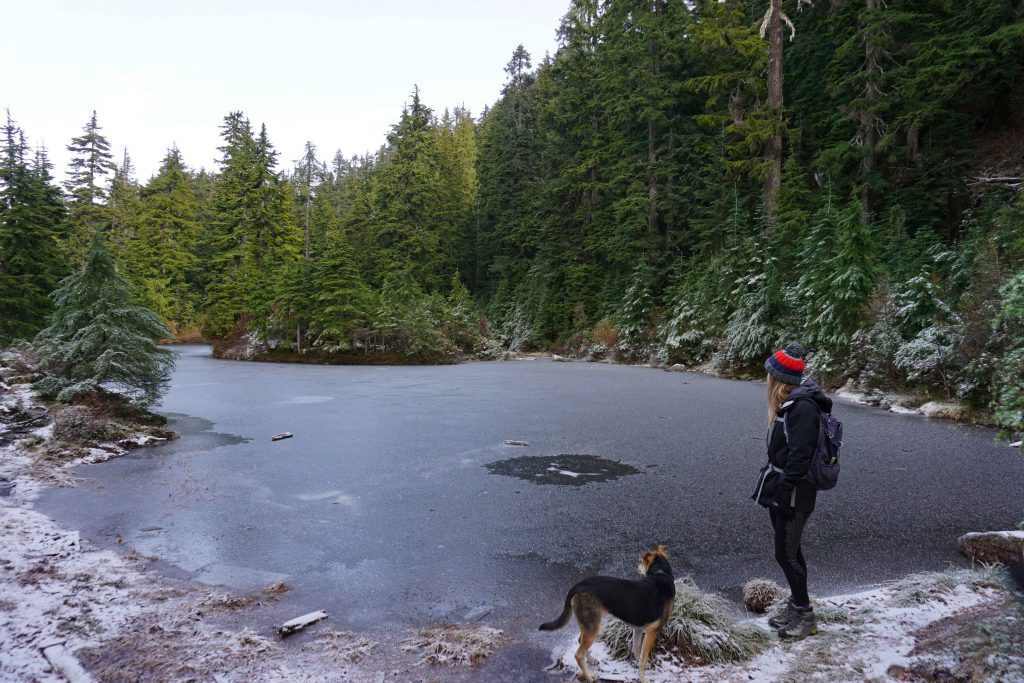
Imagine it’s a glorious spring day in May. It’s been hot for several days, the ski hill’s been shut for a month and you decide to hike to a lake in the backcountry. It’s seriously hot in the city, so you wear shorts and sling a couple of layers in your pack, along with your camping gear. You envisage swimming in the lake and basking in the sunshine. Ten minutes in, you’re trudging through snow, which is still knee-deep. It’s a white-out, snow is tumbling over the top of your boots and you’re shivering with cold. You’re slipping every other step and there’s no way you’re reaching that alpine lake – which is probably still frozen anyway. After nearly sliding to your death over a cliff, you accept you weren’t prepared for these conditions and return home defeated.
A true story. Not my story, but someone I know. It was a scary lesson which, thankfully, didn’t end in disaster.
Here’s the thing: conditions on the trail can be very different to the conditions you see when you look out your window. Having moved to Canada from the UK, this is still something that I have to remind myself of. Rain might be falling as snow, clouds might be obscuring the sunshine, rivers might have caused creeks to swell to impassable rivers, and storms might have caused trees to blow down. Then there’s the snow. Snow can persist at high elevations until very late into the summer (or even all year round). Even if the temperatures are soaring, you may still need micro-spikes up on those mountains.
Always research the trail conditions before you travel. There’s no single source that will tell you exactly what’s going on out there. Hiking forums, blogs and social media can all be useful. Check recent weather reports. And if a trail report provides a recommended hiking season, then consider this as well-informed guidance.
Also check the weather forecast for your trip. If you’re not prepared to hike/camp in rain, snow or extreme heat, there’s no shame in postponing your backcountry camping trip until another day. Mountain forecast, snow forecast, the BBC and Environment Canada are all useful resources.
Do:
- Check the trail conditions before you leave home
- Check the weather before you leave
- Adapt your clothes and gear to the expected conditions/weather
- Pack your gear in waterproof stuff sacks and put a rain cover over your bag, if it’s going to be wet
Don’t:
- Forget that the conditions can be very different to what you see out of the window
- Hike into the backcountry if you’re unprepared for the conditions/weather
- Be afraid to postpone your trip if you need
- Let your stuff get wet, especially your sleeping bag and camp clothes
Mistake #9: getting lost
Actually, everyone gets lost from time to time. The trick is to prevent this from happening as best as possible. Before you go, research your route in detail and take down as much information as you can. Sometimes, written directions are incredibly helpful. Resources such as All Trails, Trail Forks, blogs, books and hiking websites should hold the information you need.
While on the trail, keep your eyes peeled for waymarkers. These vary depending on where you are. In North America, there are little orange markers attached to trees and logs. Alternatively, orange paint may be sprayed on rocks and boulders, or flagging tape tied to bushes. In the UK (where trees are scant) there are often little stone cairns to guide you.
In certain situations, there won’t be any signposts and route-finding skills are necessary. This means getting a map and compass and knowing how to use them. Or, you can download a map to your phone using apps such as Gaia.
If you do get lost, then it’s important to know what to do. This is often the difference between an inexperienced hiker and someone who’s used to spending time in the backcountry. Stop, stay calm and look around for waymarkers. Backtrack to the last marker you saw and try to rejoin the trail. If you are truly, impossibly lost, then stop and make camp. After all, you’ve got all your overnight stuff with you. You should then call the police and request a search and rescue. It pays to have a satellite device for this purpose, such as an InReach, SPOT or Somewear Labs. Don’t assume that by going downhill, you’ll reach safety. You may end up in a gully or on a cliff-face which is actually more dangerous.
Do:
- Research your route in detail before you leave
- Note down directions and carry them with you
- Watch out for waymarkers and signposts
- Take navigational tools, including a topographic map, compass and online map (downloaded)
- Stay calm if you get lost
- Call search and rescue if you need
- Take a satellite communication device with you
Don’t:
- Assume the route will be signposted
- Choose a hike that is hard to navigate – until you’ve got some experience, at least!
- Panic if you get lost
- Waste your phone battery by calling people who can’t help you
Mistake #10: Forgetting to leave a trip plan
Leaving a trip plan is something I now do religiously, but it wasn’t always the case. The more I’ve learned about backcountry camping, the more cautious I’ve become. Leaving a trip plan basically means telling someone where you’re going and when they’re likely to hear from you. If they don’t, they can raise the alarm and a search and rescue can be initiated. Otherwise, it might not become apparent that you’re missing until days later. And when it does become clear that something’s amiss, rescuers won’t know where to look.
Do:
- Leave your itinerary with someone who isn’t going on your backcountry camping trip
- Tell them exactly where you intend to go, including where you expect to camp
- Tell them what times you expect to set off and return
- Provide them with a ‘cut off’ time, meaning the time at which they should start to get concerned
Don’t:
- Hike into the backcountry without telling anyone where you’re going
- Veer off-course intentionally, unless you have to
Mistake #11: Not following Leave No Trace principles
As a beginner backcountry camper, there’s no reason why you’d know about the Leave No Trace principles. But they are oh-so-very important. Together, they are the code of outdoor ethics. They are designed to reduce human impact on nature, ensuring it is preserved for the generations to come. There are seven Leave No Trace principles:
- Plan ahead and prepare
- Travel and camp on durable surfaces
- Dispose of waste properly
- Leave what you find
- Minimise campfire impacts
- Respect wildlife
- Be considerate of others
Some common mistakes made by backcountry campers include:
- Setting up camp on delicate eco-systems
- Not burying poo and other waste products, such as dirty dish water
- Not packing out trash, including menstrual items and wet wipes (which aren’t biodegradable, no matter what they say)
- Poor campfire practices
To be a responsible backcountry camper, be sure to read up on the Leave No Trace principles. You might also be interested in how to handle your period in the backcountry, and how to poop outdoors.
Mistake #12: Not being wildlife-savvy
If you’re not accustomed to tramping around the great outdoors, then you probably won’t be au fait with the wildlife either. That can be a bit scary, whether you’re facing down a herd of angry cows or trying to pass a rattlesnake coiled up on the path. Then there are bears, cougars, coyotes, ticks and a multitude of other creatures lurking in the shadows.
The advice for each type of animal encounter is different, so you’ll need to do some research based on your locale. Look Big by Rachel Levin provides a definite guide for everything from alligators to wolves.
Finally, always remember that wild animals are just that: wild. They mustn’t be fed human food, whether from your hand (as with birds) or from left-behind trash (as often happens with bears). It’s also important to store your food properly while you’re at camp. Again, this depends on what wildlife are around you. If it’s just rodents, then you’ll need to store it in airtight containers to prevent them from nibbling on your favourite hiking snacks. If it’s bears, then you’ll need to use a food cache (if available) or put everything in a bear canister and hang it up high.
I once left my food outside, feeling safe in the knowledge that I wasn’t in bear country. Well guess what? The raccoons got everything.
Do:
- Research how to deal with wildlife encounters, based on the area you’ll be exploring
- Store your food properly at camp
- Be bear aware, if you’re hiking in bear country
- Use common sense around wildlife
Don’t:
- Feed any type of wildlife, intentionally or unintentionally
- Leave your food out while you sleep (or in your tent, depending on where you are)
- Approach wildlife
Practise makes perfect
This is a lot of information to take on board. Hopefully it helps your first backcountry camping experience run smoothly. As with anything in life, practise makes perfect. You’ll learn something every time you go backcountry camping, whether that’s how many clothes you need or how much food you tend to eat on the trails.