Tag Archives: winter camping

Mountain Hardwear Trango™ 2 Tent

Winter Camping: How to Camp in Snowy Conditions

Camping in snowy conditions presents its own set of challenges – but it can be done with the right know-how. Here’s how to make your snowy camping trip a success.

Match your sleeping gear to the conditions

As with any other type of camping, you’ll need a tent, a sleeping bag and a sleeping mat. When it comes to winter camping, you need to make sure these items are equipped to deal with the conditions.

If you’re camping in mild weather and you won’t encounter much wind or snow, then a three-season tent will suffice. This is especially true if you’re camping below the treeline. Otherwise, you’ll want a four-season tent. These can handle high winds and snow loading thanks to their shape, strong poles and robust fabrics.

Sleeping bags are given temperature ratings. Your sleeping bag needs to fall well within the range of the temperatures you’ll likely experience. Like a tent, this probably means getting a four-season sleeping bag, or a three-season sleeping bag if it’s not too cold. You can also use a sleeping bag liner to up the warmth by a few degrees.

Inflatable sleeping pads are given an R-value. This denotes how well the pad’s insulation resists the transfer of heat. Camping on snow requires an R-value of 4.5 and up. Anything lower and you’ll find the cold seeps up from the ground beneath you. Placing a closed-cell foam mat under your sleeping pad, or using two sleeping pads, adds greater insulation.

Select a good site for your tent

When you reach your desired destination, take some time to find a suitable site to pitch your tent. You want somewhere that’s:

  • Flat
  • Not too exposed to the wind
  • Not underneath dead or decaying trees/branches
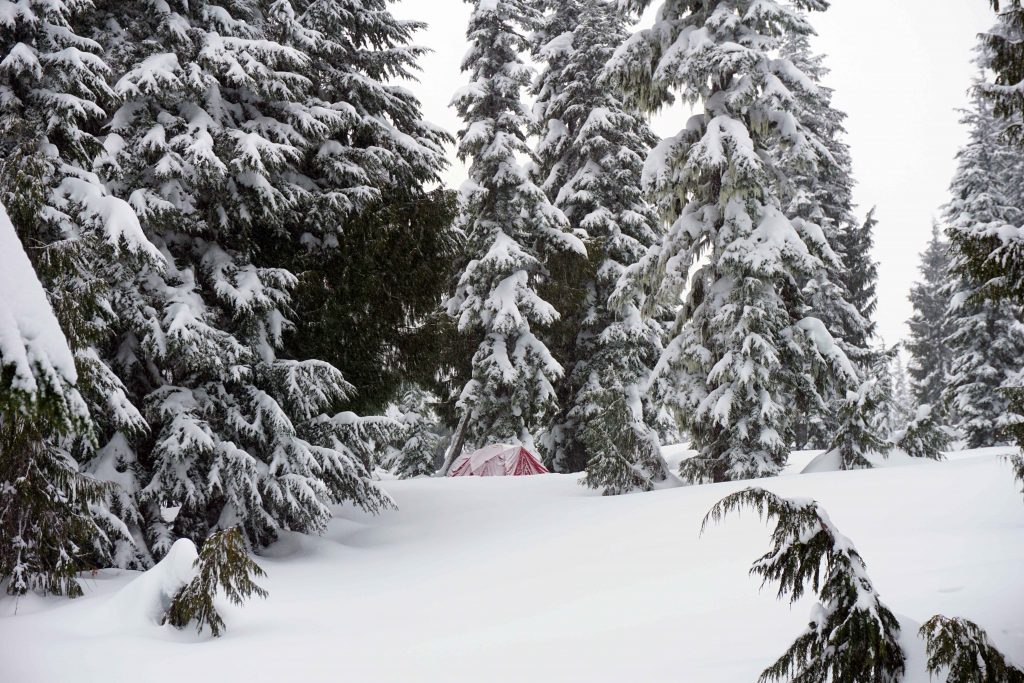
  • Not underneath tree branches that are heavily loaded with snow – tree bombs are a risk!
  • Not in an avalanche path

Pack down the snow

Pack down the snow your tent is going to sit on. The best way to do this is to stomp on it while wearing your skis, snowshoes or boots. Compact snow is more comfortable to sleep on. It also insulates heat better than loose snow.

Spread your weight evenly while you’re inside the tent. If you kneel on the floorspace of your tent – or lean on an elbow – then you’ll create a divot in the snow beneath you.
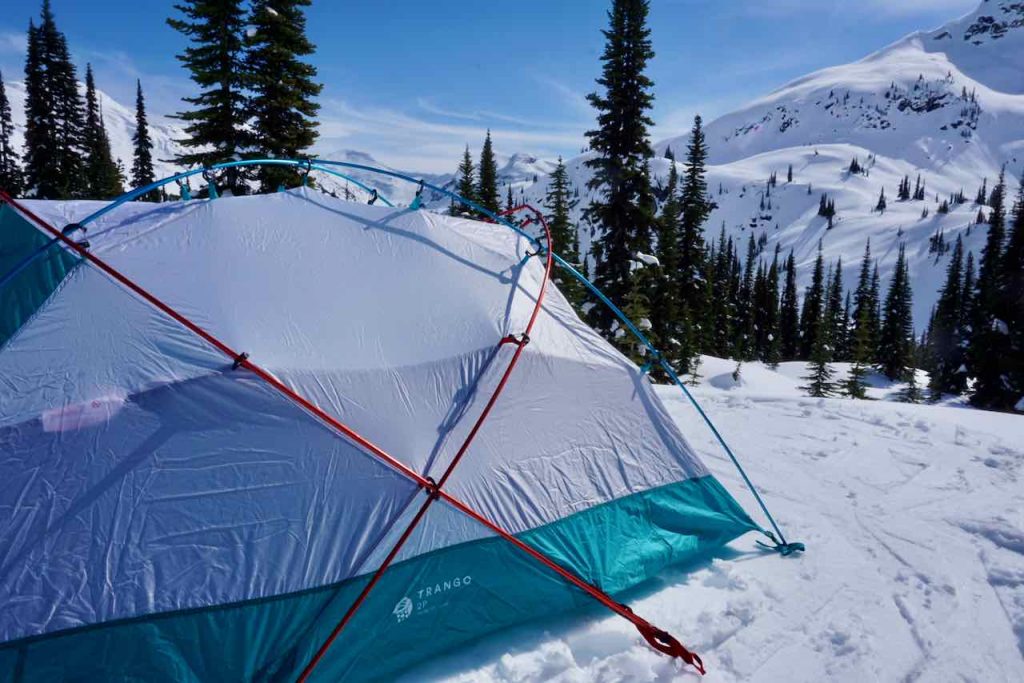
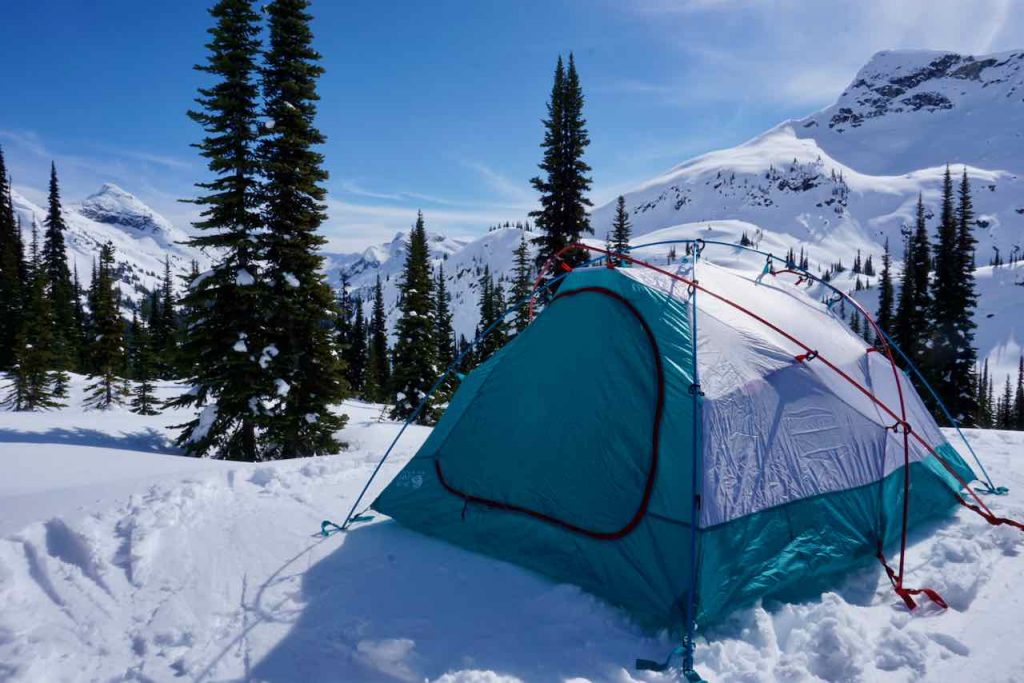
Mountain Hardwear Trango™ 2 Tent
Stamp on the snow to create a hard snow pack under/around your tent

Pitch the lowest part of your tent towards the wind

If you’re in an exposed location, pitch your tent so the opening is downwind. Otherwise, when you open the zip, the wind could rush in and create a balloon. Ideally, you want the lowest and narrowest part of your tent towards the wind.

Use snow stakes

Ordinary tent stakes don’t work in snow, which is why you need to use special snow stakes. If you don’t have any, you can always bury the stake in the snow. Or you can use something to weigh down the guy lines, such as a nearby rock, log, or stuff sacks filled with snow.

Build a snow wall

For extra wind protection, build a snow wall around your tent, or at least in the direction of the prevailing winds. You’ll want a shovel to do this as it needs to be about the height of your tent. The idea is that the wind gets trapped behind the wall, rather than blasting directly into your tent.

Digging two to three feet of snow out of your tent’s vestibule space is another trick, as the cold air settles at the bottom. This has an added benefit because you can dangle your legs into the space, allowing you to sit up comfortably in the tent. If you do this, you can use the discarded snow to build a wall!

You can also pile snow on top of the snow skirt, if your tent has one. However, this can reduce ventilation inside the tent.

Create a camp kitchen

The great thing about snow is that you can use it to build tables, benches and cooking stations. Get your shovel ready to create the camp kitchen of your dreams. It’s easier to dig away the snow, leaving a perfectly formed table or bench in situ. Just remember to sit on something waterproof – and preferably insulated – to prevent your bum from getting cold and wet. A foam mat is a good example.

Consider taking camping chairs if the snow isn’t deep enough to create a camp kitchen, or you aren’t worried about travelling lightly.
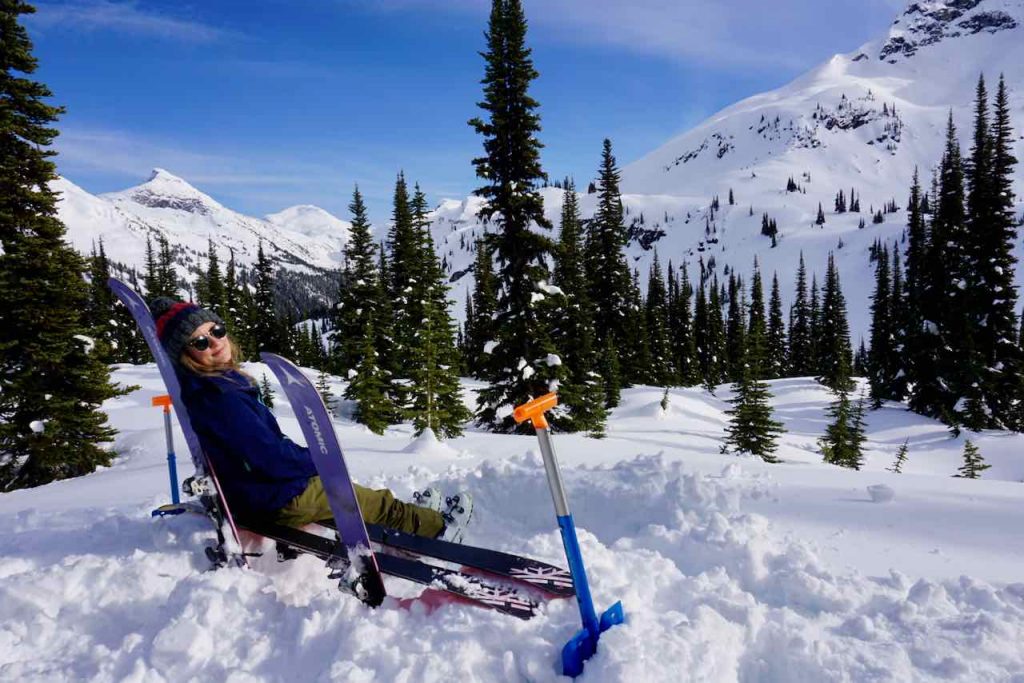
Woman sits on bench made out of skis surrounded by snowy mountains
A bench made of skis and snow

Use a liquid fuel stove

Butane and isobutane canisters don’t work well in cold temperatures. Instead, use a liquid fuel stove. These run on white fuel and perform much better in freezing conditions.

Melt snow for your water

Unless you take enough water for your entire trip, you’ll have to melt snow for your drinking water. Melting a big chunk of snow takes a surprisingly long time and produces a surprisingly small amount of water. Prepare for this in terms of the amount of fuel you take, and the amount of time you allocate to the task.

Get everyone in your group to pee in the same place so you don’t inadvertently collect yellow snow for drinking water.

Also remember that water can freeze in frigid conditions. Store your water inside your tent, and turn any water bottles upside (with the lid securely fasted, of course!) This is because water freezes from the top down.

Sleep with your gear in the tent, or in your sleeping bag

Bring all your gear inside the tent, aside from anything with sharp edges, such as skis, snowshoes and crampons. You really don’t want to tear the tent while camping in snow. Spread everything else out on the floor space around you. This provides more insulation from the cold ground beneath you.

Also sleep with your clothes, electronics and ski boot liners (if relevant) inside your sleeping bag. Again, this provides more insultation. It also ensures they’re nice and toasty in the morning. As for electronics, the cold zaps their power, so keeping them warm preserves the battery.

Wear layers

Wear lots of layers. Steer clear of cotton because it has poor moisture-wicking abilities, meaning it will make you very cold if it gets wet. Instead opt for clothes made out of synthetic materials, down and merino wool. Use midweight base layers, topped with warm mid layers, and a puffy down jacket. A waterproof jacket can be worn over the top to protect you again wind and snow. You’ll want a similar layering system on the bottom, with fleece long johns and waterproof pants. Finish the look with a warm hat and sunglasses/goggles.

Pay close attention to your hands and feet – they are much more likely to suffer. Keep your feet dry by using waterproof hiking boots and gaiters (if hiking/snowshoeing). Take a few pairs of socks and gloves so you can swap them out if they get damp. Hand and toe warmers can also be life savers.

Stay warm

Along with wearing layers, there are some other things you can do to keep yourself warm.

Keep active but don’t sweat. Sweat is designed to cool you down, which you don’t want in a snowy environment. Pitching your tent and creating a camp kitchen will keep the blood pumping. If you start to get chilly, do some star jumps or jog on the spot.

Remove any wet or damp clothes as soon as you arrive at your camp. Also, put your warm layers on immediately, even if you don’t feel particularly cold. You’ll soon cool down, and it’s better to trap the warm air inside your clothes while you can.

As mentioned above, the right sleep systems can go a long way in keeping you warm while winter camping. Get into your sleeping bag while you have an elevated body temperature. Sleeping bags work by trapping the warm air radiating from your body, so try doing some gentle exercises before bedding down for the night.

Pop a hot water bottle or hand warmers into your sleeping bag. Nalgene bottles work especially well as hot water bottles, and can also be used as drinking receptacles during the daytime. Slip a sock over the bottle if it’s too hot to handle. Be sure to do the lid up tightly – any leakages could scald you, and will also leave your sleeping bag sopping wet.

Eat regularly and stay hydrated. Hunger and dehydration make it hard to maintain your body temperature. Hot meals that are quick to prepare and easy to wash up are ideal.

Finally, pee when you need to (see below to find out why!)

Pee when you need to

When you need to pee, your body uses energy keeping the urine in your bladder warm – energy which could have been used keeping the rest of your body warm. So, pee when you need to. Don’t hold it in, as it’ll actually make you colder. Pee before you get into your sleeping bag. If you don’t want to get up in the night and shuffle outside into the cold, try peeing into a bottle. Ladies, there are contraptions available to help you achieve this, such as the Shewee.

Pack it out

In the absence of a toilet, you’ll be forced to do your business outside. There’s no point in burying your poop and toilet paper because it’ll just be exposed when the snow melts. That’s why Leave No Trace principles stipulate that you have to pack it out with you in snowy conditions.

Bring entertainment

If you’re camping in snow, then it’s probably winter. And in winter, the days are short and the nights are long. Getting into bed when it’s dark can mean a very early night indeed. If you’re not keen on sleeping at 4pm, remember to bring some entertainment. This could be a pack of cards, a book, a kindle, some podcasts or a journal.
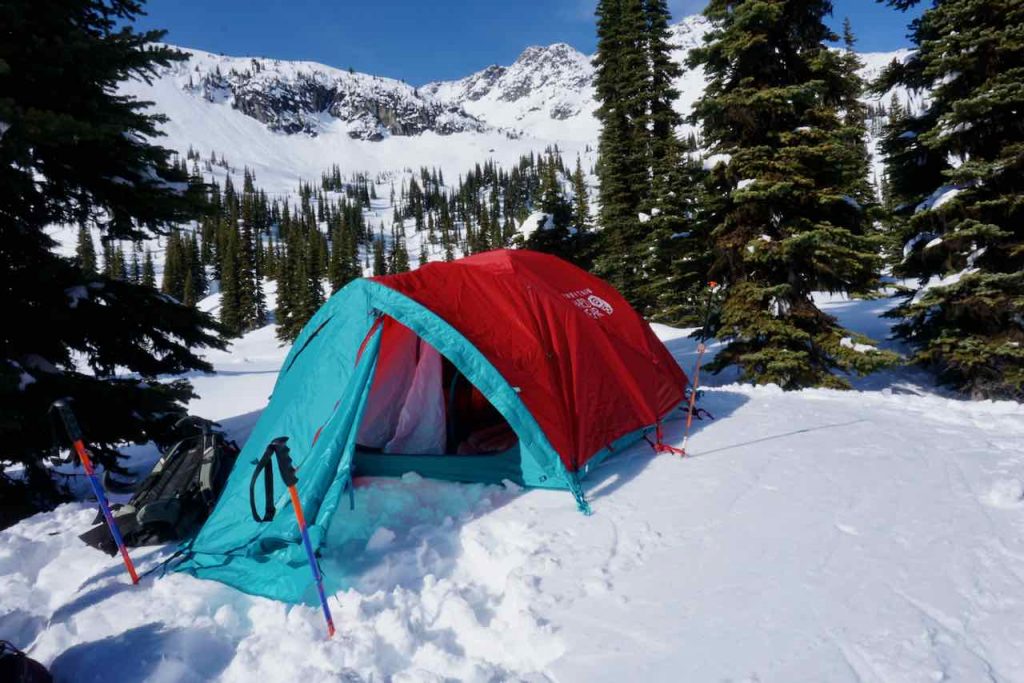
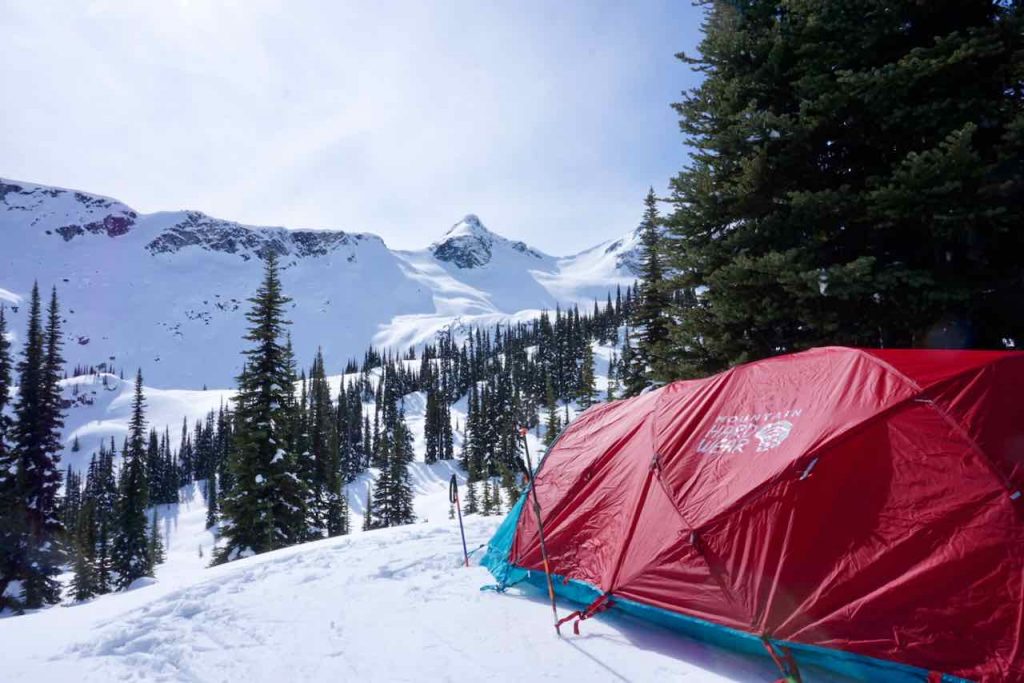
Mountain Hardwear Trango™ 2 Tent

Kit Review – Mountain Hardwear Trango™ 2 Tent

The Trango™ 2 from Mountain Hardwear is a durable four-season tent that delivers a slice of basecamp luxury.

Product description

Mountain Hardwear says: “First introduced in 1995, Trango™ tents have become standard issue for mountaineering expeditions year-round. This Trango™ 2 features D-shaped front and rear doors that conveniently tuck away; welded loops for securing the fly; and a bathtub-style floor for better weather protection.”

The review

Make no mistake: the Trango™ 2 is heavy, at 439g. It’s also pretty chunky, with the packed size coming in at 20cm x 61cm. But that’s because it’s designed as a basecamp – not a lightweight expedition tent. It offers a comfortable, generous-sized shelter to retreat to at the end of the day. The fact that it’s a double wall tent does mitigate the weight problem, as you don’t have to carry it all by yourself: it can be divvied up between two or more people. Realistically for me, sharing the load is the only viable option, as it’s too heavy for a solo backpacking trip.

As you would expect from a four-season tent, the Trango™ 2 can stand up to the elements. I’ve exposed it to snow-loading and high winds in the sub-alpine. It excelled on every occasion. This is thanks to various design features, including the double wall, bathtub floor and direct connection points between the tent body, frame and fly. I was concerned it might be too hot for summer camping, but actually, there’s sufficient ventilation for year-round use. There’s a small ceiling vent and a D-door at each end. These can be partially opened to promote air-flow, with the separate mesh doors keeping the bugs at bay.

Mountain Hardwear Trango™ 2 Tent
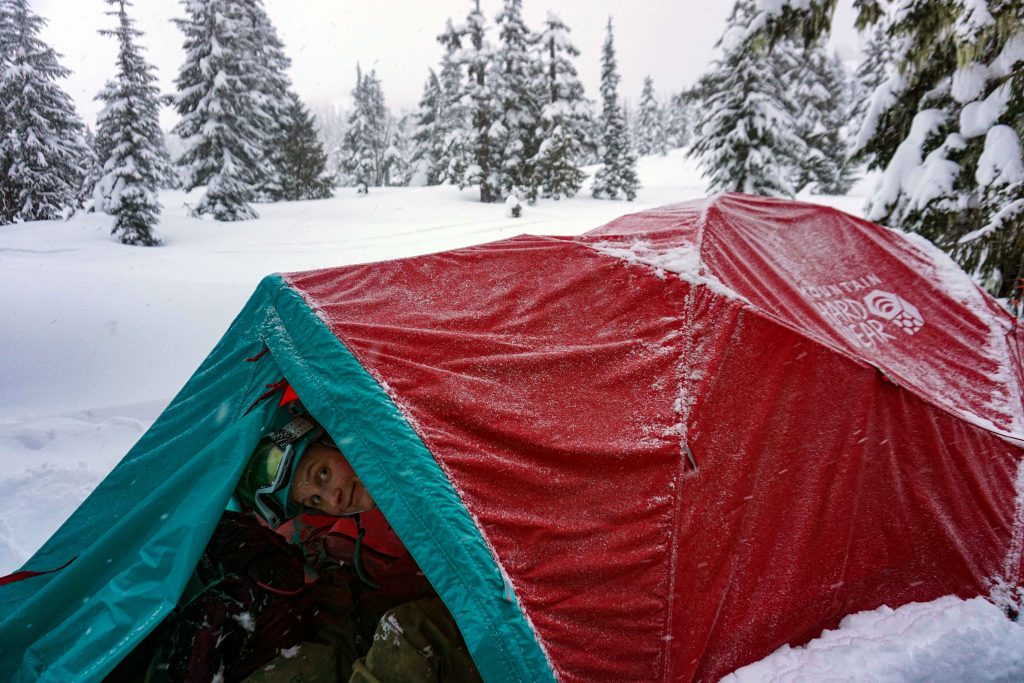
The Mountain Hardwear Trango™ 2 Tent is designed for snow-loading and high winds
Mountain Hardwear Trango™ 2 Tent
Colour coded tent poles are helpful!

My favourite things about the Trango™ 2 is just how roomy it is. With a footprint of 40 square feet, it comfortably fits two people and all your gear. In fact, it could probably accommodate three smaller-sized humans (although I admit I’ve not tried). The front vestibule is an ample size, while the smaller back vestibule adds that extra bit of storage space. Inside, it feels like Mountain Hardwear has made a concerted effort to include as many internal mesh pockets as possible. As someone who loves to organise their gear, this is much appreciated. I especially like the ceiling compartments, which are perfect for water bottles, headtorches and books.

The generous footprint makes for a comfortable camp. The front and rear doors, and the double door on the front vestibule, make life that little bit easier. You don’t have to clamber over your companion to reach your bag or go for a wee in the night. Personally, I find the inside of the tent quite dark, even with the window in the fly. Sometimes this is a bit disorientating, as I have absolutely no idea whether it’s night or day. It’s also possible to have the fly on the ‘wrong’ way round – for example, if you spin it round due to a change in wind direction. If so, the window doesn’t align with the canopy vent.

As for making and breaking camp, the Trango™ 2 is fairly user-friendly. At first glance the instructions seem a bit overwhelming. However, I found the design to be quite intuitive – and the five poles are colour-coded, which helps! It has taken me a while to get to grips with the various line tensioners and guy-lines. But as Mountain Hardwear’s promo video states, the Trango™ 2 has all the bells and whistles – all of which can take a bit of getting used to.

The other downside? The price. This tent is a big investment at over CAD$1,000.

The verdict

The Trango™ 2 is heavy and bulky, but that’s because it’s designed as a basecamp. The trade-off is a spacious, comfortable tent that can easily house two adults and a significant amount of gear. It performs well in all weather conditions, including high winds and snow.

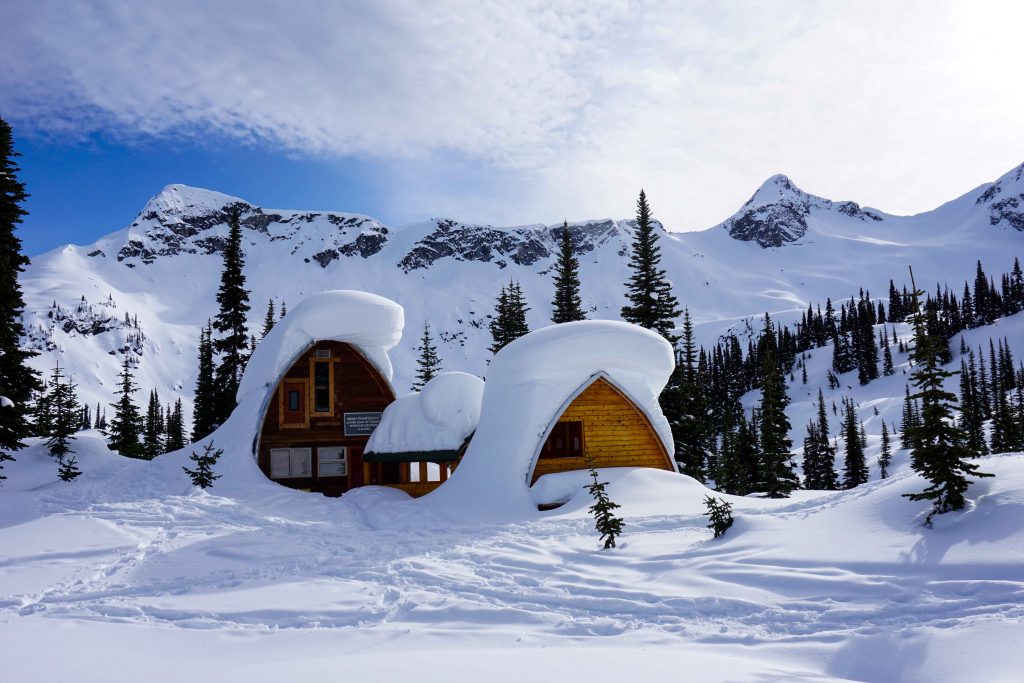
Wendy Thompson Hut near Pemberton

Winter Camping at the Wendy Thompson Hut

The Wendy Thompson Hut is located in the Marriott Basin north of Pemberton, British Columbia. You’ll need a reservation to stay in the hut, or you can camp nearby – and tick off all those backcountry objectives while you’re at it.

Winter camping in the Marriott Basin

There’s an area in British Columbia known to the locals simply as ‘the Duffey’. The Marriott Basin is located within this region and it has an extra special draw – a picture perfect backcountry hut, built in memory of local paramedic Wendy Thompson.

The hut is operated by the Alpine Club of Canada (ACC). When it’s open, you need a reservation to bag one of the 16 sleeping spots. It tends to get booked up very quickly, so if you miss out, you could pitch a tent nearby instead. Either way, you’ll be treated to spectacular scenery and huge amounts of terrain. Ski tourers and split boarders will find lines a-plenty, with everything from mellow glades to larger objectives, such as Mount Marriott and Pk 2300.

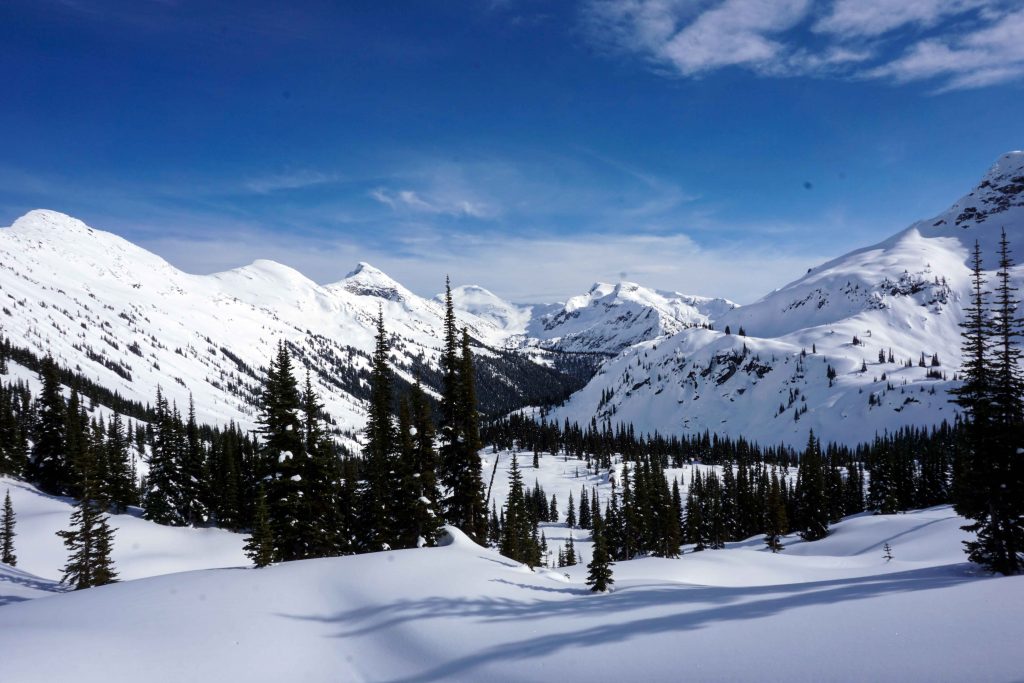
Snow covered backcountry terrain
There’s plenty of terrain to explore

What you need to know before you go

If you’re planning a winter camping trip to the Marriott Basin, then here’s what you need to know before you go.

Driving and parking

The parking lot is located on Highway 99 north of Pemberton. If you’re heading north, drive past the Joffre Lake trailhead and continue over a bridge signposted Cayoosh Creek. Shortly after you will see a salt shed on your right-hand side. There is a parking lot opposite (on the left-hand side), and another small lot further along the road (on the right-hand side). The spaces are limited, so if you’re visiting on a weekend, be sure to arrive early to avoid disappointment.

Note: if you’ve visited this area in summer, you may have driven along the access road and parked there. However, this isn’t possible in winter. You will need to park in the ploughed area just off the highway.

The route

Most people ski tour to the hut, but if you want to hike then you will need snowshoes and spikes.

In winter, you have to hike/skin along the full length of the access road before you actually reach the trailhead. If you’ve driven from Pemberton, then the access road is just before the larger parking lot on the left-hand side. It can be seen on both Trailforks and Google Maps.

The road is fairly flat with a few lumps and bumps in. At about the halfway point there’s a fork and you need to stay on the lower left-hand spur. After about 2kms, you’ll reach the actual trailhead. You’ll know you’ve arrived because there’s an avalanche terrain warning sign.

From here, you enter the forest and begin to gain elevation quickly. The winter route is not marked and navigation is not easy. It can be tempting to follow other people’s skin tracks, but these won’t necessarily go towards the Wendy Thompson Hut. Instead, take a compass and a map of the area, such as John Baldwin’s “Duffey Lake” map which has the hut marked on it.

You will see orange markers, but these indicate the summer hiking route along the Marriott Basin Hiking Trail. This is not always practical to follow in winter. However, if you keep the markers in sight then you can feel confident that you’re on the right course. There is no phone service in the area, but it can be useful to download the Trailforks app in advance and set it to ‘hike’ mode. You can then check your location against the trail.

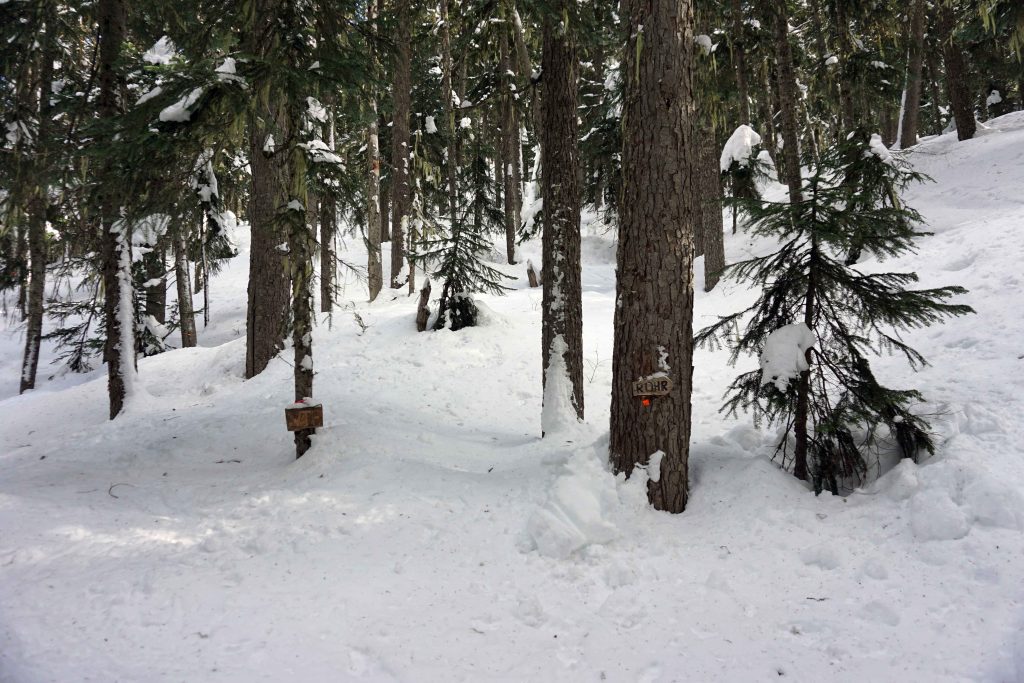
Marriott Basin Trail
The fork in the trail – stay left to the ‘WTH’

Continue through the forest until you reach a junction with two wooden signposts nailed to two trees. One says ‘Rohr’ and the other says ‘WTH’. Go left towards the Wendy Thompson Hut. After gaining more elevation you’ll eventually come to a flat, snow-covered meadow. The orange markers disappear at this point so you’ll need to rely on your navigation skills.

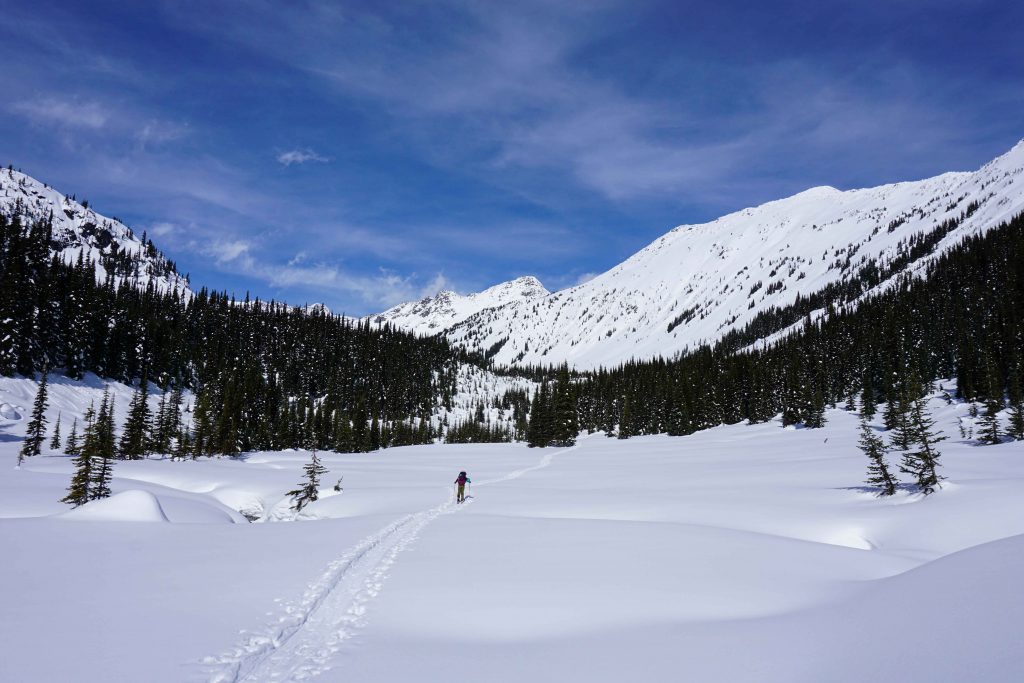
Go straight across the meadow in a northwesterly direction. You are now on a fast, flat section that runs alongside a creek. The area has far fewer trees, meaning you can enjoy the incredible views of the surrounding mountains for the first time. Take care because you are passing underneath an avalanche path, as evidenced by the scarred slopes above you.

Marriott Basin Trail
The snow-covered meadow

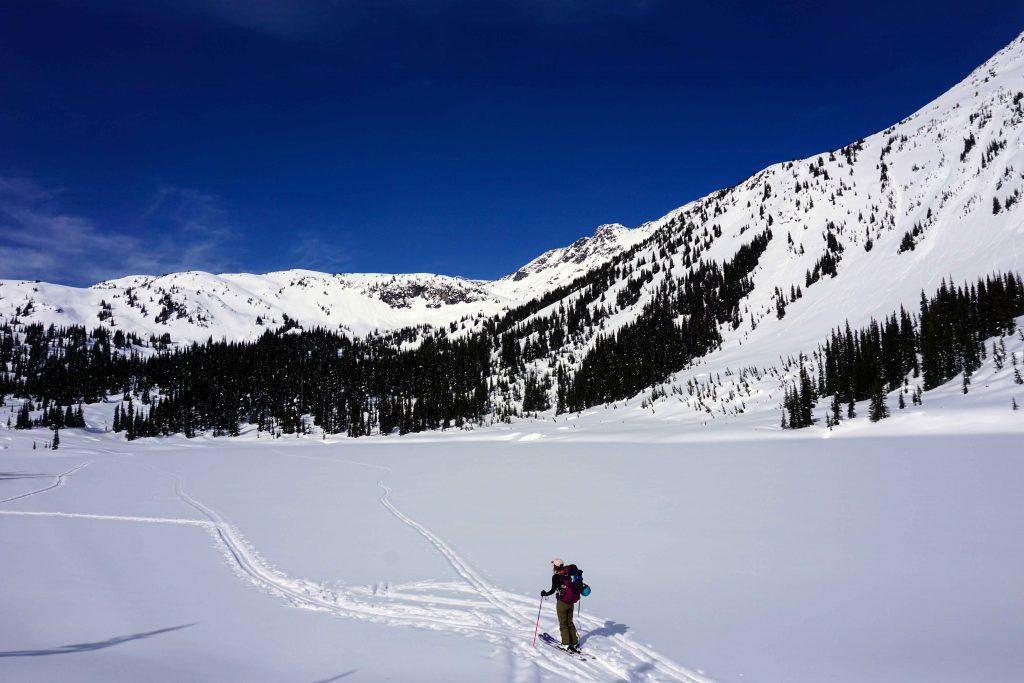
Next, you’ll go up and over some snow-covered boulders, after which you’ll come to Marriott Lake. This is frozen in winter; if not, you’ll need to traverse around it. Head to the other end of the lake. From here, the trail snakes around to the right and back into the trees. The final push is a short, sharp uphill section. Continue to climb to 1,860m and the Wendy Thompson Hut appears before you.

Marriott Basin Trail
Marriott Lake is frozen in the winter

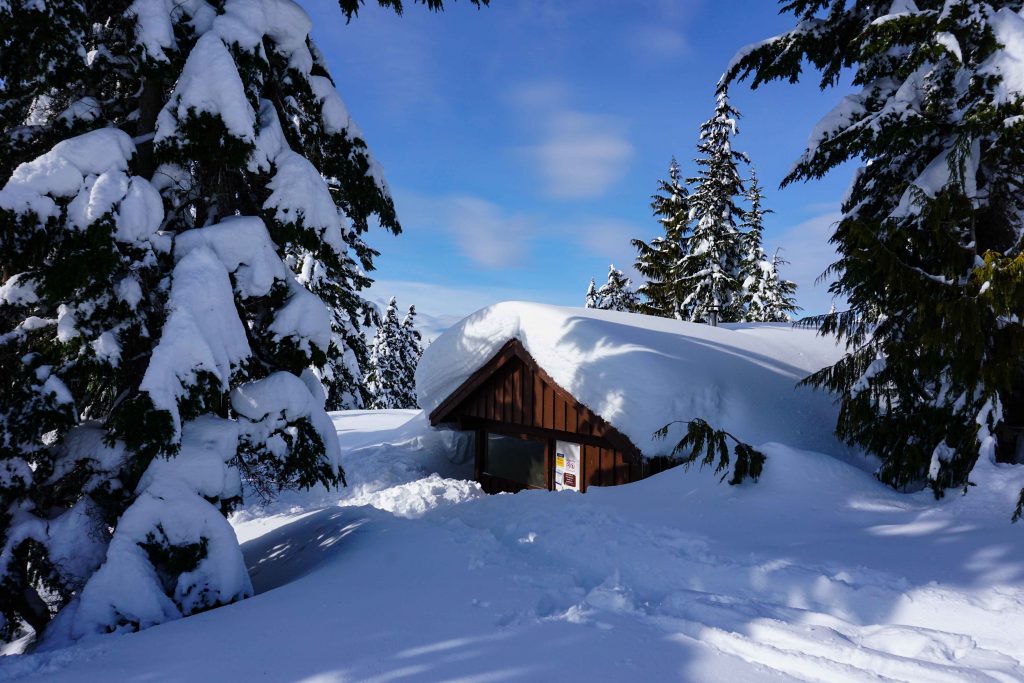
The Wendy Thompson Hut

The Wendy Thompson Hut is operated by the Alpine Club of Canada (ACC). It sleeps 16 people (plus four custodians) and is stocked with sleeping mattresses, a large kitchen with four sinks and three food prep stations, solar lighting on both levels, USB chargers and a common area. There’s also an outhouse.

Winter camping near the hut

If you don’t bag a spot in the hut, or the hut’s closed, then you can camp nearby. The ACC prefers that you camp in the meadows or further from the hut to reduce the environmental impact.

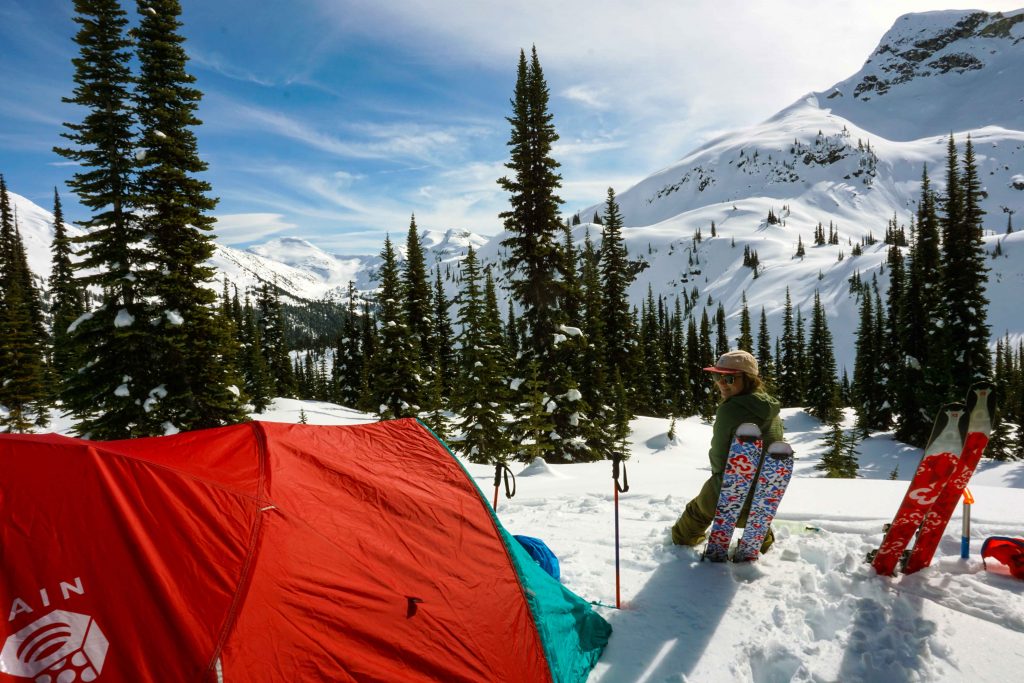
Backcountry camping near the Wendy Thompson Hut

Reservations and fees

If you want to stay at the Wendy Thompson Hut then you must make a reservation. The hut is incredibly popular, particularly during winter weekends, so you’ll need to book well in advance of your trip. You can do this via the ACC’s website.

If you camp, the ACC requests that you pay a fee because you are still using the amenities, such as the outhouse.

There are discounted rates for ACC members and children.

Avalanche safety

This route is located in avalanche terrain, so you need to have the necessary training (AST 1 minimum) and the correct avalanche safety tools, including a transceiver, beacon and probe.

Other useful information

  • There is no phone service – take a satellite communication device with you.
  • The first half of the trail is steep and heavily treed.
  • Navigation is difficult – be prepared for this.
  • The ACC suggests it takes around two to three hours to reach the hut. However, this may be a bit optimistic for those who do not know the way and/or have a heavy pack on. Leave yourself plenty of time, you might just need it.
  • The total distance is around 12km with over 500m elevation gain.

Related: Winter Camping at Red Heather Campground

Winter camping at red heather campground in Garibaldi Provincial Park

Winter Camping at Red Heather Campground

Red Heather campground near Squamish provides a winter wonderland for backcountry campers. The proximity of Red Heather Hut offers added peace of mind, as you can seek refuge if the weather takes a turn for the worse.

Camping at Red Heather campground

If you’re familiar with outdoor pursuits in Squamish, British Columbia, then you’ve almost certainly heard of Red Heather Hut in Garibaldi Provincial Park. It’s a popular destination for ski tourers, split boarders and snowshoers. The hut itself is just an emergency shelter; you can’t sleep in it (unless you need to) but you can warm your cockles in front of the fire. You can also pitch a tent nearby and enjoy the snowy delights of Garibaldi Provincial Park for as long as you like.

There are several backcountry campgrounds in Garibaldi, but Red Heather is a good winter option for a few reasons.

Firstly, it’s the first camping area that you come to, assuming that you park at the Diamond Head Trail parking lot. It’s just 5km from the upper lot, so you don’t have to haul your winter tent too far uphill.

Secondly, you have the security of Red Heather Hut right next door. While the hut isn’t for overnight stays, you can go inside to organise your gear, warm up in front of the fire and cook your dinner. This adds a bit of luxury, not to mention the comfort of knowing that you can retreat to the hut, if that winter sleeping bag isn’t as warm as it says.

Finally, you can use Red Heather as a base, from which you can strike out further into the backcountry. Ski tourers and split boarders can do a few laps off of Paul’s Ridge and Round Mountain before bedding down for the night. Snowshoers can head up to the ridge to enjoy the spectacular views across Garibaldi Provincial Park and the Tantalus Range (assuming it’s a clear day!)

Camping at Red Heather campground
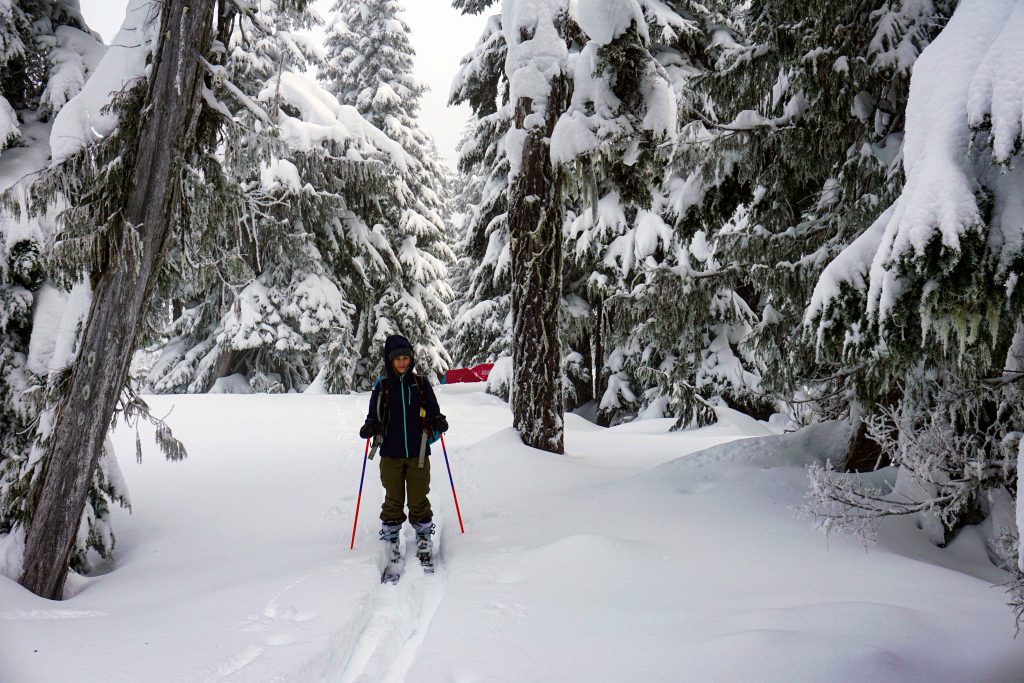
Leaving the tent for a few laps of Round Mountain

What you need to know before you go

If you’re planning a winter camping trip to Red Heather campground, then here’s what you need to know before go.

Driving and parking

Park at the Diamond Head Trail parking lot. The access road is a narrow mountain road that’s often packed with snow and ice near the top. Winter tires (or mud and snow tires) are a must and 4WD is recommended.

There are two parking lots: an upper lot and a lower lot. If you want to access the upper parking lot (which is where the trailhead starts) then you’ll need snow chains. You can be fined if you drive past the chain-up area without chains installed.

If you don’t have chains then you can park at the lower lot and walk up. However, park rangers have been known to wait further down the road and turn away vehicles without snow chains. This will be a nuisance, as you’ll either need to go and buy some, or you’ll have to park a considerable distance from the trailhead.

Fees and permits

You don’t need a permit to enter Garibaldi Provincial Park during winter, but if you plan on staying the night, you must buy a backcountry camping permit advance of your trip. This applies, even if you’re sleeping in your own tent. You can purchase a permit on Discover Camping. Camping without a permit carries a fine.

Hiking up

The trailhead starts from the upper parking lot. There’s an outhouse here if you need.

The trail itself is narrow and tree-lined. There are no views en route, aside from a clearing at around the halfway mark from which you can see across Squamish. It’s uphill all the way until you reach the meadow, where the trail flattens out. A little further along you’ll find Red Heather Hut tucked into the trees on your right. In terms of navigation, the first part of the trail is extremely easy to follow. Later on, it opens up slightly and you’ll need to follow the orange marker poles.

The distance between the upper parking lot and Red Heather Hut is 5km. It takes between one and two hours, depending on how quickly you move.

Where to camp

Red heather campground is in the immediate vicinity of Red Heather Hut. It’s an alpine meadow and the area is relatively flat. There are no designated pitches or tent pads, so can choose your own camp site. Bear in mind that the hut has a heavy footfall, particularly at weekends. The glades behind the hut offer greater privacy on a busy weekend.

Winter camping at Red Heather campground

Red Heather Hut

You’re not allowed to sleep inside the hut, unless it’s an emergency. However, you are permitted to use the facilities. Inside, you’ll find two picnic benches and a wood burner. There’s a wood pile just outside the front door, along with an axe for chopping. The wood supply has to last the entire winter, so be conservative. There’s also a two-ring propane stove and a sink for grey water. You will need to melt snow for drinking water, which should be boiled and/or treated.

If you’re camping nearby, you may want to leave certain items inside the hut, although you do so at your own risk. Hooks line the walls so you can hang up bags, clothing and equipment. But be warned: there are lots of mice, so be sure that any food is tightly concealed.

Just beyond the hut is an outhouse. As of July 2021, BC Parks is operating a ‘bring your own toilet paper’ policy in the Sea to Sky Corridor – you’ve been warned!

Red Heather Hut
The back of Red Heather Hut

What about summer camping?

You can only camp at Red Heather during the winter months. Currently, this means between the dates of December 1 to April 30. Check the BC Parks website for up-to-date information. A camping permit is required.

The hut is open year-round as a warming hut and an emergency shelter. The wood stove should only be used in winter.

Activities nearby

This is a very popular winter recreation spot. Hikers and snowshoers typically head to Red Heather Hut before making the return journey. Ski tourers and split boarders enjoy the backcountry terrain around Round Mountain and Paul’s Ridge. It’s also possible to continue along the winter trail towards Elfin Lakes Shelter, which is 6km past Red Heather Hut. Winter camping is permitted at Elfin Lakes, and sleeping is allowed in the hut if you have a reservation. More challenging terrain can be found beyond Elfin Lakes.

Safety

There’s sign near the start of the trailhead indicating that you are entering into avalanche terrain. You should carry a beacon, probe and shovel (and know how to use them). The trail to the hut is often considered low risk, but there are sinkholes and creeks, so be sure to stick to the path and operate a buddy system.