Tag Archives: advice

Mountain Hardwear Trango™ 2 Tent

Winter Camping: How to Camp in Snowy Conditions

Camping in snowy conditions presents its own set of challenges – but it can be done with the right know-how. Here’s how to make your snowy camping trip a success.

Match your sleeping gear to the conditions

As with any other type of camping, you’ll need a tent, a sleeping bag and a sleeping mat. When it comes to winter camping, you need to make sure these items are equipped to deal with the conditions.

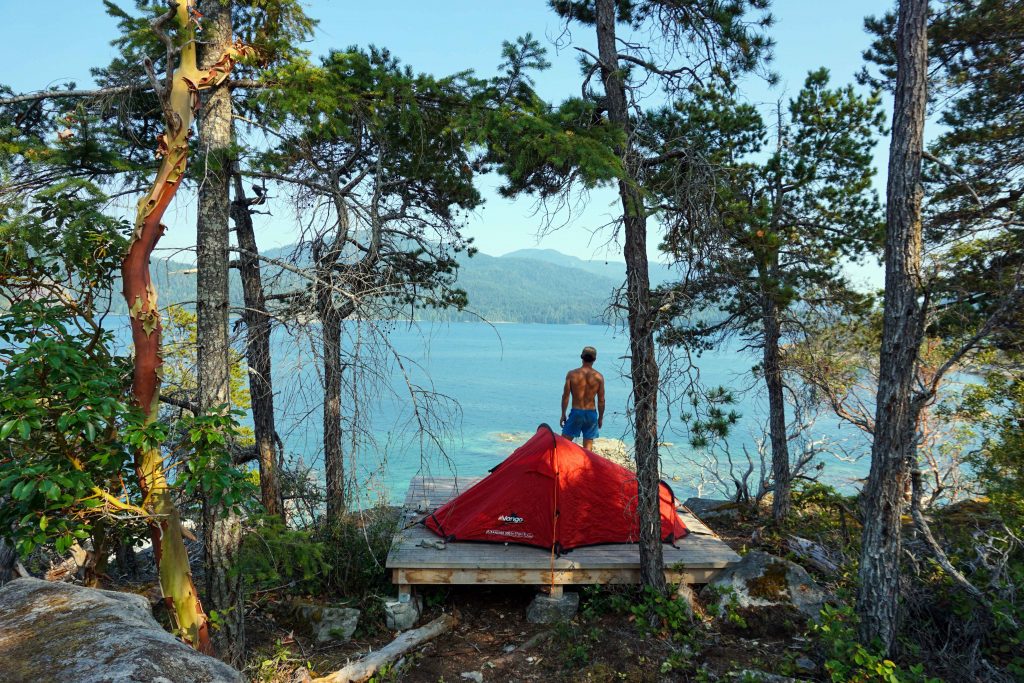
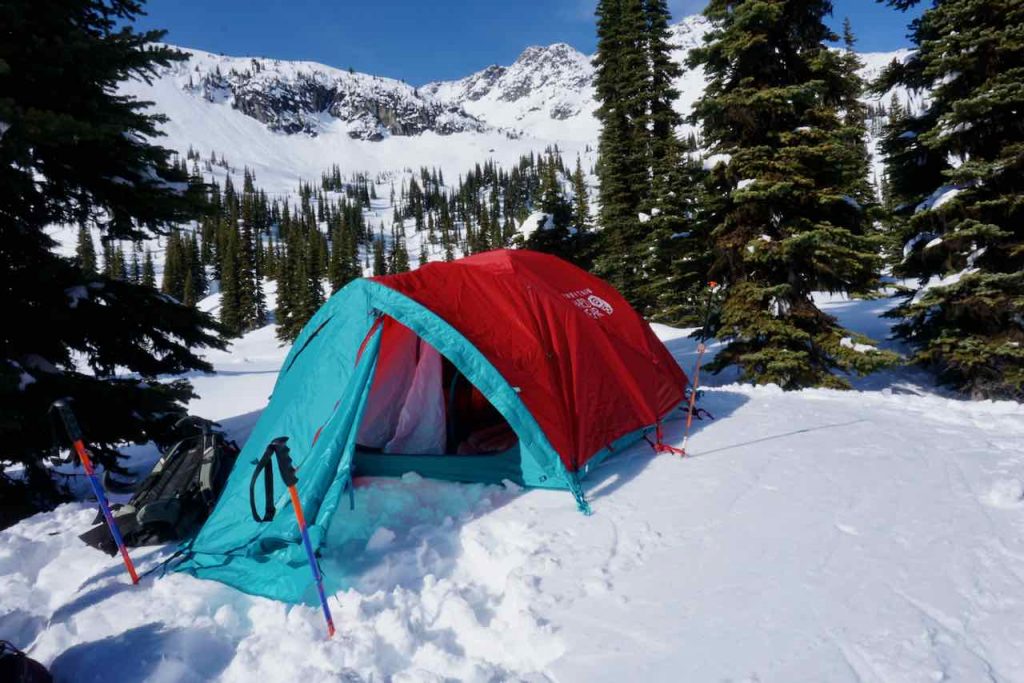
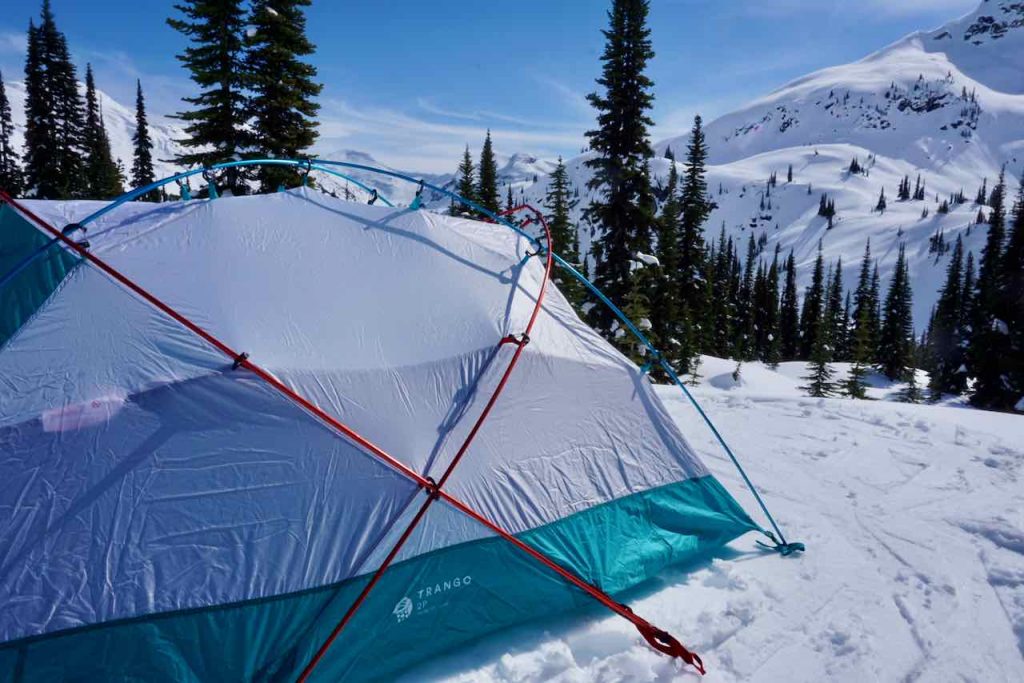
If you’re camping in mild weather and you won’t encounter much wind or snow, then a three-season tent will suffice. This is especially true if you’re camping below the treeline. Otherwise, you’ll want a four-season tent. These can handle high winds and snow loading thanks to their shape, strong poles and robust fabrics.

Sleeping bags are given temperature ratings. Your sleeping bag needs to fall well within the range of the temperatures you’ll likely experience. Like a tent, this probably means getting a four-season sleeping bag, or a three-season sleeping bag if it’s not too cold. You can also use a sleeping bag liner to up the warmth by a few degrees.

Inflatable sleeping pads are given an R-value. This denotes how well the pad’s insulation resists the transfer of heat. Camping on snow requires an R-value of 4.5 and up. Anything lower and you’ll find the cold seeps up from the ground beneath you. Placing a closed-cell foam mat under your sleeping pad, or using two sleeping pads, adds greater insulation.

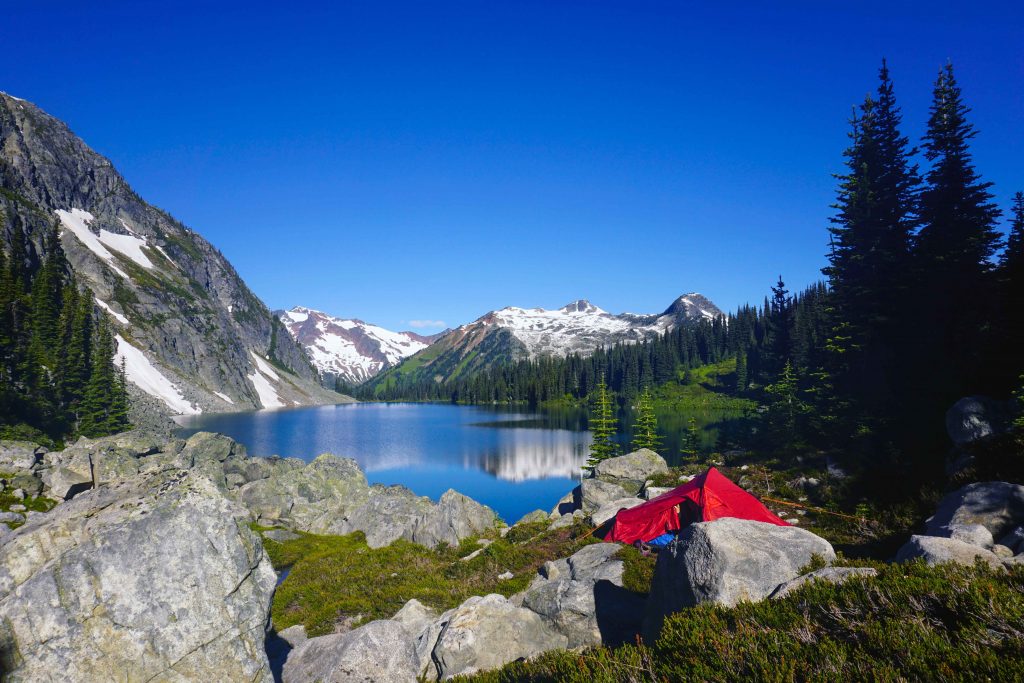
Select a good site for your tent

When you reach your desired destination, take some time to find a suitable site to pitch your tent. You want somewhere that’s:

  • Flat
  • Not too exposed to the wind
  • Not underneath dead or decaying trees/branches
  • Not underneath tree branches that are heavily loaded with snow – tree bombs are a risk!
  • Not in an avalanche path

Pack down the snow

Pack down the snow your tent is going to sit on. The best way to do this is to stomp on it while wearing your skis, snowshoes or boots. Compact snow is more comfortable to sleep on. It also insulates heat better than loose snow.

Spread your weight evenly while you’re inside the tent. If you kneel on the floorspace of your tent – or lean on an elbow – then you’ll create a divot in the snow beneath you.

Mountain Hardwear Trango™ 2 Tent
Stamp on the snow to create a hard snow pack under/around your tent

Pitch the lowest part of your tent towards the wind

If you’re in an exposed location, pitch your tent so the opening is downwind. Otherwise, when you open the zip, the wind could rush in and create a balloon. Ideally, you want the lowest and narrowest part of your tent towards the wind.

Use snow stakes

Ordinary tent stakes don’t work in snow, which is why you need to use special snow stakes. If you don’t have any, you can always bury the stake in the snow. Or you can use something to weigh down the guy lines, such as a nearby rock, log, or stuff sacks filled with snow.

Build a snow wall

For extra wind protection, build a snow wall around your tent, or at least in the direction of the prevailing winds. You’ll want a shovel to do this as it needs to be about the height of your tent. The idea is that the wind gets trapped behind the wall, rather than blasting directly into your tent.

Digging two to three feet of snow out of your tent’s vestibule space is another trick, as the cold air settles at the bottom. This has an added benefit because you can dangle your legs into the space, allowing you to sit up comfortably in the tent. If you do this, you can use the discarded snow to build a wall!

You can also pile snow on top of the snow skirt, if your tent has one. However, this can reduce ventilation inside the tent.

Create a camp kitchen

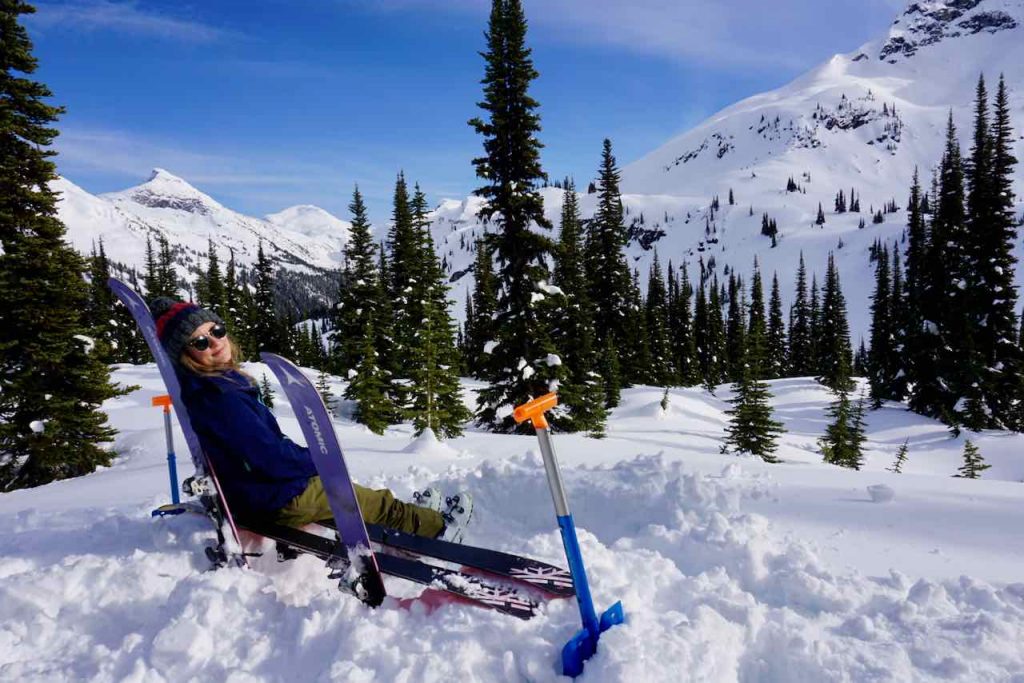
The great thing about snow is that you can use it to build tables, benches and cooking stations. Get your shovel ready to create the camp kitchen of your dreams. It’s easier to dig away the snow, leaving a perfectly formed table or bench in situ. Just remember to sit on something waterproof – and preferably insulated – to prevent your bum from getting cold and wet. A foam mat is a good example.

Consider taking camping chairs if the snow isn’t deep enough to create a camp kitchen, or you aren’t worried about travelling lightly.

Woman sits on bench made out of skis surrounded by snowy mountains
A bench made of skis and snow

Use a liquid fuel stove

Butane and isobutane canisters don’t work well in cold temperatures. Instead, use a liquid fuel stove. These run on white fuel and perform much better in freezing conditions.

Melt snow for your water

Unless you take enough water for your entire trip, you’ll have to melt snow for your drinking water. Melting a big chunk of snow takes a surprisingly long time and produces a surprisingly small amount of water. Prepare for this in terms of the amount of fuel you take, and the amount of time you allocate to the task.

Get everyone in your group to pee in the same place so you don’t inadvertently collect yellow snow for drinking water.

Also remember that water can freeze in frigid conditions. Store your water inside your tent, and turn any water bottles upside (with the lid securely fasted, of course!) This is because water freezes from the top down.

Sleep with your gear in the tent, or in your sleeping bag

Bring all your gear inside the tent, aside from anything with sharp edges, such as skis, snowshoes and crampons. You really don’t want to tear the tent while camping in snow. Spread everything else out on the floor space around you. This provides more insulation from the cold ground beneath you.

Also sleep with your clothes, electronics and ski boot liners (if relevant) inside your sleeping bag. Again, this provides more insultation. It also ensures they’re nice and toasty in the morning. As for electronics, the cold zaps their power, so keeping them warm preserves the battery.

Wear layers

Wear lots of layers. Steer clear of cotton because it has poor moisture-wicking abilities, meaning it will make you very cold if it gets wet. Instead opt for clothes made out of synthetic materials, down and merino wool. Use midweight base layers, topped with warm mid layers, and a puffy down jacket. A waterproof jacket can be worn over the top to protect you again wind and snow. You’ll want a similar layering system on the bottom, with fleece long johns and waterproof pants. Finish the look with a warm hat and sunglasses/goggles.

Pay close attention to your hands and feet – they are much more likely to suffer. Keep your feet dry by using waterproof hiking boots and gaiters (if hiking/snowshoeing). Take a few pairs of socks and gloves so you can swap them out if they get damp. Hand and toe warmers can also be life savers.

Stay warm

Along with wearing layers, there are some other things you can do to keep yourself warm.

Keep active but don’t sweat. Sweat is designed to cool you down, which you don’t want in a snowy environment. Pitching your tent and creating a camp kitchen will keep the blood pumping. If you start to get chilly, do some star jumps or jog on the spot.

Remove any wet or damp clothes as soon as you arrive at your camp. Also, put your warm layers on immediately, even if you don’t feel particularly cold. You’ll soon cool down, and it’s better to trap the warm air inside your clothes while you can.

As mentioned above, the right sleep systems can go a long way in keeping you warm while winter camping. Get into your sleeping bag while you have an elevated body temperature. Sleeping bags work by trapping the warm air radiating from your body, so try doing some gentle exercises before bedding down for the night.

Pop a hot water bottle or hand warmers into your sleeping bag. Nalgene bottles work especially well as hot water bottles, and can also be used as drinking receptacles during the daytime. Slip a sock over the bottle if it’s too hot to handle. Be sure to do the lid up tightly – any leakages could scald you, and will also leave your sleeping bag sopping wet.

Eat regularly and stay hydrated. Hunger and dehydration make it hard to maintain your body temperature. Hot meals that are quick to prepare and easy to wash up are ideal.

Finally, pee when you need to (see below to find out why!)

Pee when you need to

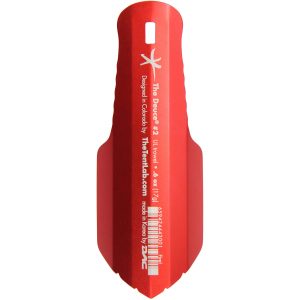
When you need to pee, your body uses energy keeping the urine in your bladder warm – energy which could have been used keeping the rest of your body warm. So, pee when you need to. Don’t hold it in, as it’ll actually make you colder. Pee before you get into your sleeping bag. If you don’t want to get up in the night and shuffle outside into the cold, try peeing into a bottle. Ladies, there are contraptions available to help you achieve this, such as the Shewee.

Pack it out

In the absence of a toilet, you’ll be forced to do your business outside. There’s no point in burying your poop and toilet paper because it’ll just be exposed when the snow melts. That’s why Leave No Trace principles stipulate that you have to pack it out with you in snowy conditions.

Bring entertainment

If you’re camping in snow, then it’s probably winter. And in winter, the days are short and the nights are long. Getting into bed when it’s dark can mean a very early night indeed. If you’re not keen on sleeping at 4pm, remember to bring some entertainment. This could be a pack of cards, a book, a kindle, some podcasts or a journal.

Red tent pitched in front of lake

Top Tips for Backcountry Camping

Sure, expensive hotels are nice, with their fluffy towels and pressed linens. But if you ask me, nothing beats packing up your rucksack, venturing into the wilderness and setting up camp for the night. Not even The Ritz.

Overnight hikes into the backcountry are a challenge, of course. But they’re also so rewarding. You can go further than you otherwise would during a day hike, and it gives you more time to spend at a favourite lake or a beautiful vista. You can also set up a basecamp and explore the area further, without your bag weighing you down.

However, if you’ve never done an overnight hike before – also known as wild or backcountry camping – then it can seem a little intimidating. You might be asking yourself: ‘can I really pack everything I will need for a night (or more) and carry it for miles on end…and then carry it back again?’

Let me tell you – with the right planning and the right mindset, the answer is undoubtedly yes!

However, I’m obliged to warn you that it can take a lot of practise to hone your backcountry camping skills. I remember doing my first overnight hike at school as part of my Duke of Edinburgh Award. I had an impossibly big bag which weighed a ton. After many gruelling hours of walking I arrived at camp, my shoulders torn to shreds, my hips in agony, and little desire for a repeat performance.

Thankfully I did give it a second go, and a third, and then I got hooked. There were times when I took too much, and times when I took too little, but now (a little bit like Goldilocks’ porridge) I feel like I’ve got it ‘just right’. Yet it would be nice if you didn’t have to go through the same trauma as me. So, if you’ve always wanted to try an overnight hike but you’re not sure where to start, here are a few tips to help you along your way.

Get the right bag

Having the wrong backpack can result in tortuous discomfort, particularly on the shoulders, back and hips. Therefore it is well worth getting your mitts on a backpack which fits your body. Play around with the straps and continue to adjust them until it feels comfortable. About 80% of the weight should be rest on your hips and 20% should rest on your shoulders.

You might be tempted to go for the smallest bag you can find, but don’t forget, you need to have enough room for all your stuff! It’s difficult to say what size is best as it will depend on so many factors, such as how long you’re going for, how small your gear packs down, and how good you are at cutting the non-essentials from your life. Generally, something between 50L and 65L is suitable. If you’re planning on sleeping in a hammock, you can get away with less.

Invest in lightweight gear

Buy, rent or borrow lightweight gear. Seriously, it makes a huge difference. In particular, having a small lightweight tent, roll-mat or mattress, and compact sleeping bag are key. Not only will it leave more space in your bag for other essentials, it will reduce the amount of weight you’re carrying. Which is, as I’m about to explain, absolutely vital.

What do you really need? Really?

It falls on your shoulders to take everything you need – quite literally. Unless you really enjoy pain, you’re going to want to make your bag as light as possible. That means that every single thing you pack needs to be there for a reason.

Now then, that doesn’t mean you should leave out sensible things, like a medical kit. Rather, cut down on the luxuries and non-essentials. Remember, you’re going backcountry camping, not to luxuriate at the Fairmont. If you’re going for one night, you don’t need seven outfits. And no, you don’t need your favourite fluffy pillow!

Think carefully about food and water

When you arrive at your destination, there won’t be a 7/11 will aisles full of delicious snacks and hot coffee on tap. Oh no. And if you don’t have enough food and water, it will make for a very miserable (and potentially dangerous) adventure.

When it comes to water, you’ll probably need more than you think. Hiking with heavy backpacks on is thirsty work, and you may also need water for cooking. Check whether there are any fresh water sources en route where you can refill, bearing in mind that creeks and rivers can dry up during the warmer months. If there aren’t any, carefully consider how much water you will need and load up your bag. Yes, it’s heavy. But you’re going to need it.

As for food, there are a variety of options available. Lots of people opt for the pouches of freeze-dried food. If possible, I avoid these in favour of homemade food. If you do too, don’t plan meals that require every single pot, pan and utensil in your kitchen cupboard (or lots of water). Instead, think about what is going to be easiest on a single gas-burner.

If I’m just going for one night, I’ll normally pre-cook a meal and simmer it for hours, meaning it reduces right down and can be easily packed into a small jar. When it comes to dinnertime at camp, I simply need to heat it up and rehydrate it with some water. Et voilà, a delicious meal is served!

Prepare for Leave No Trace principles

Whenever you are in the great outdoors, practice Leave No Trace principles. Pack out what you pack in, taking all your rubbish and trash home with you. If you need to relieve yourself (you know what I mean!) then bury it. And if you are camping for the night, don’t disturb the local flora and fauna when pitching your tent.

Have a practise run

It can be a great idea to have a practice run. Lay out everything you think you would take on an overnight hike, pack it in your bag, then go on a short walk or hike (preferably a trail you know well, so you don’t get lost). This will give you a good idea of how it feels to hike with a backpack, and whether you can realistically manage to carry the weight for an extended period of time. If not, you may need to shave a few pounds.

Start with something easy

For your first backcountry camping experience, don’t go crazy. You don’t need to conquer the world just yet. Instead, choose an easy route with minimal elevation gain, little to no technical sections and pleasant weather conditions. Once you’ve refined your skills and grown in confidence, you can start on some more difficult trails, or even multi-day hikes. It won’t be long before you’re eyeing up Everest basecamp.

Garibaldi Lake in Autumn

Staying Sane in the Shoulder Season

Autumn, fall, shoulder season – whatever you want to call it, this time of year is most definitely not my favourite. Yes, the leaves are pretty colours and you can finally reacquaint yourself with those chunky knit jumpers you stashed away at the end of spring. But for me, that doesn’t quite cut it.

Having lived in wet west coast cities all my life, the shoulder season is usually something to be endured. There’s no snow on the mountains, or at least, not enough to play in. Sunshine seems like a distant memory and the rain is just relentless – particularly where I currently live in Vancouver. Or should I say, Raincouver.

My natural instinct is to curl up on the couch, put Netflix on and pray that the rain will stop. This, however, is a dangerous path to take. I work from home all day, and if I don’t force myself to go out, I quickly morph into Boo Radley. There is only so much time I can spend inside, staring pitifully through the window, before I start to become strange.

After a while I come to realise that the weather isn’t getting any better, so I have a choice to make – commit to watching an entire season of New Girl in one sitting, or get out and do something. For the sake of my physical and mental health, it’s better if I choose the latter. So, here’s how I stay sane in the shoulder season.

Hiking

Hiking is something that can be enjoyed whatever the weather. It can be difficult to persuade yourself of this when it’s lashing down with rain. But once you’re out there, it’s not actually so bad. In fact, hiking in the shoulder season has its own rewards – the trails are quieter, the scenery is more dramatic and the sense of achievement is even greater. Just be sure to invest in some good waterproofs, including hiking boots, a Gore-Tex jacket, trousers and gaiters.

Indoor climbing/bouldering

Indoor climbing/bouldering gyms tend to get busy during the colder months, and with good reason – it’s a great activity to do when the weather is miserable. You can hone your skills all winter, strengthening your muscles (and the skin on your hands) in time for outdoor summer climbing. If you’ve never climbed or bouldered before, never fear – most gyms offer a beginner’s course, and you can usually rent the necessary gear.

Surfing

When it comes to surfing, it really doesn’t matter what the chances of precipitation are – you’re going to get wet anyway. So dig out a warm wetsuit, wax your board and keep an eye on the swell. When the conditions are good, you can surf come rain or shine. If you’re a beginner, lots of surf schools operate throughout the year and will take you to the best spot based on the conditions and your ability.

Trail running

For years I was a fair-weather runner, as I just didn’t feel compelled to go road running in the rain. But then I discovered trail running! There’s something so fun about squelching your way through a forest, sloshing through muddy puddles and hopping over slippery tree roots. You won’t break any personal bests and you’ll probably end up splattered in mud. But your lungs will be full of fresh air, and ultimately, that’s the aim of the game.

New to trail running? Check out my Beginner’s Guide to Trail Running.

Mountain biking

Imagine the scene: you’ve been ripping down the trails for an hour, you’re caked in dirt and your butt is soaking wet. Oh, and there’s a great big smile on your face because that was…So. Much.Fun. Sure, wet riding takes a bit of getting used to (hello slippery wood features and sneaky trees roots). But I love how quiet and magical the forest is at this time of year. Then you get to go downhill and the adrenaline kicks in, making it the perfect antidote to a grey autumn day.

Yoga

I try to keep up my yoga practice all year, as I find it balances both my body and mind. When the days start to get shorter and the temperatures start to plummet, the thought of a cosy yoga class becomes even more appealing. This makes the shoulder season a great time to fall in love with your practice.

Bear peers out from behind tree

Does a Bear Sh*t in the Woods?

Does a bear sh*t in the woods? Yes. And if you’re out enjoying the great outdoors for any length of time, chances are, you will too.

Don’t be embarrassed. Sometimes nature calls and it’s not always possible, or practical, to wait until you’re back in civilisation.

So what do you do?

You do a wildy. At least, that’s what my friends call it. In other words, you do a poop, right there with the birds and squirrels looking on.

However, what you might not realise is that there is a wrong way and a right way to poop outdoors.

Leave No Trace

Any self-respecting human being with a love of nature will follow the seven Leave No Trace principles. These provide guidance on how to ‘enjoy our natural world in a sustainable way that avoids human-created impacts’. According to principle 3, the best way to dispose of human waste while you’re out hiking, biking, camping, running or whatever it may be, is to bury it.

Why?

Firstly because it’s gross, ok? Just think of your fellow inhabitants of this earth, who may be following in your footsteps, out for a pleasant day on the trail. They stop next to a rock for a rest, only to found a human faeces curled up by their foot and a soiled piece of toilet roll stuck on top, like some kind of shameful flag. No, it’s all wrong.

Aside from human decency, exposed poo also carries the risk of spreading disease. This is particularly true if said excrement finds its way to a water source, which may then be consumed by animals and humans alike. And what do you get from polluted water? Diarrhoea galore – and that’s a best-case scenario.

Burying your poop

Now you know why you should bury your poop, here’s how to do it –

  1. Find a secluded spot which is at least 200 feet from a water source and a decent distance from any trails, lookout spots, campsites and other areas well-travelled.
  2. Dig a hole – known as a cathole – which is at least six inches deep. Keep the displaced dirt in a convenient pile next to it.
  3. Do your businesses into the cathole.
  4. Fill the cathole up with the dirt you previously removed.
  5. Disguise the recently disturbed soil with rocks and stones from the surrounding area.

If you’re staying in the same spot for a while – for example, you are backcountry camping – then be sure to disperse your catholes. Basically, don’t keep pooping in the same spot. You can find more advice as to where to locate your catholes on the Leave No Trace website.

Unless you have wolverine-like claws, you’ll probably want a device to dig your catholes with. A garden trowel will do, but if you’re after something a little more lightweight then I like the Deuce 2 Trowel by TheTentLab. It’s really strong and barely weights a thing.

The Deuce 2 trowel

The Deuce 2 trowel – bury it!

When to pack it out

While burying poop is generally the go-to move, there are times when it’s best to pack your poop out, including narrow river canyons.

Also, you cannot bury any other toilet ‘accoutrements’ that isn’t plain, unperfumed toilet paper. Things like tampons, sanitary towels, wet wipes (which are not biodegradable!) and scented toilet paper must go with you.

I agree, it’s not too glamorous. But if that’s what it takes to enjoy the outdoors without soiling it (quite literally), then you need to be prepared to shovel some sh*t.

Tent pad on East Curme Island

Camping 101 – Camping for Beginners

A friend of mine recently said that she’d like to attend a camping workshop. Noting my surprise (after all, we’d been camping together just the previous week), she replied that it was alright for me, as I was a ‘good camper’.

That got me to thinking about my own first camping experience at the tender age of 15. I was with some school friends, we packed a bizarre assortment of food, had an ancient tent that we didn’t know how to put up, and spent most the night shivering under our flimsy sleeping bags.

I’ve learned a lot since then, thanks in part to a group of mates who were willing to show me the ropes. But if you don’t have an experienced camping buddy to hand, then the prospect of spending a night under canvas can seem a little daunting.

However, please do not let this put you off! Camping is a lot of fun and it’s something the whole family can enjoy – even the pet pooch. You just need get a grasp of the basics, after which it all comes down to one thing: practise.

Camping for beginners – what you need to know

If you consider yourself to be a camping beginner, then there are a few things you absolutely should do to ensure your maiden camping voyage is a success. So, here’s my camping 101 for beginners.

Get the right gear

When you’re in the great outdoors, the line between being comfortable and being miserable often comes down to whether or not you have the right gear. And when it comes to camping, there’s a lot of gear to be had.

Now then, you might not really want to spend a great deal of money on your first camping trip. After all, you don’t even know if camping is for you. This is perfectly understandable. If so, ask a friend if you can borrow their stuff, or find a shop that rents out camping gear.

It’s also important to know that you do not need every single little gadget on offer. At the very least, you will need –

  • A good quality tent that doesn’t let in wind or rain
  • A good quality sleeping bag that is designed for the temperatures you will be camping in
  • A roll mat or blow up bed
  • A camping stove and gas/propane
  • Pots, pans and cooking utensils, including a knife
  • Crockery and cutlery
  • A lighter or matches
  • Fresh water or a water purification system
  • A light, lantern or torch
  • Something to use as a bin
  • A first aid kit and hand sanitiser
  • Toilet paper (just to be safe)

Unless you are planning quite a spartan camping trip, you’ll also probably want to take –

  • A pillow
  • A cool box with ice packs
  • Stuff to wash your dishes with
  • Camping chairs
  • A camping table (if the campsite does not have them)
  • Firewood, if your destination allows campfires

If you are planning on buying some (or even all) of your own camping gear, then it is best to buy right and buy once. In other words, take your time to find a quality product that suits your needs and is in your price range.

If you see a tent that is as cheap as chips, there’s probably a reason for it, but you won’t find out until you’ve experienced your first adverse weather conditions. There’s nothing worse than bunking down for the night in a storm, only to find that wind rips through your tent and leaks mercilessly.

Take a look at online reviews to see what other people are saying, and don’t be afraid to go into specialist camping shop to ask for advice. While it may cost you a little extra to get the quality goods, you’ll be thankful in the long-run.

Practise before you go

Once you’ve equipped yourself with all the camping gear, have a test run!

If you have a garden then it’s a great idea to spend a whole night under the stars. This means you’ll know how to put the tent up, whether or not it’s comfy enough, how your camping stove works, what utensils you need, and how to take the tent down again.

Even if you don’t have your own garden, you can go to a local park and at least practise putting up your tent and packing it away again. This can be invaluable and will save a lot of head-scratching (and even arguing) when you do finally pop your camping cherry.

Plan your trip

Next, plan exactly where you are going to go and when. If this is your first camping trip, it might be wise to choose somewhere with good facilities, such as hot showers, flushing toilets and washing up sinks. That way you can be eased in gently.

You should also think about what kind of experience you’re after. Not all campsites are made equal. Some are family-friendly, others allow dogs, and some have a lake, beach or activity centre. For some these features will be a real plus, while for others they will be a real no-no.

While you’re still getting used to this camping lark, it can be helpful to select somewhere that isn’t too far away from a town or city. Then if you forget something, or you just can’t face cooking in the rain, you can jump in the car and head back to civilisation.

Prepare, prepare, prepare

Once you’ve chosen your campsite, your next task is to prepare, prepare, and then prepare some more. I find that in these situations, lists are your friends. Make a list of everything you need to take, including all your food, clothes and toiletries.

On the subject of food, you should also plan what meals you are going to have and on what nights. If you are going to have a barbecue one night and a chick pea curry another night, then have the barbecue first, so the meat doesn’t go off.

I like to visualise the trip from start to finish, during which I write down what I’m going to need for each scenario. For example, when I arrive, I’m going to want to set up my sleeping quarters. So I need my tent, sleeping bag, pillow and roll mat.

Then I’ll want a cup of tea. So I need a stove, possibly a lighter or matches, a kettle or pot, some water, tea bags, milk and a mug. Soon enough it will be time to cook, so I’ll need a chopping board, knife, pan, oil, salt and pepper…and so it goes on.

This may seem excessive, but it’s incredibly infuriating to arrive at a campsite, only to find you left the tin opener at home. As you get better at camping then the more intuitive your preparation becomes. I even have a pre-packed camping box stashed under my bed.

But while you’re starting out, it’s best to list what you need and tick everything off once you know it’s been packed. That way, you can rest assured that you have thought of everything and nothing has been left at home.

Check the conditions on the day

On the morning of your camping trip, be sure to check the weather and the traffic.

Although it may have been forecast wall-to-wall sunshine at the start of the week, it may now have turned to rain (or vice versa). If so, make sure you are prepared for the conditions by packing wet weather gear, warm clothes, sunscreen, sunglasses, a hat or whatever it might be.

The purpose of checking the traffic is to ensure that you do not arrive at the campsite too late. Putting up a tent in the dark is no mean feat, especially if you’re a camping virgin. Give yourself plenty of time and arrive during daylight!

Enjoy yourself!

Lastly, don’t forget that camping is meant to be an enjoyable experience. It’s a time to be in the great outdoors, to convene with nature and to have a little bit of an adventure. Yes, we’ve all made a cuppa before. But isn’t it so much more exciting making tea outside on a stove?

While there might not be any TV, there are plenty of activities to keep you entertained, even if it’s just reading a book, playing cards or going for a walk. It’s the perfect opportunity to wind down and relax, to move at a slower pace and to just enjoy the company of friends and family.

And if the weather is seriously intent on scuppering your plans, don’t be afraid to bail. There is no shame in calling off a camping trip because of incessant rain or howling winds. It’s better to enjoy yourself than to have a negative experience and give up on camping altogether.

Happy camping everyone!