Tag Archives: thru-hikes

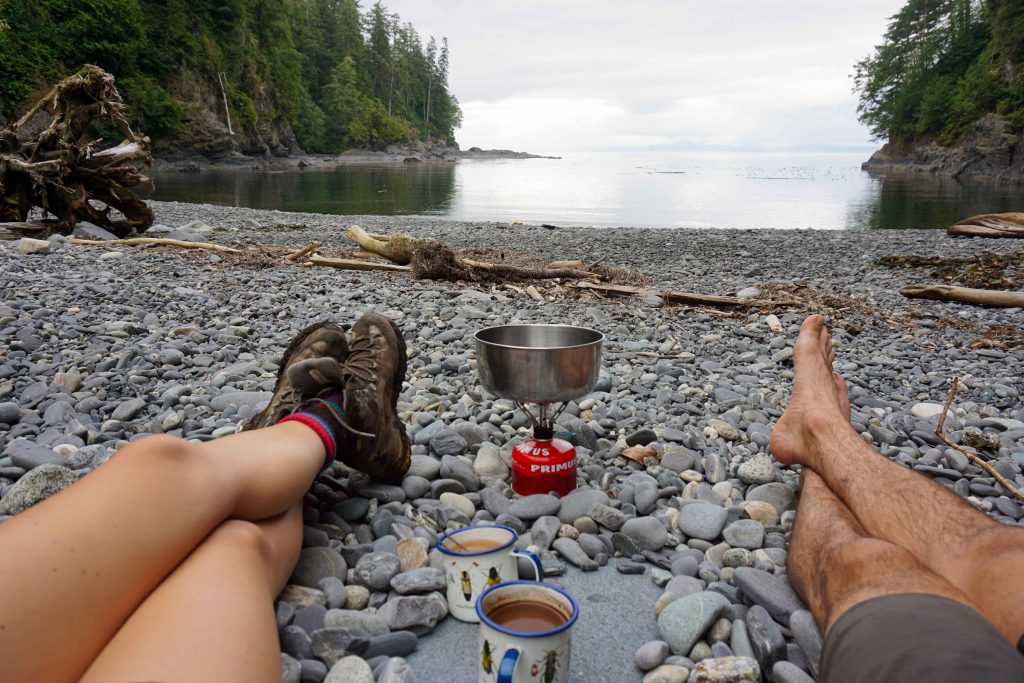
Two people making tea on a portable stove on a stone beach

What to Eat on Multi-Day Hikes

If you’re planning a multi-day hike, you’ll inevitably confront the question – what food should you take? There are four general rules –

  1. Your food should be easy to prepare – you don’t want to be carrying loads of propane. Nor do you want to spend hours preparing your dinner when you’re tired, hungry and weather-beaten. Minimal preparation is key.
  2. Your food should be lightweight – you’re the one having to carry it, so do you want to be weighed down by 20 tins of baked beans? No, didn’t think so.
  3. Your food should be nutritious – you burn a lot of calories while hiking, especially with a heavy pack on. These need to be replaced or you’ll soon start to struggle.
  4. Your food should correspond to the water supply – if water sources are likely to be scant, you will need to adjust your menu accordingly.

If this advice has you scratching your head, then never fear – take a look at my meal plan below for inspiration.

However, you should note that I take food very seriously! I’m not content to eat trash that tastes disgusting, just because it contains a lot of calories. Eating is something I look forward to when I’m hiking – if you prepare properly, you don’t need to compromise on that.

Also, I try to create as little waste as possible. This has obvious environmental benefits, but it has practical advantages too. After all, what you pack in, you must pack out. Remember those 20 tins of baked beans you were planning to take? Well, until you find a rubbish bin, you’ll have to carry the empty cans with you. That gets very annoying, very quickly.
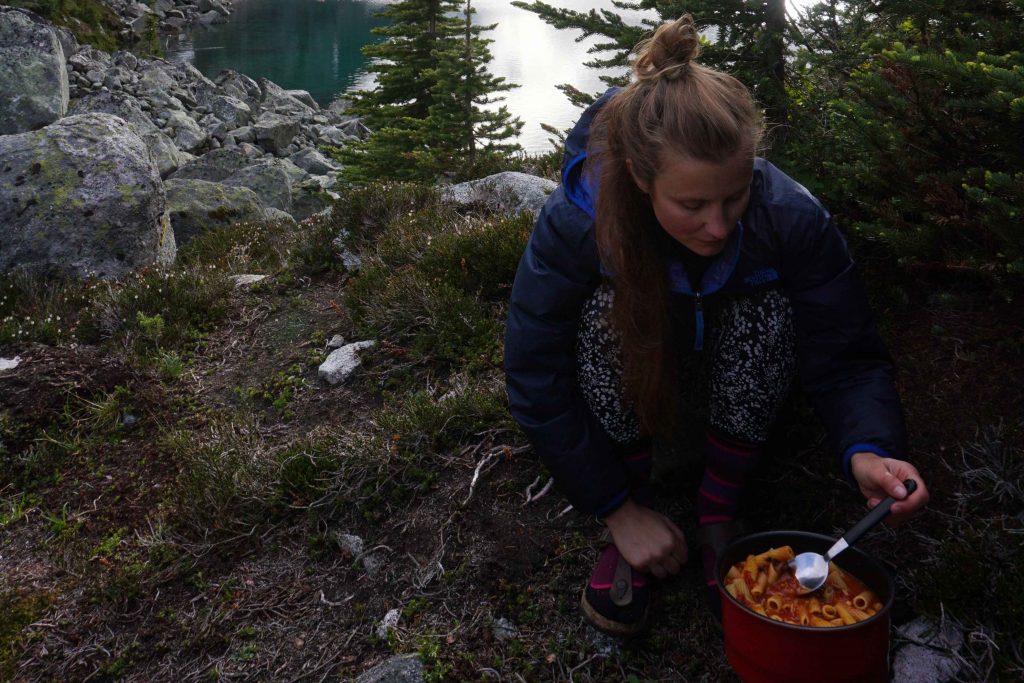
Woman outside cooks pasta in red saucepan
Don’t go hungry in the backcountry!

Multi-day hike meal plan

Here’s what I took while hiking the Juan de Fuca trail, a multi-day hike over three nights and four days. Water wasn’t an issue as there were lots of creeks nearby (although the water in that region does need to be treated or boiled).

Day 1

Breakfast – Homemade banana breakfast bars (recipe below)

Lunch – Cheddar cheese and tomato sandwich

Top tip – I pre-prepared my sandwich before leaving and wrapped it in foil. I then saved the foil and used it as my saucepan lid while cooking dinner.

Dinner – Mexican macaroni and black bean stew, which was one of my homemade dehydrated camping meals, topped with a few shavings of hard cheese like gouda or parmesan. Followed by a square of 80% dark chocolate.

Snacks – Homemade peanut butter and chocolate energy balls (recipe below).

Day 2

Breakfast – Porridge prepared with water, topped with dehydrated bananas.

Top tip – I find one cup of oats per person is sufficient. Before leaving, I measured what I needed and then ground the oats up in a blender to make them smaller. I kept them in a reusable plastic bag, into which I sprinkled some brown sugar for sweetness.

Lunch – Cheddar cheese and pickle sandwich (I also pre-prepared this. The weather was cool so I wasn’t concerned about having a sandwich lying in my bag for a day).

Dinner – Orzo with tomato sauce and parley, which was one of my homemade dehydrated camping meals, topped with a few shavings of hard cheese like gouda or parmesan. Followed by a square of 80% dark chocolate.

Snacks – Homemade peanut butter and chocolate energy balls (recipe below).

Day 3

Breakfast – Porridge prepared with water, topped with dehydrated bananas. See my top tip above!

Lunch – Cheese and crackers

Dinner – Mexican rice and black bean stew, which was one of my homemade dehydrated camping meals, topped with a few shavings of hard cheese like gouda or parmesan. Followed by a square of 80% dark chocolate.

Snacks – Good old raisins and peanuts (also known as ‘GORAP’). Just put some raisins and peanuts into a reusable plastic bag. Dip in as needed.

Day 4

Breakfast – Porridge prepared with water, topped with the remaining raisins and peanuts.

Lunch – Cheese and crackers

Snacks – The remaining energy balls

Dinner wasn’t needed because I’d finished the hike and returned to civilisation.

Recipe for homemade breakfast bars

These won’t keep outside the refrigerator for too long so are best used at the start of your hike.

What you’ll need to make around 12 bars (depending on how big you cut them):

  • 4 cups of rolled oats
  • 6 large over-ripe bananas, mashed up
  • ¼ cup of pitted dates, chopped up
  • ¼ cup of chopped nuts, such as peanuts, cashew nuts or walnuts
  • 6 tablespoons of honey or agave nectar
  • 1 teaspoon of cinnamon
  • ½ cup of shredded coconut (optional)
  • Baking parchment

Method:

  1. Pre-heat oven to 350°F/175°C
  2. Mix everything together in a bowl
  3. Line a baking tray with baking parchment
  4. Tip ingredients onto the tray, pressing down to compact
  5. Bake for 30 minutes until golden
  6. Leave to cool, turn out of the baking tray and cut into squares

Recipe for peanut butter and chocolate energy balls

These keep well outside the fridge for a few days. But I warn you – they are incredibly more-ish. I recommend setting yourself a daily quota, or you’ll finish them in one sitting.

What you’ll need to make around 12 balls (depending on how large you roll them):

  • 1 cup of rolled oats
  • ½ cup of crunchy peanut butter
  • ½ cup of dark chocolate chips (or break up a chocolate bar and put it in a food blender)
  • ½ cup of ground flax seed
  • ⅓ cup of honey

Method:

  1. Mix everything together in a bowl
  2. Roll into balls
  3. Refrigerate overnight
  4. Roll in some ground oats to stop them sticking together (optional)

Food on wooden chopping board
Peanut butter and chocolate energy balls

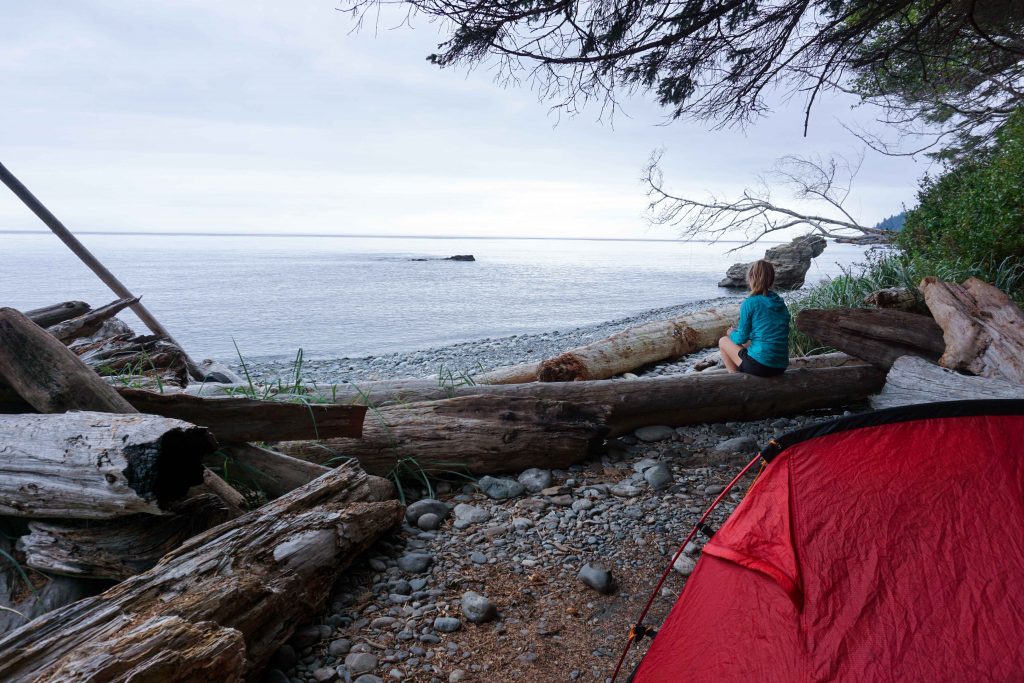
Woman stares out to sea with red tent in foreground

Hiking the Juan de Fuca Trail

The Juan de Fuca Marine Trail is a 47km hiking trail located on the west coast of Vancouver Island. If you’re thinking about hiking it, here’s what you need to know.

Shorter hikes

You can access the Juan de Fuca trail at four different trailheads – Botanical Beach, Parkinson Creek, Sombrio Beach and China Beach. If you’re looking for a day hike, you can park at any of these locations and explore a section of the trail as an out-an-back hike. If you prefer not to turn back on yourself, you could always shuttle cars or catch the West Coast Trail Express back to your vehicle.

For a kids-friendly option, park at China Beach and walk the 2km down to Mystic Beach. To make it longer, carry on to Bear Beach, which is another 7km from Mystic Beach. For something longer still, start at Sombrio Beach and walk all the way to Botanical Beach. From there, get a friend to drive you back to Sombrio or reserve a spot on the West Coast Trail Express from Port Renfrew – just make sure you get to the bus on time!

Bear Beach

Hiking the whole trail

If you want to complete the whole trail, you can do so in one day as a trail run, or as a multi-day hike. The number of days you need is entirely up to you. If you travel quickly, you could do it over two days, spending the night at either Sombrio Beach or Chin Beach. However, this will be a push for many. Also, it would be a shame to rush your way through this beautiful corner of the world.

I hiked it over three nights and four days. I front-loaded the distance, with a long first day followed by three fairly relaxing days. This gave me more beach-chilling time – always a good thing! It also gave me a day each to hike the most difficult sections.

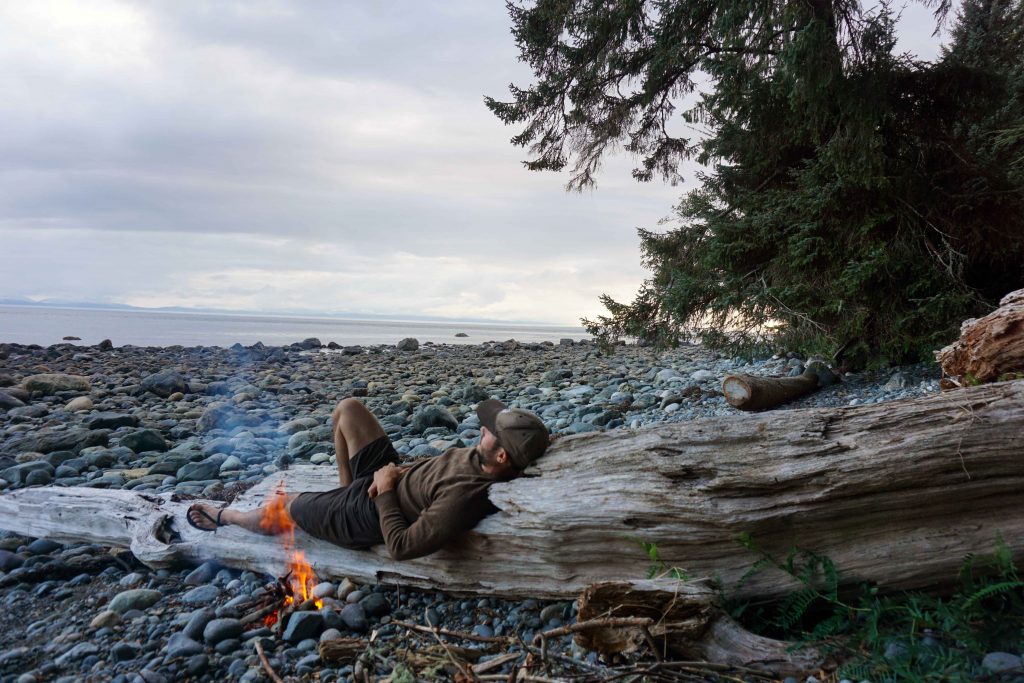
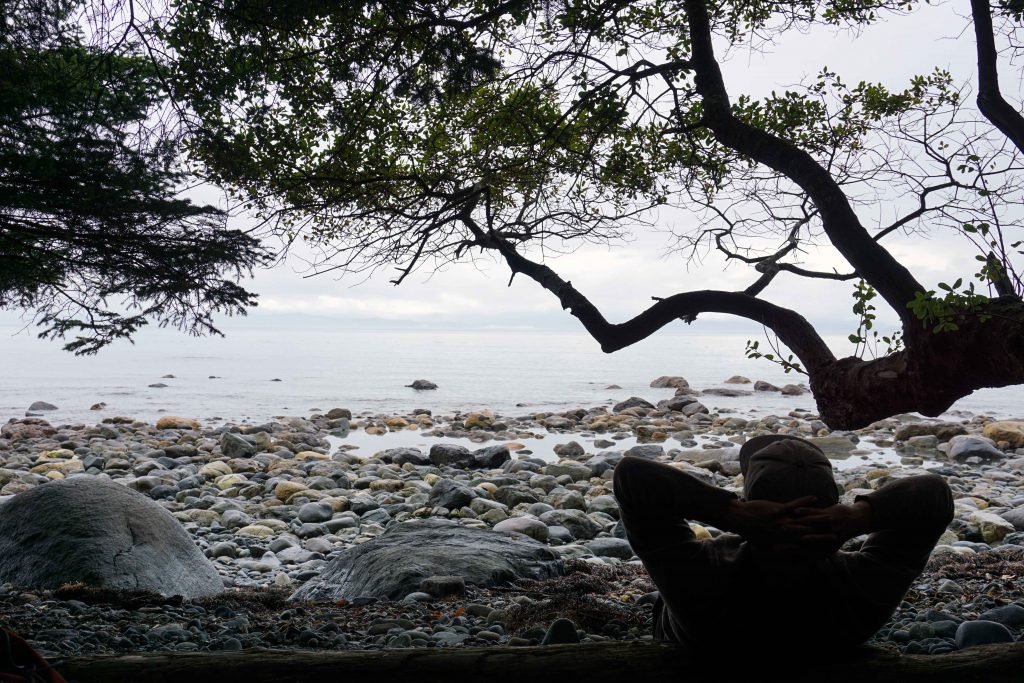
Man lies on beach log next to campfire
Sometimes it’s good to relax!

Camping on the Juan de Fuca trail

There are six campsites to choose from along the way. No reservations are needed. At each you’ll find bear caches and outhouses. You don’t need a permit to hike the trail, but the campsites cost $10 per night, per person. You can pay online before you go, or take cash and use the self-registration envelopes when you’re there.

The trail is open year-round and can be hiked in either direction. If you hike from north to south, the starting point is Botanical Beach (near Port Renfrew) and the end is China Beach (near Jordan River). If you’re going in this direction, you will reach the campsites in the following order –

  • Payzant Creek
  • Little Kuitshe
  • Sombrio Beach
  • Chin Beach
  • Bear Beach
  • Mystic Beach

Payzant Creek and Little Kuitshe campsites are in the forest, so can get muddy. Sombrio Beach and Mystic Beach campsites are often busy, as they are readily accessed from the road, making them popular with non-hikers. Chin Beach can also fill up quickly. Because the campsites are first come, first serve, it’s a good idea to leave early in the morning to bag the best spots.

What’s the trail like?

As you might expect from a coastal hike, the trail is undulating. Most of the flat sections are on the beaches. You may have heard of (or even hiked) the Juan de Fuca’s more famous neighbour, the West Coast Trail. While the West Coast Trail is known for its boardwalks and ladders, the Juan de Fuca trail is known for its technical terrain and relentless elevation change.

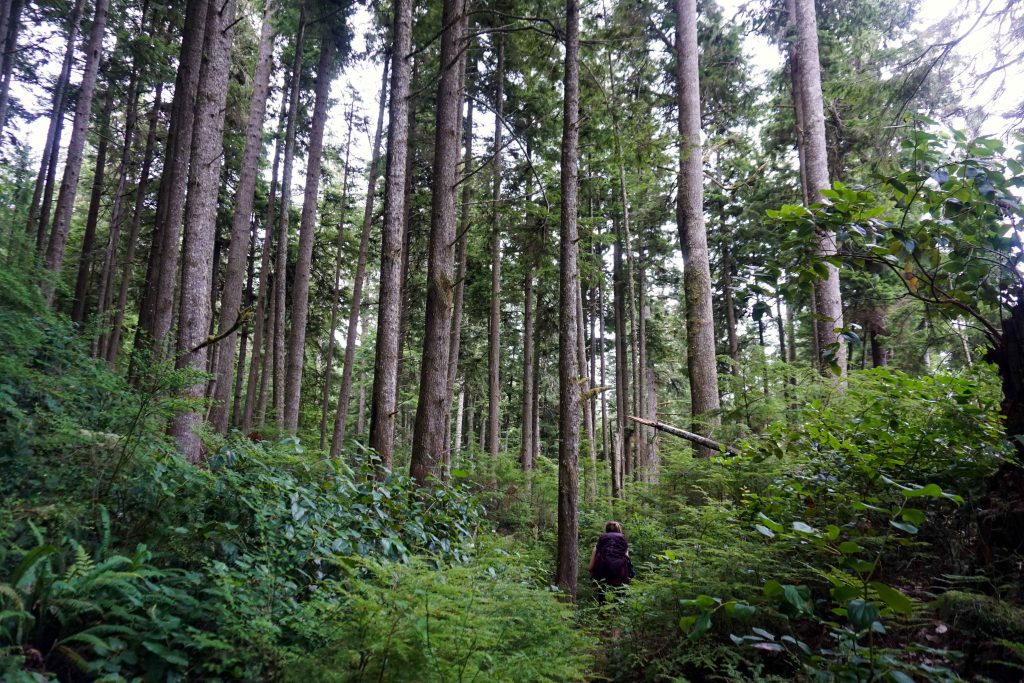
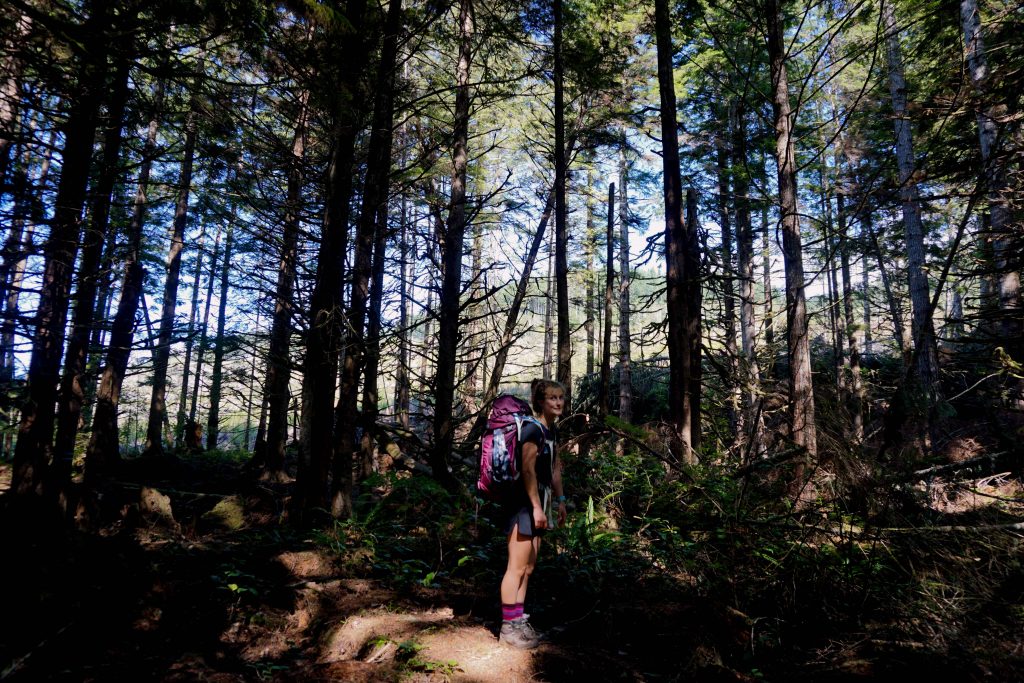
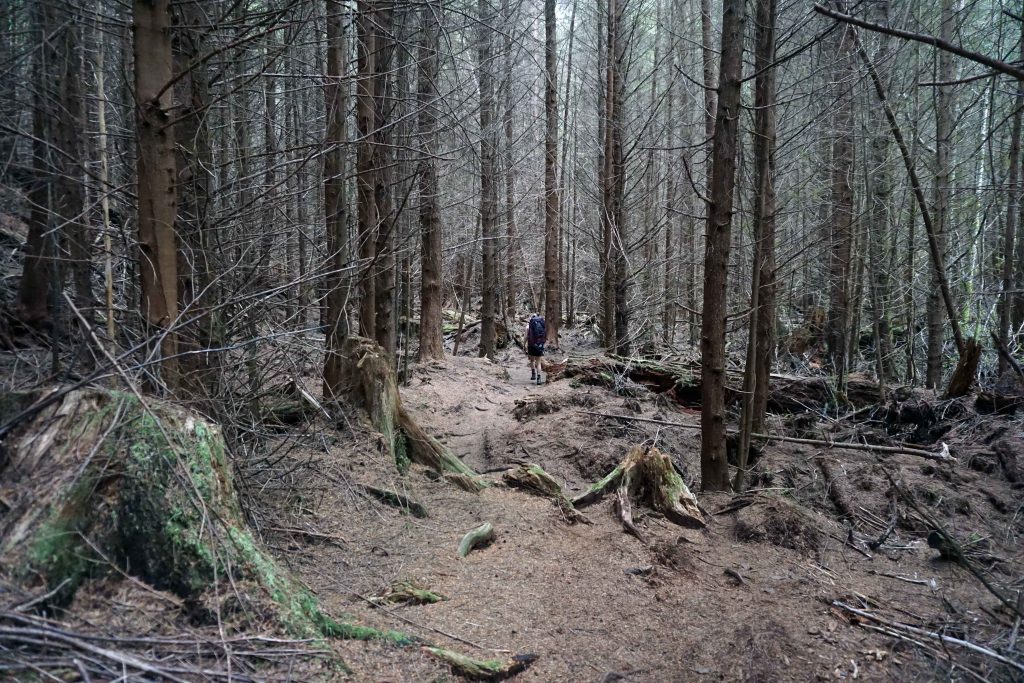
Hiking through the forest
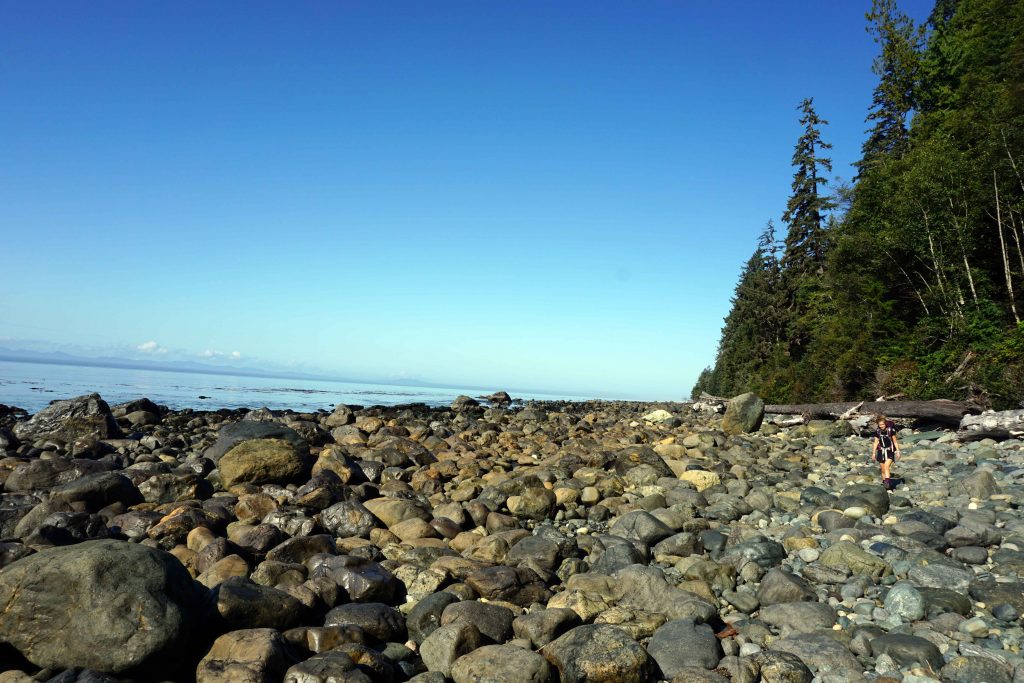
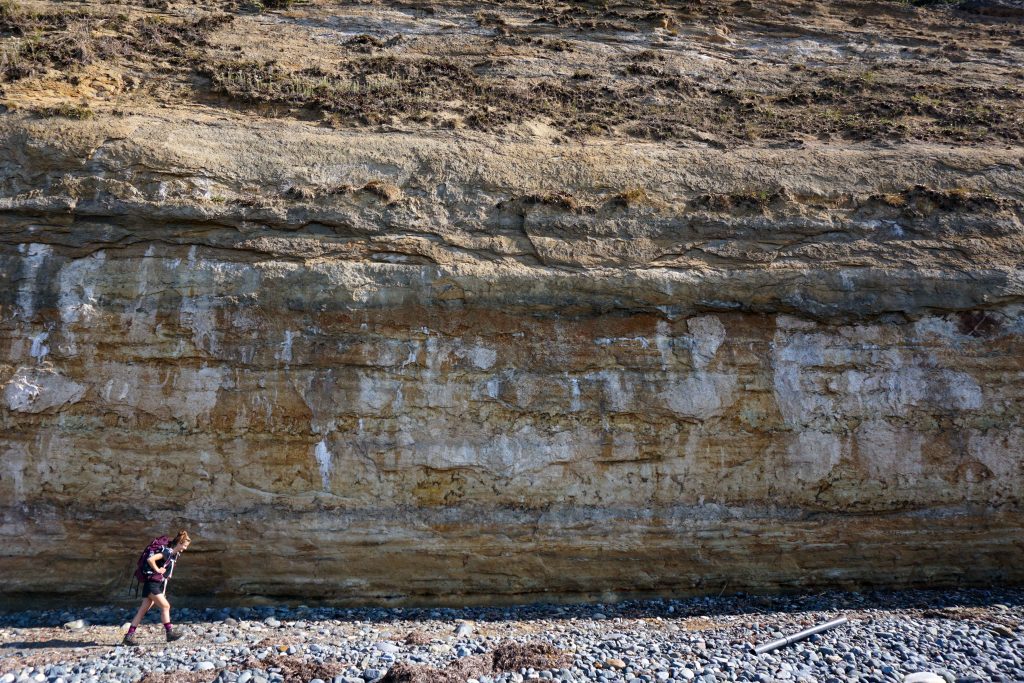
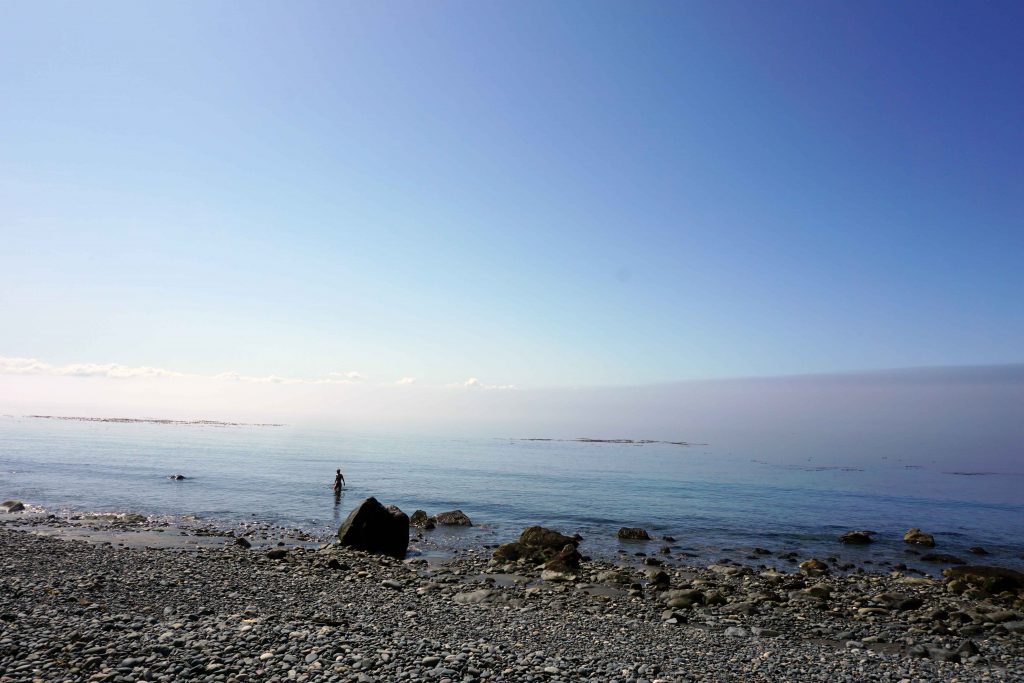
And along the beaches

On the trail map, you’ll see that some sections are classed as ‘moderate’, others as either ‘difficult’ or ‘most difficult’. The most difficult section requires you to traverse up and down steep ravines, which can be tiring, especially with a heavy pack on. Thankfully it was fairly dry while I was there, but no doubt it could get very slippery in bad weather. Which brings me on to my next point…

The Juan de Fuca trail is very wet, partly thanks to the number of creeks which pass through it, and partly thanks to its location on the west coast of Vancouver Island. Even at the end of summer there were deep sections of mud. Wet weather gear is a must and gaiters are recommended. The creeks mean you can refill your water pouches whenever you need, although the water should be treated or boiled before drinking.

Here’s how I hiked the Juan de Fuca trail

My boyfriend and I hiked the Juan de Fuca trail at the end of August, opting to go from north to south. Here’s how it went down…

Day 1 – Port Renfrew to Sombrio Beach – 20kms

After sleeping in our car at the Jordan River Regional Park Campground for a night, we got up early and moved the car to the China Beach day use parking lot. Be sure to remove your valuables because break-ins have been known.

I’d reserved a space on the West Coast Trail Express, so waited by the highway for it to arrive at around 8am. I didn’t think it was going to stop, but in fact, it pulls into a rest stop a little further up the road, on the far side of the highway.

After about an hour we reached Port Renfrew. We got off the bus and hiked 2km up the road to the Botanical Beach trailhead, which is the start (or end) of the Juan de Fuca trail. This is a bit of a nuisance, but it’s as close as you can get in the bus. You might want to hitch a lift!

Shortly before Payzant Creek there’s a sign to Providence Cove. This is a lovely spot to have lunch and a swim.

Two people making tea on a portable stove on a stone beach
Taking a lunch break at Providence Cove on the Juan de Fuca trail

We had planned to spend the first night at Little Kuitshe, but made good progress so continued on to Sombrio Beach. This is a long first day at over 20kms, but it made the remaining days much more leisurely.

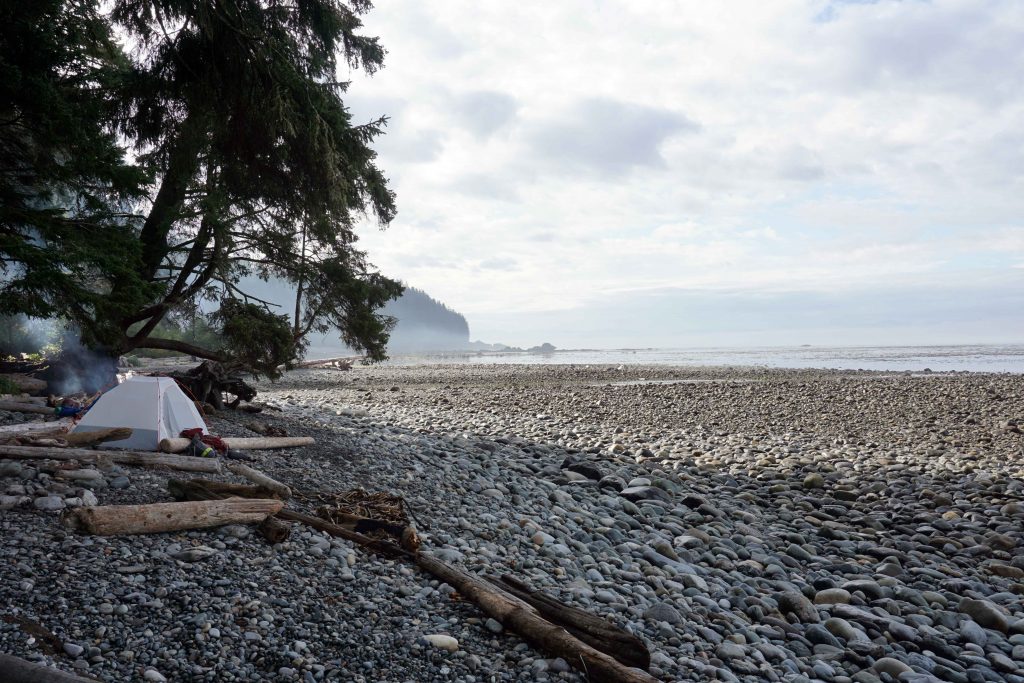
Tent pitched on empty stone beach
Camping at Sombrio Beach

Day 2 – Sombrio Beach to Chin Beach – 8kms

After sheltering from the rain in the morning, we started late and reached our next destination – Chin Beach – in the middle of the afternoon. The delay also meant we caught the tail-end of high tide at Chin Beach, so had to don our sandals and wade through the shallow ocean. Everyone else waited on a rocky outcrop, but I was glad we carried on because by the time we’d put up the tent the campground was full. Better to arrive early on busy weekends!

Day 3 – Chin Beach to Bear Beach – 12kms

On day three we hiked as far as Bear Beach, which was my favourite campground. It’s a long beach with sites at both the northern and southern end. In my opinion, the southerly end is better. This is the most difficult section of the hike.

Man stares out to sea
Camping at Bear Beach

Day 4 – Bear Beach to China Beach – 9kms

On the final day we hiked back to the car at the China Beach day use parking lot, although not before a final dunk in the ocean at Mystic Beach. I was glad to finish at my car, rather than worrying about making the bus on time.

Woman swims in sea
Swimming at Mystic Beach

If you’re hiking it in this direction, I would say this is a fairly standard itinerary, as we often saw the same faces at each campground.

What you need to know before you go

If you’re planning on hiking the Juan de Fuca trail, here’s what you need to know before you go –

  • If you don’t have two cars to shuttle then you can book the West Coast Trail Express. It can pick you up at Victoria, Sooke, China Beach, Sombrio Beach, Parkinson Creek or Port Renfrew
  • You don’t need to reserve anything other than the West Coast Trail Express (if using)
  • You don’t need a permit but the campsites are $10 per person, per night
  • Some campsites – particularly Chin Beach and Mystic Beach – fill up quickly, so leave early in the morning to get the best spot
  • Remember to camp above the tideline
  • Certain sections of the trail are cut off at high tide – check the tide times and plan accordingly
  • There are lots of bears in the area – be bear aware
  • The trail is very well-marked and has km markers along the way
  • There is no phone reception in the area
  • Dogs are allowed on the trail
  • It can get very muddy so gaiters are recommended (but not essential)
  • You don’t need to take much water as you can fill up along the way. The water must be boiled or treated before drinking

My thoughts on hiking the Juan de Fuca trail

If you want to try a multi-day thru-hike, the Juan de Fuca trail is a great place to start. At 47kms, the trail isn’t overwhelmingly long, but it still presents challenges. Although there isn’t any cell reception, it also feels quite safe. You aren’t too far from a road and there’s four access points along the way, meaning you can opt out if you need. It’s also much cheaper than the West Coast Trail, for which you need to buy a permit.

Everyone has a different idea of what is ‘difficult’. A trail runner told me that, pound for pound, the Juan de Fuca trail is harder than the West Coast Trail. Why? Because of the terrain. There’s lots of big step-ups and step-downs, logs to clamber over and mud to negotiate. You have to constantly watch your footing, or the tangled web of tree routes will trip you up. And the constant elevation change can be a killer on the joints.

Terrain aside, I didn’t find the hike too difficult. For me, the biggest negative of the Juan de Fuca trail is the proximity of the logging industry. Cutblocks go right up to the trail, and in certain sections the second growth forest looks like it’s dead. But perhaps it’s important to see – that way, we can better appreciate the old growth forests that still remain. And anyway, four days of forest wandering, beach camping and tree hugging is always a joy.

In some sections the cutblock goes right up to the trail
Some of the forest looks like it’s dead

Did you like this post? Save it for later!

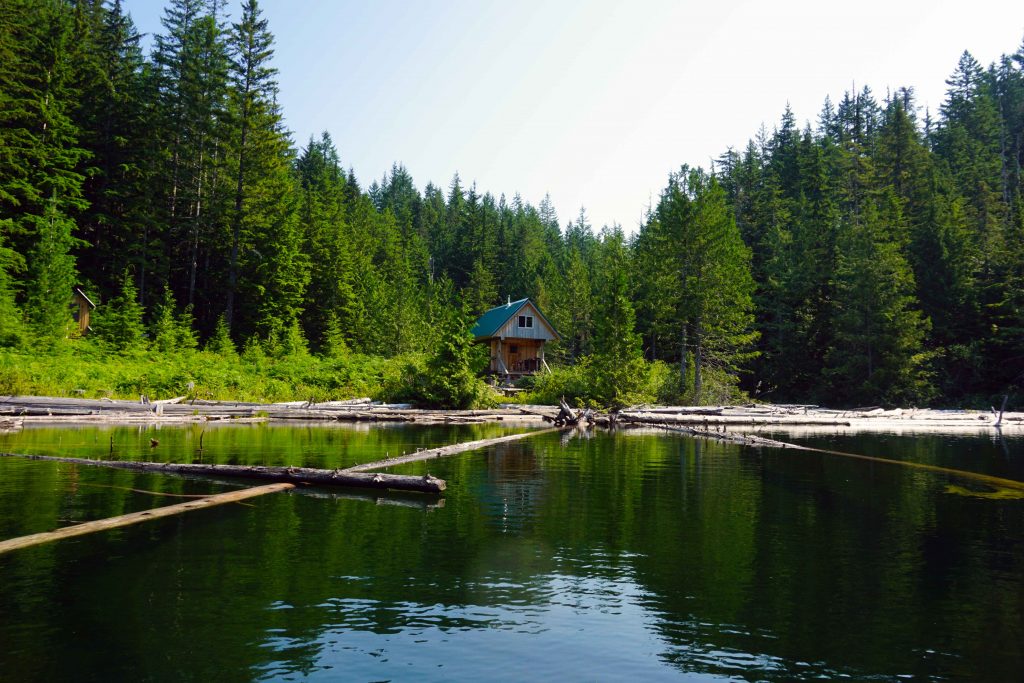
View of Confederation Lake hut from the lake

Hiking from Inland Lake to Confederation Lake

Spanning 180 kilometres, 14 backcountry huts (with another in the pipeline) and beautiful yet varied terrain, the Sunshine Coast Trail (SCT) is one heck of a hiking experience.

The history of the Sunshine Coast Trail

The idea was conceived in 1992 by two gents called Eagle Walz and Scott Glaspey. Their motivation was to save the area’s remaining old growth forests. They believed that if more people could access this section of B.C’s backcountry, the more chance there was of saving it from the talons of the logging industry.

A year later a group of volunteers known as the Powell River Parks and Wilderness Society (PRPAWS) was formed. They worked for eight years to create a hiking trail that spans the length of the northern Sunshine Coast, from Sarah Point in Desolation Sound, to Saltery Bay. The rest, they say, is history.

Nowadays the group continues to maintain the SCT, including both the trail itself and the huts. That means that any information shared here may well be out of date in years to come. But as it stands today, the SCT’s claim to fame is that it’s the longest free hut-to-hut hiking trail in North America. No fees, no reservations, and if you want, no tents necessary. Pretty good, right?

My brief encounter with the Sunshine Coast Trail

While planning a trip to the northern Sunshine Coast, I invariably stumbled upon a bounty of information about this epic hut-to-hut trail. Unfortunately, I didn’t have time to do the whole thing. After all, I was only going to be on the Sunshine Coast for five nights, and I had a lot of other activities on the agenda.

But not wanting to bypass it completely, I settled on the notion of doing an overnight hike. We only had one car between us, and a 2WD at that, so it would have to be a there-and-back hike with an easily accessible trailhead. After scouring the internet for information with little success, I contacted the good people at Tourism Powell River and asked for their recommendations.

After approximately one hour (I’m not kidding), a lovely lady called Tracey replied to my email with the following suggestions –

  • Park on Malaspina Road and hike north to Manzanita Hut
  • Park at Saltery Bay and hike into Fairview Bay Hut
  • Park at Inland Lake and hike into Confederation Lake
  • Park on Malaspina Road and hike south to Rievely Pond Hut

In the end, I plumped for option 3 – Inland Lake to Confederation Hut.

Inland Lake to Confederation Hut

After spending a night at the Inland Lake campground, we drove our car all of 20 metres to the day-use car park, filled our water receptacles at the pump, and set off into the unknown. Actually, that’s not entirely true, as the first couple of kilometres skirt the edge of Inland Lake. Seeing as we’d done the 13km loop around the lake the previous day, we sort of knew the way.

Shortly after the totem pole, a sign pointing right directs you to Confederation Lake. It’s uphill from there. Yep, there’s no two ways about it – this section of the Sunshine Coast Trail is steep. If you’ve got an overnight pack on, and it’s 30°c outside (which is was), then it’s pretty hard work.

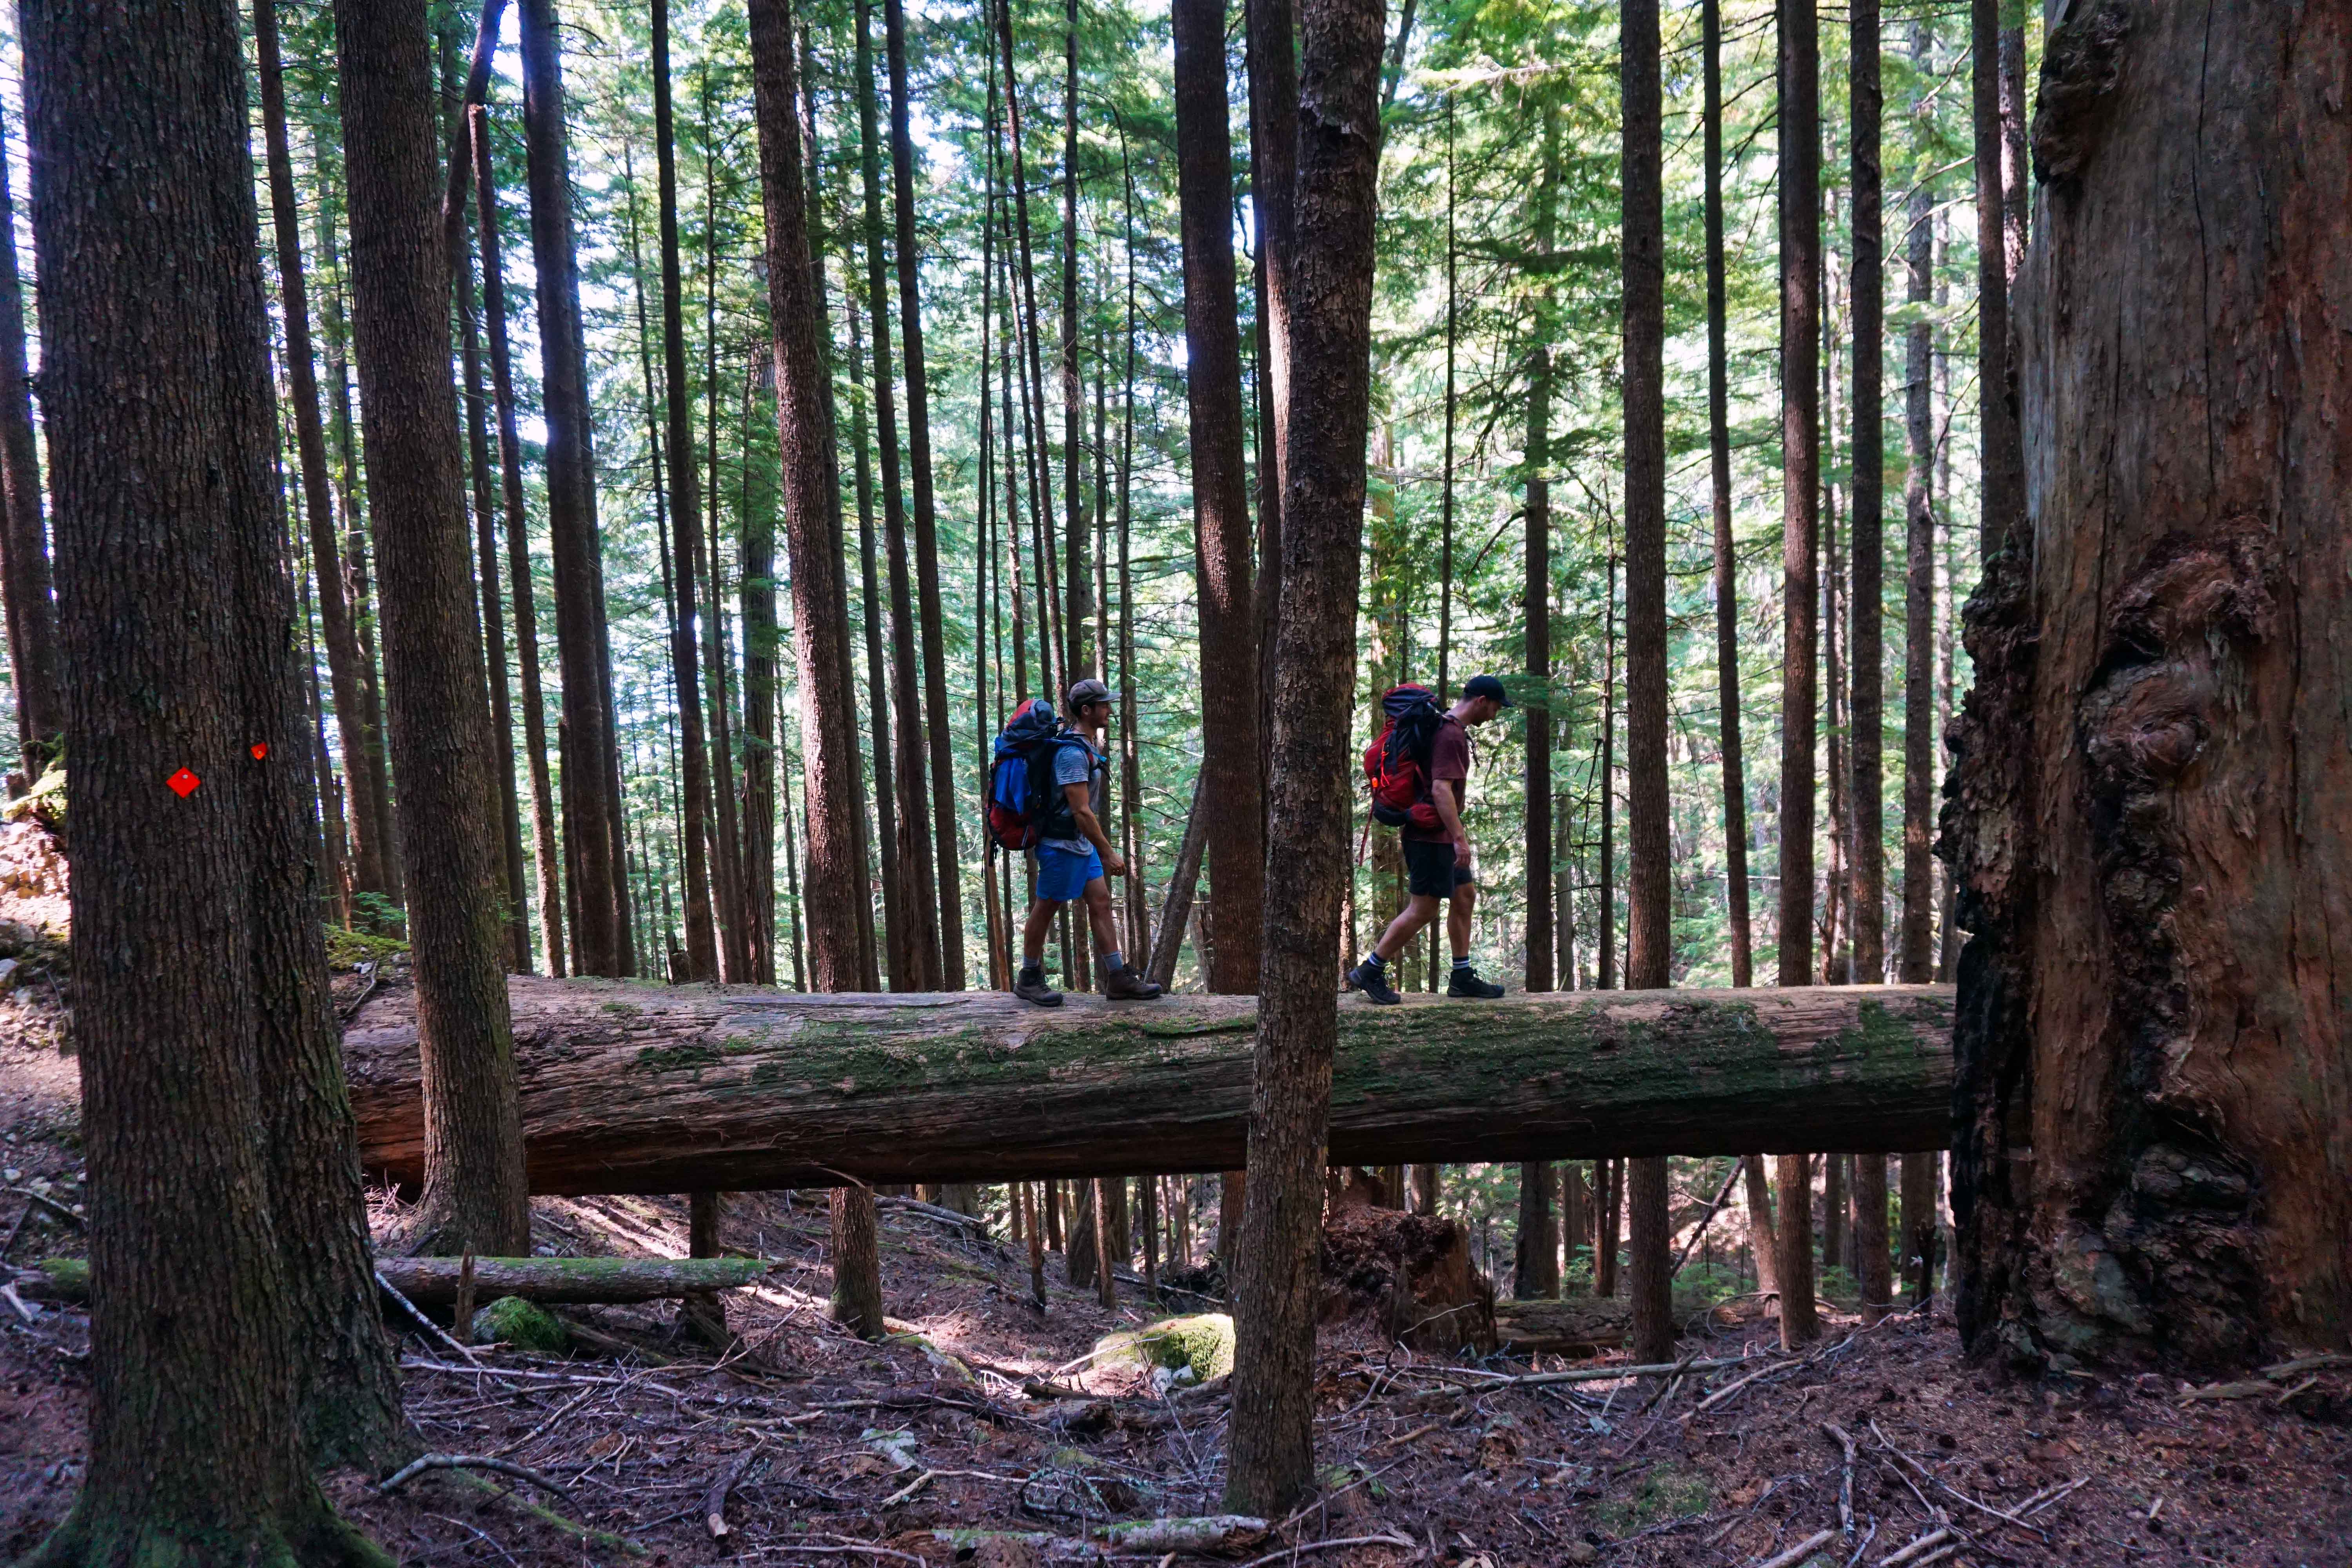
Two men walk along a fallen tree

The Valley of Fatigue

Even so, the beautiful old growth forests provide a robust shelter from the sun, not to mention something awe-inspiring to look at as you heave yourself through the Valley of Fatigue – yes, that’s it’s given name! As you reach the shores of the lake, a sign informs you that it’s another agonizing 2km to the hut. From here the trail becomes more technical and begins to undulate.

At this point, with mounting anticipation and increasingly sore and sweaty bodies, we began to speculate on our chosen destination. What would the hut be like? How many other people would be there? Would the lake be nice to swim in? Wouldn’t it be good if there was a boat?

And then we arrived.

Expectations were exceeded. There was even a bloody boat. The Valley of Fatigue was forgiven.

Confederation Hut

As it turns out, there was just one other resident of Confederation Hut that night – a Slovenian called Mike. He had hiked all the way from Sarah Point and dutifully told us that Confederation Hut was the best hut he’d stayed in on the Sunshine Coast Trail to date. So nice, in fact, that he’d decided to stay an extra night.

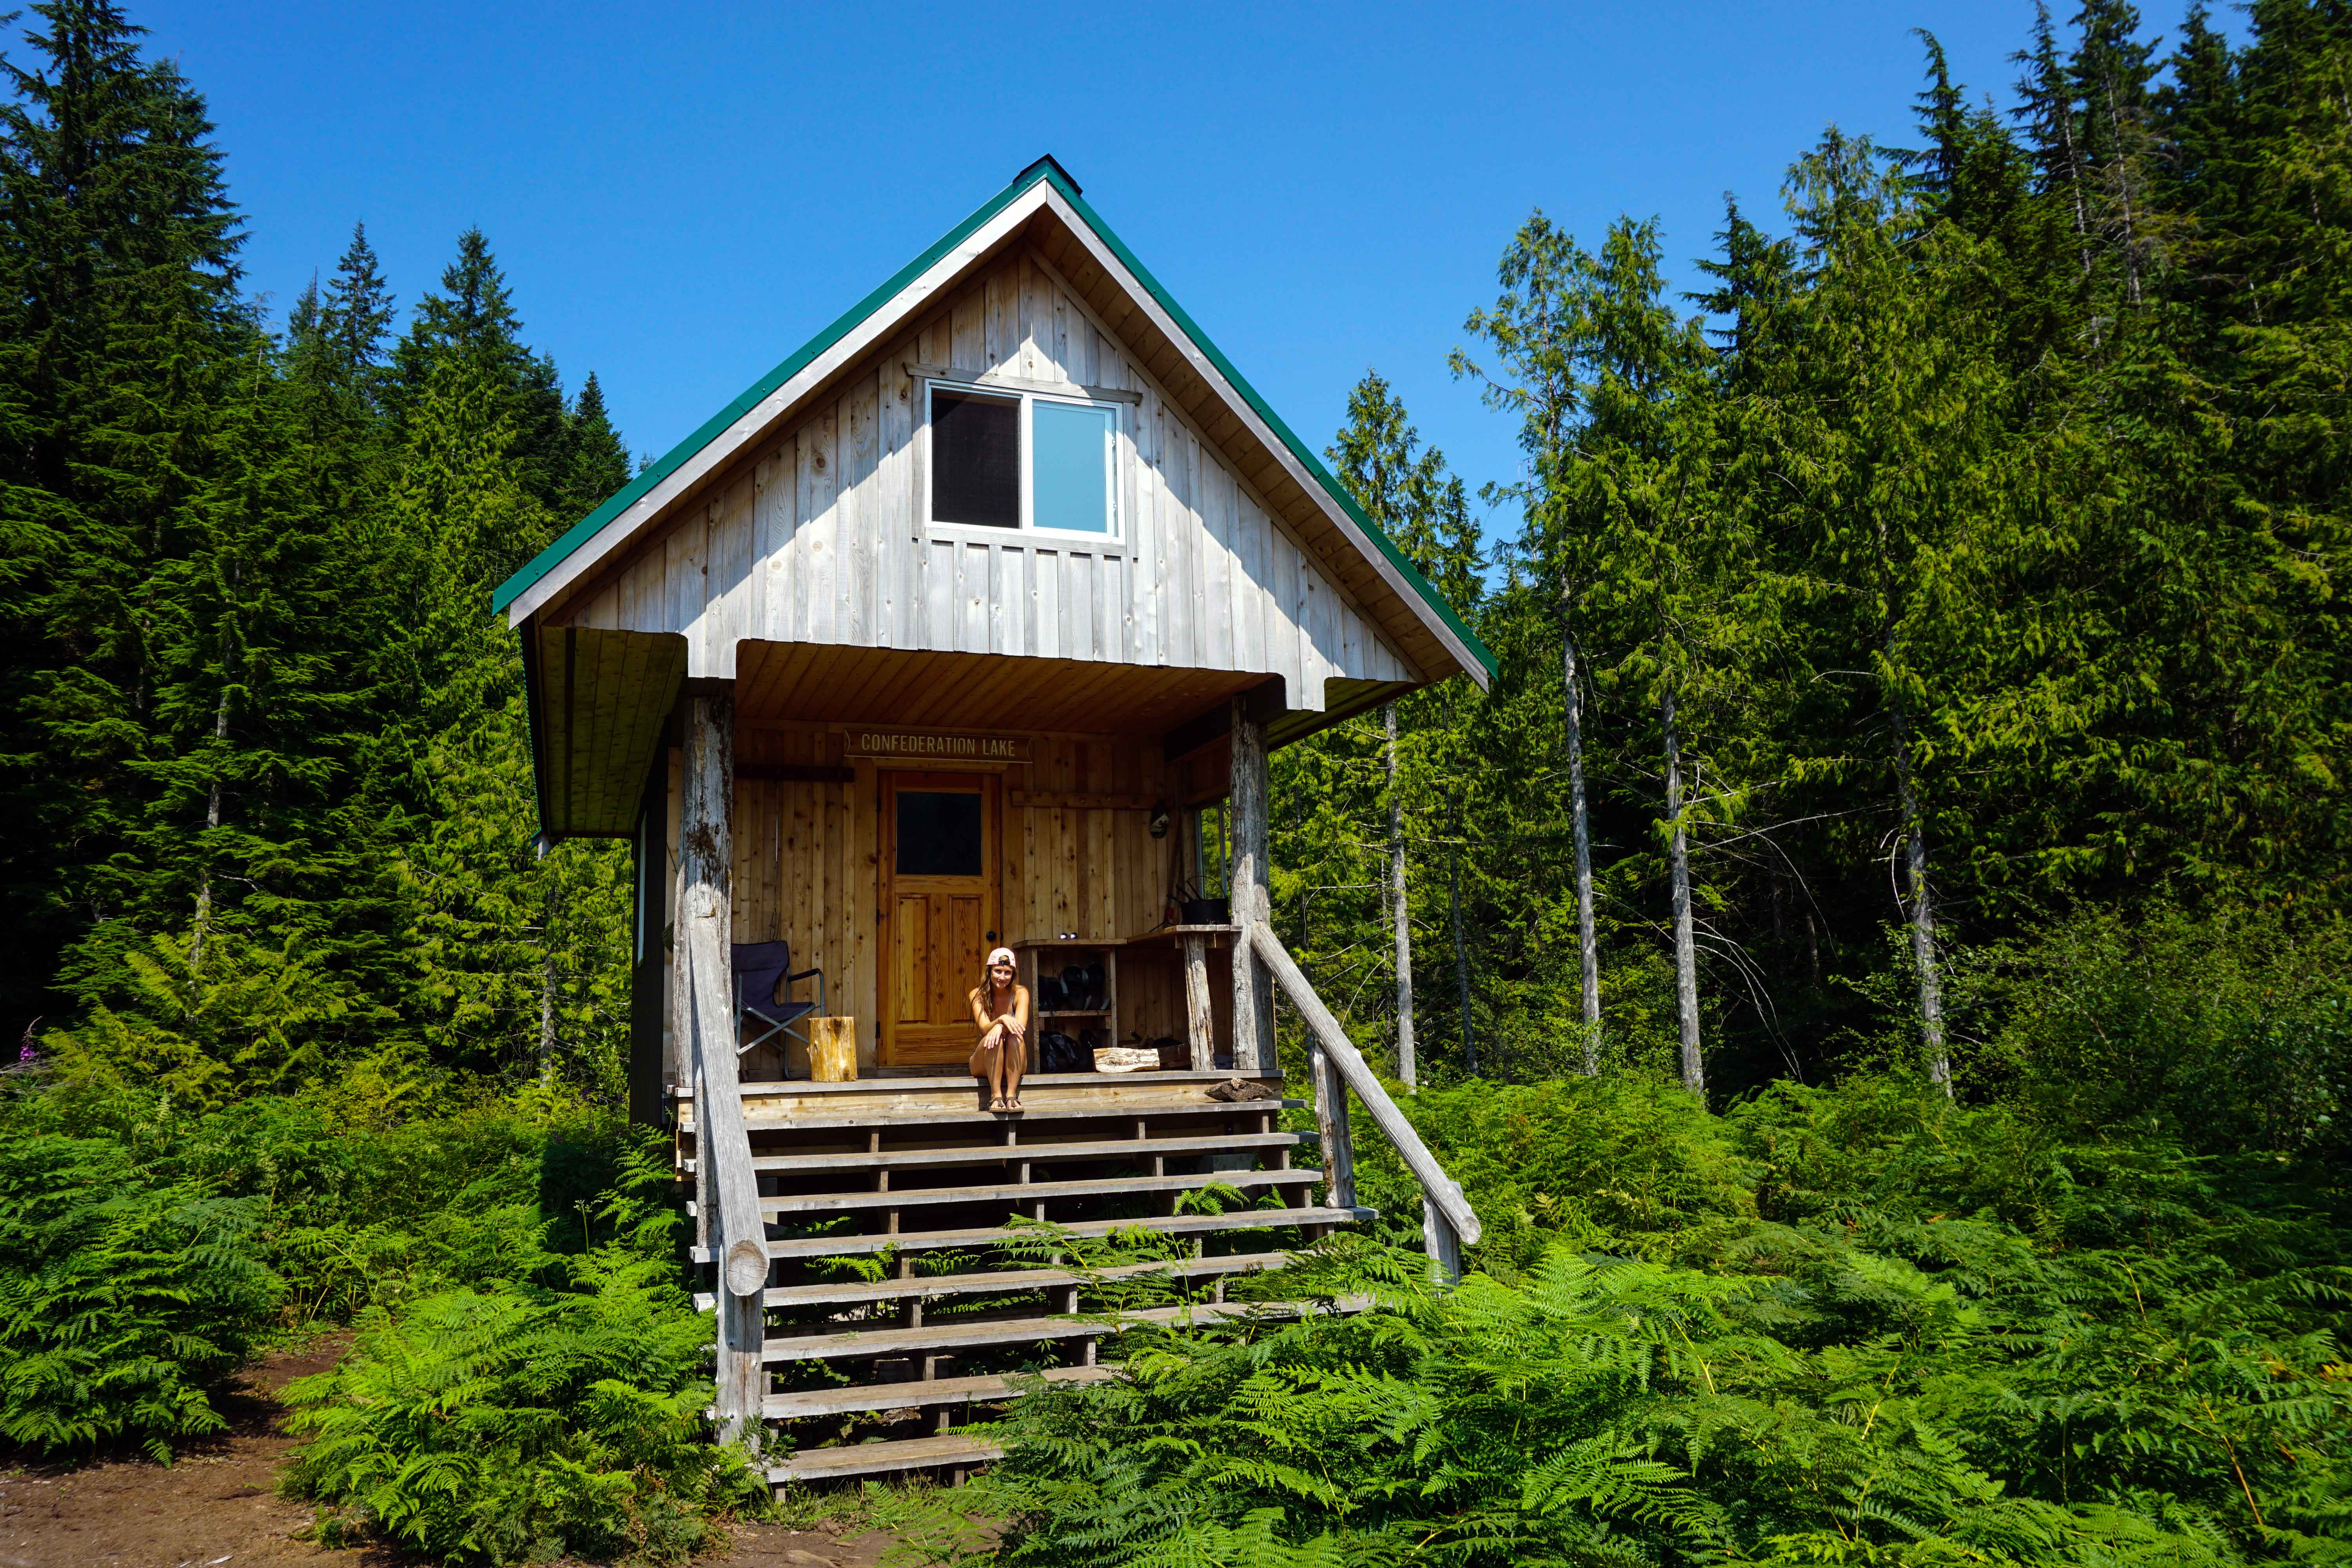
A gorgeous wooden edifice with a green tin roof to boot, this is THE spot for anyone harbouring Swiss Family Robinson fantasies. Downstairs is equipped with a wood dining table and benches, a wood pellet burner, and a food preparation area. The sleeping quarters are upstairs in the rafters, with a few blankets and mats for anyone in need. Further sleeping spots are available underneath the hut itself.

Woman sits in front of Confederation Lake hut

Cabin porn

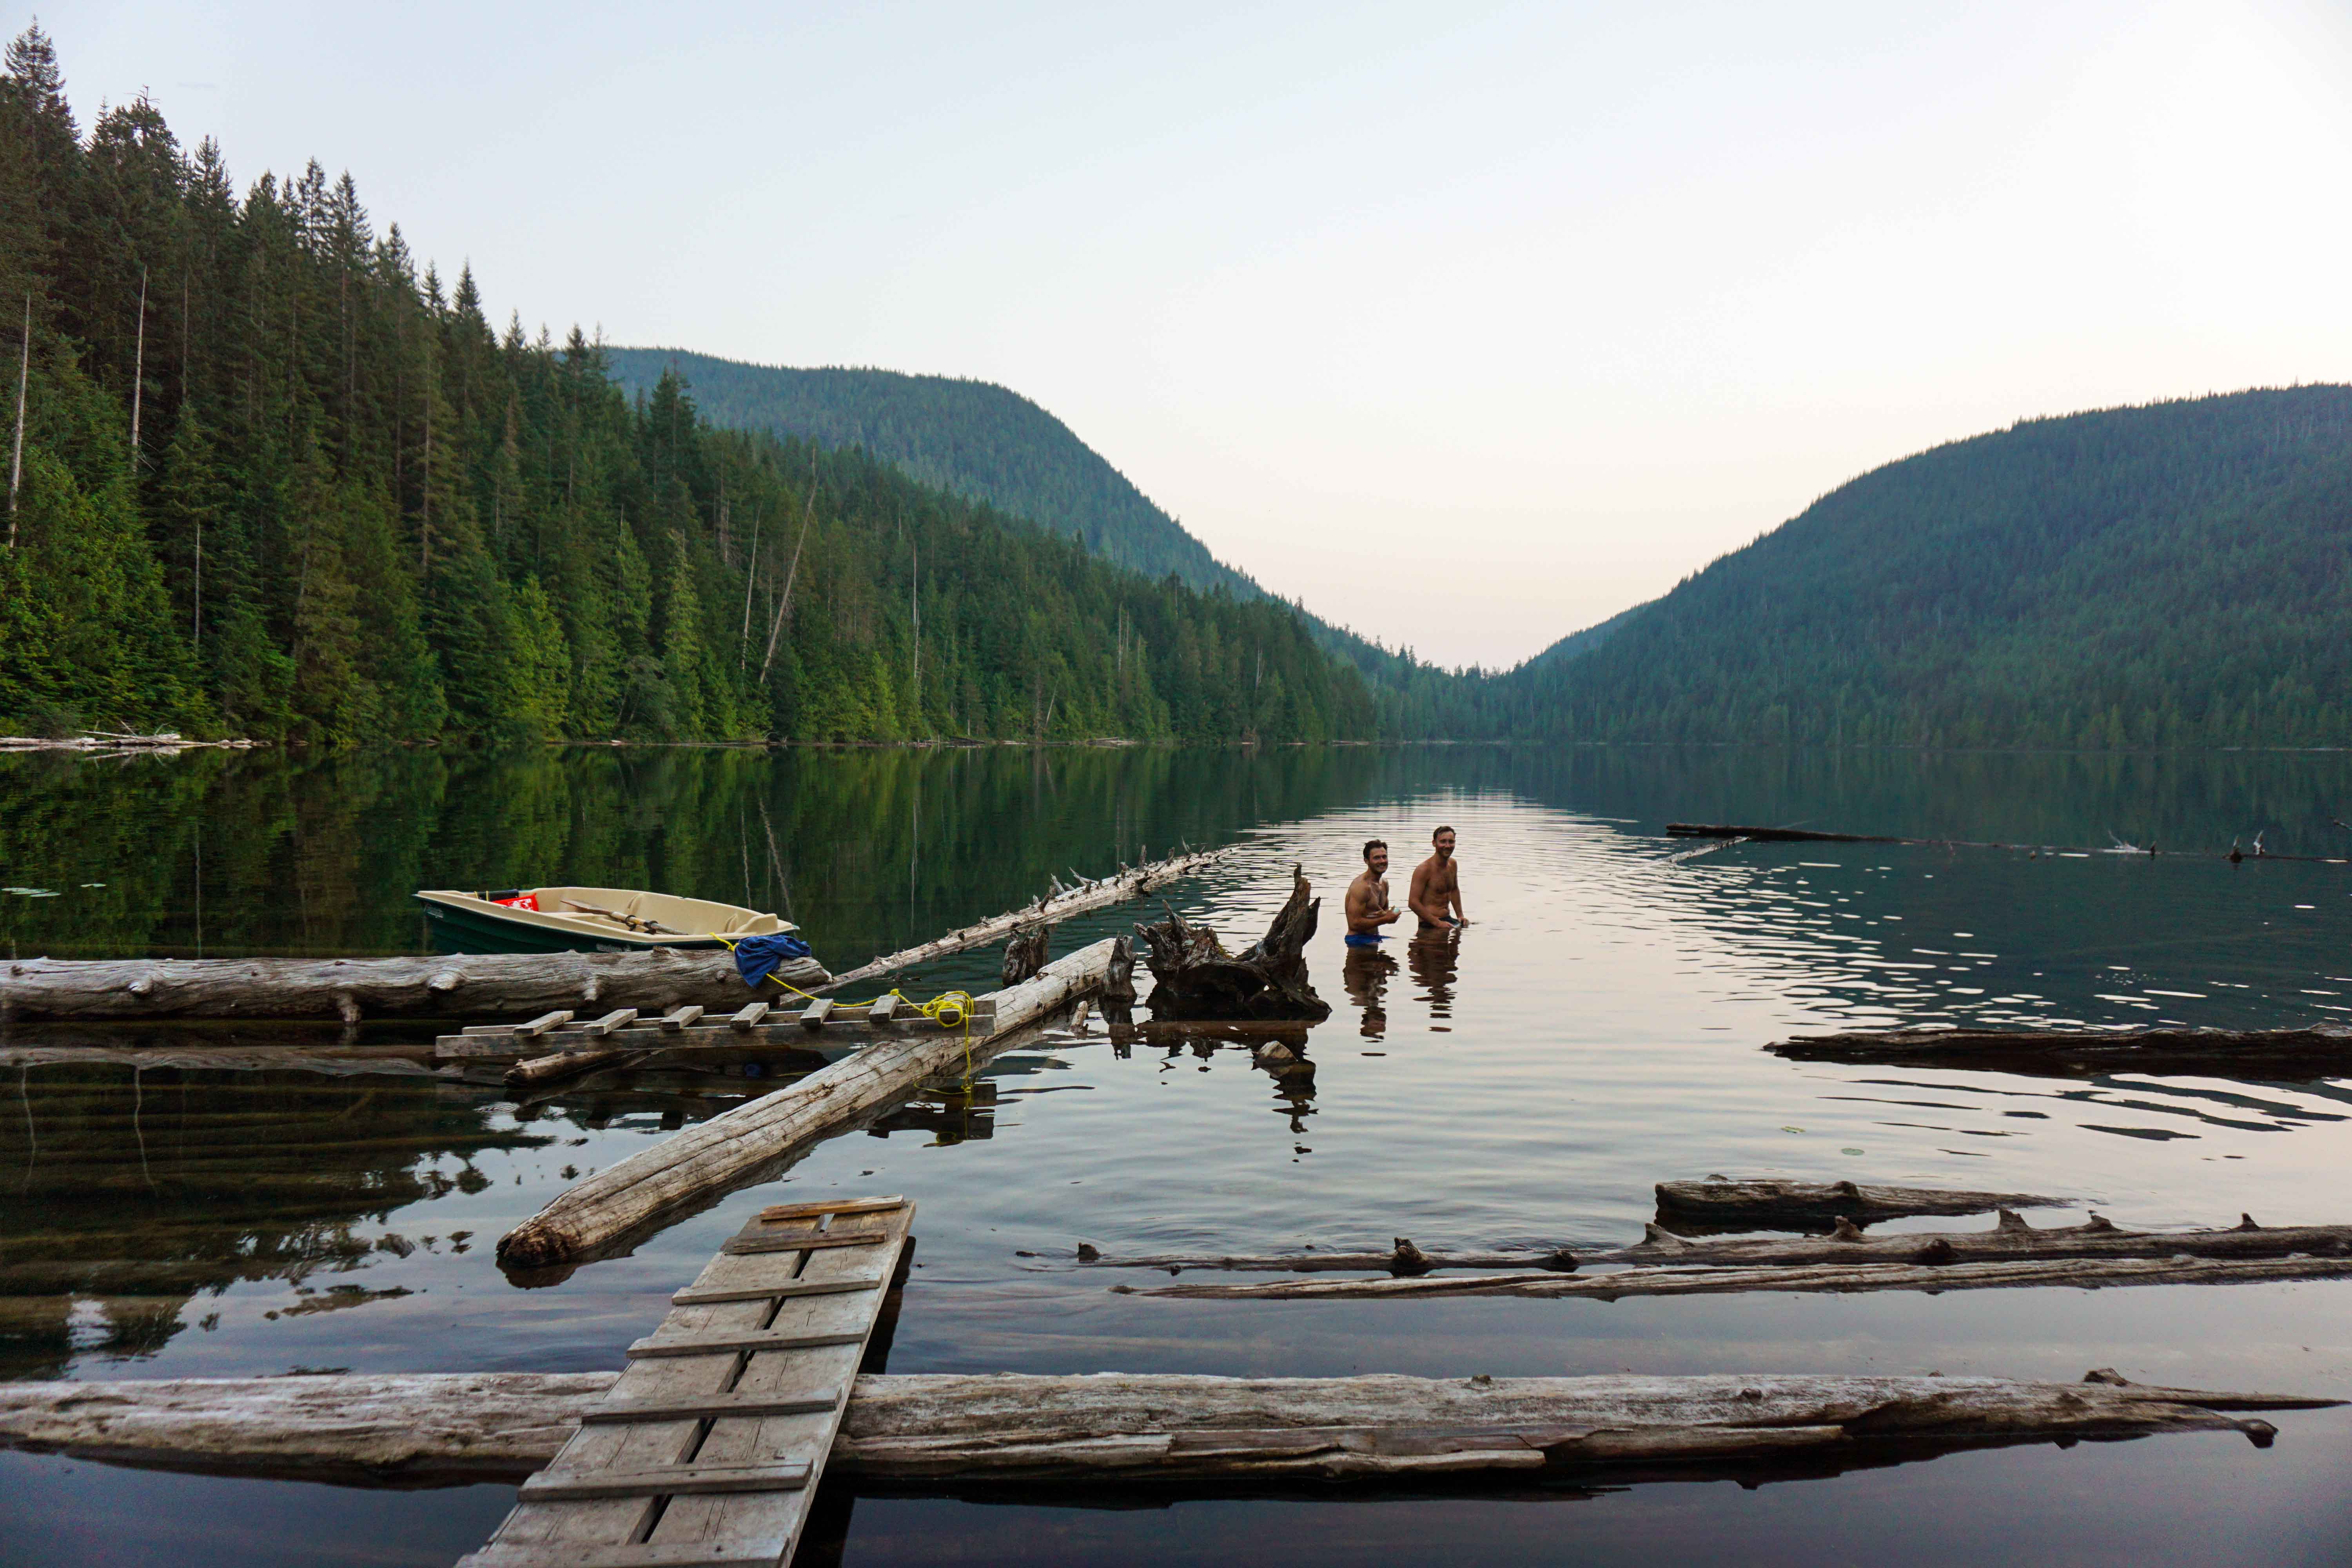
Once a thorough inspection had been completed and our spots staked out upstairs, we did what any hot-blooded human would have done – stripped off and threw ourselves in the lake. We quickly realised this was no freeze-your-wotsits off alpine lake. You could luxuriate in this all day.

Our swim was swiftly followed by a lap in the rowing boat, complete with life jackets and all. How this boat got here and by whose hand we don’t know, but at the time it felt like a gift from on high. As we sat in the middle of the lake, encased by forest, with snow-peaked mountains in the distance and the secluded cabin in the foreground, it was easy to see why our new friend Mike was reluctant to leave.

Two men swim in Confederation Lake hut

Cooling down after a hot hike

After dinner we took the short jaunt to the viewpoint at the disconcertingly named Vomit Vista. Never fear, it’s an easy walk, and there were no bodily fluids in sight. After that it was to bed, where we found the hut to be relatively cool and, thanks to the fly screens, bug free. If only my fellow companions didn’t snore, I would have had a much better night’s sleep.

The following day we forced ourselves to leave this beautiful spot, with the return journey taking about half the time of the previous day’s hike. As I scrambled down the hillside, my thoughts turned to Mike and the delights he would be experiencing as he worked his way to Tin Hat Mountain.

That’s the only problem with doing a short section of the Sunshine Coast Trail – it whets your appetite, and all of a sudden you want to take a week off work and walk the whole darn 180km.

I know that I, for one, will be back.