If you’re planning a multi-day hike, you’ll inevitably confront the question – what food should you take? There are four general rules –
- Your food should be easy to prepare – you don’t want to be carrying loads of propane. Nor do you want to spend hours preparing your dinner when you’re tired, hungry and weather-beaten. Minimal preparation is key.
- Your food should be lightweight – you’re the one having to carry it, so do you want to be weighed down by 20 tins of baked beans? No, didn’t think so.
- Your food should be nutritious – you burn a lot of calories while hiking, especially with a heavy pack on. These need to be replaced or you’ll soon start to struggle.
- Your food should correspond to the water supply – if water sources are likely to be scant, you will need to adjust your menu accordingly.
If this advice has you scratching your head, then never fear – take a look at my meal plan below for inspiration.
However, you should note that I take food very seriously! I’m not content to eat trash that tastes disgusting, just because it contains a lot of calories. Eating is something I look forward to when I’m hiking – if you prepare properly, you don’t need to compromise on that.
Also, I try to create as little waste as possible. This has obvious environmental benefits, but it has practical advantages too. After all, what you pack in, you must pack out. Remember those 20 tins of baked beans you were planning to take? Well, until you find a rubbish bin, you’ll have to carry the empty cans with you. That gets very annoying, very quickly.
Multi-day hike meal plan
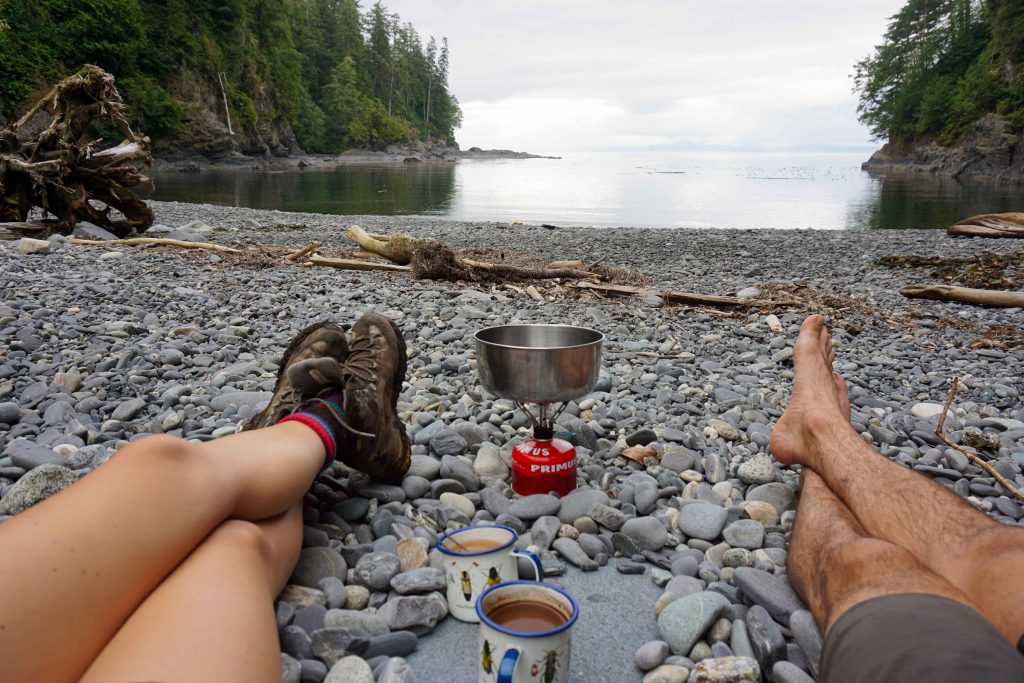
Here’s what I took while hiking the Juan de Fuca trail, a multi-day hike over three nights and four days. Water wasn’t an issue as there were lots of creeks nearby (although the water in that region does need to be treated or boiled).
Day 1
Breakfast – Homemade banana breakfast bars (recipe below)
Lunch – Cheddar cheese and tomato sandwich
Top tip – I pre-prepared my sandwich before leaving and wrapped it in foil. I then saved the foil and used it as my saucepan lid while cooking dinner.
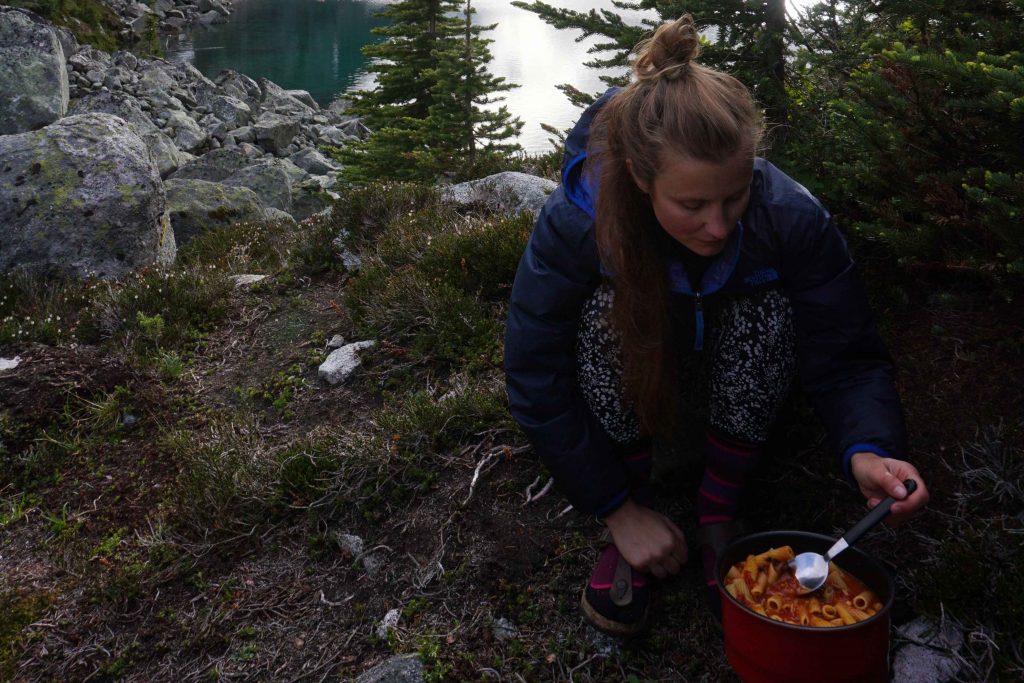
Dinner – Mexican macaroni and black bean stew, which was one of my homemade dehydrated camping meals, topped with a few shavings of hard cheese like gouda or parmesan. Followed by a square of 80% dark chocolate.
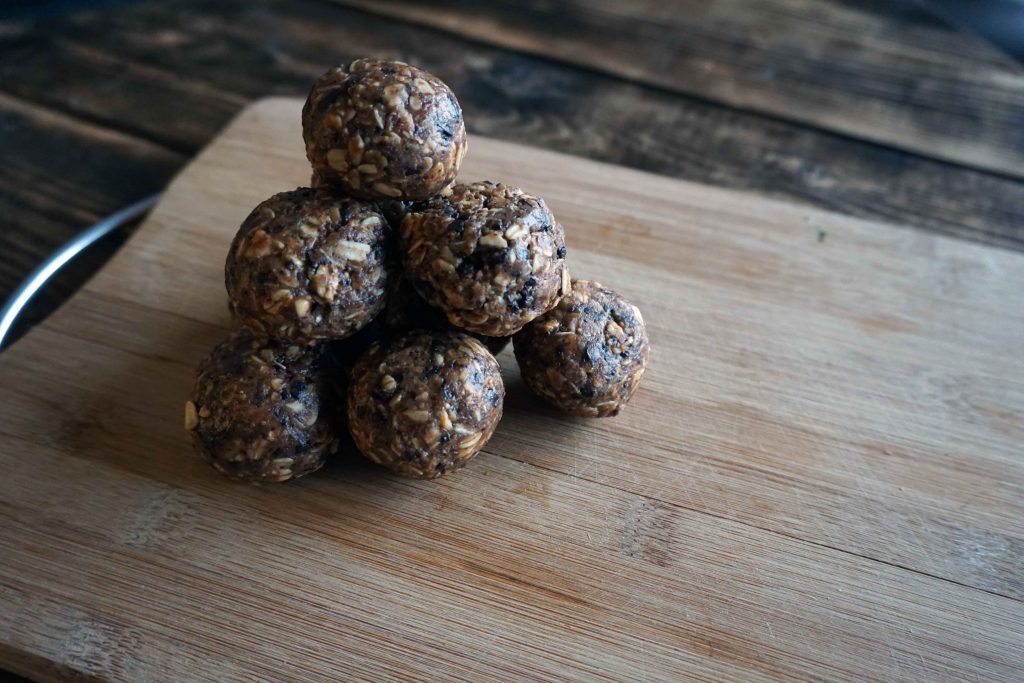
Snacks – Homemade peanut butter and chocolate energy balls (recipe below).
Day 2
Breakfast – Porridge prepared with water, topped with dehydrated bananas.
Top tip – I find one cup of oats per person is sufficient. Before leaving, I measured what I needed and then ground the oats up in a blender to make them smaller. I kept them in a reusable plastic bag, into which I sprinkled some brown sugar for sweetness.
Lunch – Cheddar cheese and pickle sandwich (I also pre-prepared this. The weather was cool so I wasn’t concerned about having a sandwich lying in my bag for a day).
Dinner – Orzo with tomato sauce and parley, which was one of my homemade dehydrated camping meals, topped with a few shavings of hard cheese like gouda or parmesan. Followed by a square of 80% dark chocolate.
Snacks – Homemade peanut butter and chocolate energy balls (recipe below).
Day 3
Breakfast – Porridge prepared with water, topped with dehydrated bananas. See my top tip above!
Lunch – Cheese and crackers
Dinner – Mexican rice and black bean stew, which was one of my homemade dehydrated camping meals, topped with a few shavings of hard cheese like gouda or parmesan. Followed by a square of 80% dark chocolate.
Snacks – Good old raisins and peanuts (also known as ‘GORAP’). Just put some raisins and peanuts into a reusable plastic bag. Dip in as needed.
Day 4
Breakfast – Porridge prepared with water, topped with the remaining raisins and peanuts.
Lunch – Cheese and crackers
Snacks – The remaining energy balls
Dinner wasn’t needed because I’d finished the hike and returned to civilisation.
Recipe for homemade breakfast bars
These won’t keep outside the refrigerator for too long so are best used at the start of your hike.
What you’ll need to make around 12 bars (depending on how big you cut them):
- 4 cups of rolled oats
- 6 large over-ripe bananas, mashed up
- ¼ cup of pitted dates, chopped up
- ¼ cup of chopped nuts, such as peanuts, cashew nuts or walnuts
- 6 tablespoons of honey or agave nectar
- 1 teaspoon of cinnamon
- ½ cup of shredded coconut (optional)
- Baking parchment
Method:
- Pre-heat oven to 350°F/175°C
- Mix everything together in a bowl
- Line a baking tray with baking parchment
- Tip ingredients onto the tray, pressing down to compact
- Bake for 30 minutes until golden
- Leave to cool, turn out of the baking tray and cut into squares
Recipe for peanut butter and chocolate energy balls
These keep well outside the fridge for a few days. But I warn you – they are incredibly more-ish. I recommend setting yourself a daily quota, or you’ll finish them in one sitting.
What you’ll need to make around 12 balls (depending on how large you roll them):
- 1 cup of rolled oats
- ½ cup of crunchy peanut butter
- ½ cup of dark chocolate chips (or break up a chocolate bar and put it in a food blender)
- ½ cup of ground flax seed
- ⅓ cup of honey
Method:
- Mix everything together in a bowl
- Roll into balls
- Refrigerate overnight
- Roll in some ground oats to stop them sticking together (optional)