Tag Archives: backcountry skiiing

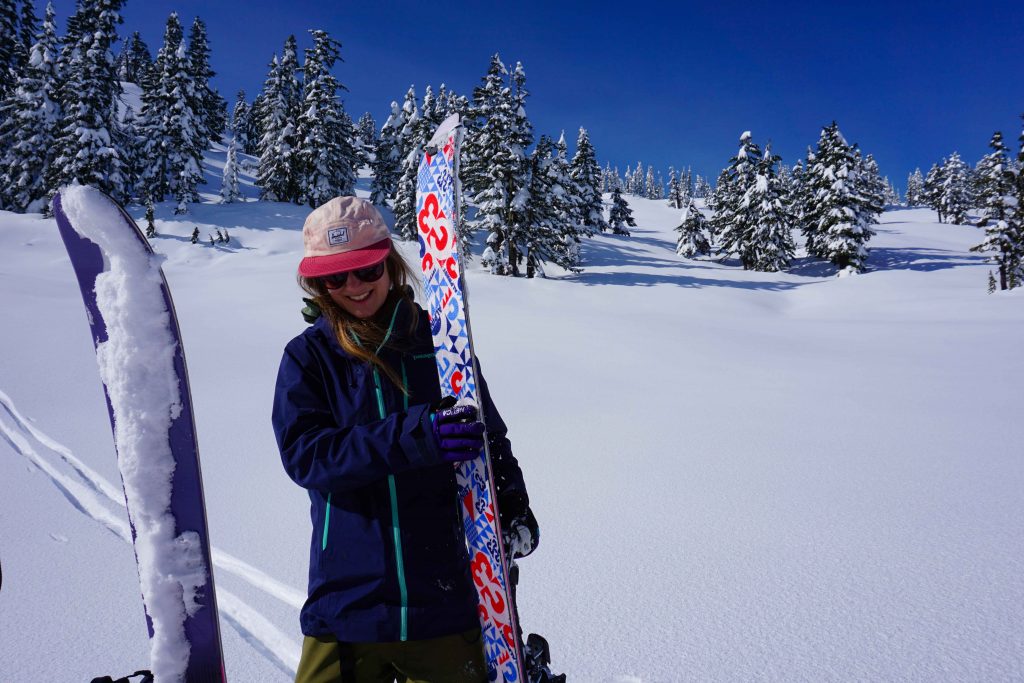
Ski touring at Round Mountain

How to Get Started Backcountry Skiing

Backcountry skiing is the natural progression for a lot of people wanting to push their skiing to the next level. Resorts can be busy and expensive. Lift lines can be long. And no matter how early you arrive on a powder day, it’s mere minutes before those fresh lines are tracked out.

Not to get too purist about it: there’s always a time and a place for the ski hill! But sometimes you just want something a little more, well, spiritual. A day out in nature. A physical challenge. Oh, and lots of untouched snow all to yourself. You might only have the energy for one lap, but you might just make the best turns of your life. 

If this sounds appealing, then backcountry skiing could be for you.

What is backcountry skiing?

Backcountry skiing refers to any kind of skiing that’s not within the boundary of a ski resort. This means it hasn’t been controlled for avalanches and isn’t covered by ski patrol.

You can either access this terrain by taking the chairlift up and then skiing, touring or boot-packing beyond the boundary lines. This area is known as the side-country or the slack-country. Alternatively, you can make the expedition entirely human powered. This involves hiking up, usually with climbing skins on the bottom of your skis, before transitioning to downhill mode and skiing back down again.
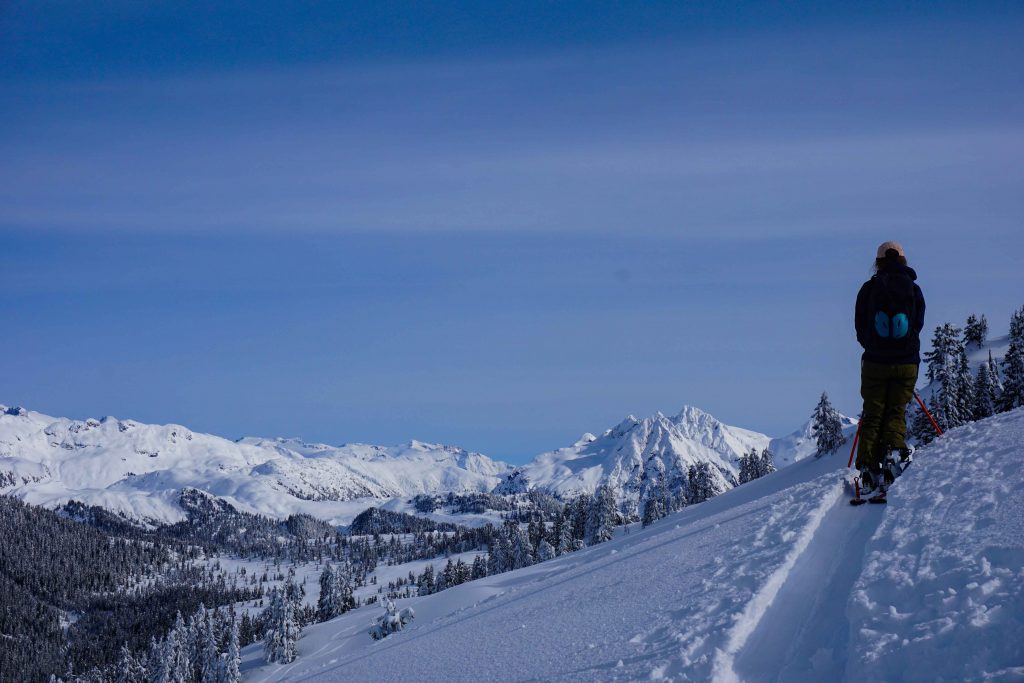
Ski touring in the backcountry
Skinning along a skin track

How to get into backcountry skiing

Even to the seasoned resort skier, getting into backcountry skiing can seem like daunting proposition. Take a few turns out of bounds and you suddenly feel very vulnerable – and with good reason. It’s a wild place out there, full of terrain traps, tree wells and avalanche hazards. There are precious few people, and ski patrol won’t be sweeping the area at the end of the day, so it’s up to you to get home safely.

All these risks are very real, but that doesn’t mean you have to be a pro mountaineer to start backcountry skiing. If you have a reasonable level of fitness and are comfortable skiing blue runs, then there’s no reason why you shouldn’t take up backcountry skiing.

But before you leave the resort boundary behind, you need to equip yourself with a little bit of know-how first. You may be a highly experienced skier, and you are probably oh so very eager to play in that pristine powder. However, backcountry skiing is a different kettle of fish to resort skiing. It’s practically a different sport. Because of this, you need to start at the very beginning.

So, here’s how to get into backcountry skiing.

1. Try an intro to backcountry skiing course

First up, you could try an introductory backcountry skiing course. These courses teach you the basics of ski touring, including how to use your equipment and how to plan a safe route. Then you head out into the field to experience it for yourself.

Trying before you buy is a great idea. Backcountry gear is an expensive investment, so it’s good to know that you actually like it before you splash the cash. It’s not for everyone, especially if you’re less-than-confident about your fitness or skiing ability.

2. Take your AST 1

If you’re keen as a backcountry bean, then you absolutely must take your Avalanche Skills Training Level 1 (AST 1). Find a course provider approved by Avalanche Canada or Avalanche Quebec.

During the course you’ll learn how to travel safely in the backcountry. You’ll cover route planning, terrain traps, avalanche risks, companion rescue and snow assessment. You should not attempt to ski in the backcountry until you’ve completed your AST 1.

Top tip for ladies – some companies offer women’s only AST 1 courses, including Altus Mountain Guides in Whistler.

3. Get the gear

A ski touring set-up is different to a resort set-up. Most important are the avalanche safety tools, which encompass an avalanche transceiver, a probe and a shovel. You’ll also need climbing skins and alpine touring bindings.

This equipment is required to do your AST 1. However, you can always rent to begin with. This gives you the chance to build your ski touring set-up gradually. Find out exactly what you’ll need with this Ski Touring Kit List.

4. Find a group of fellow ski tourers

Now you’re equipped with the right knowledge and safety tools to head out into the backcountry. The next step is to find a group of fellow ski tourers (or split boarders) to accompany you.

Do not travel in the backcountry alone. Instead, find some friends who have also taken the AST 1 (at least). These people might have to save your life, so you better be confident that they know what they’re doing.
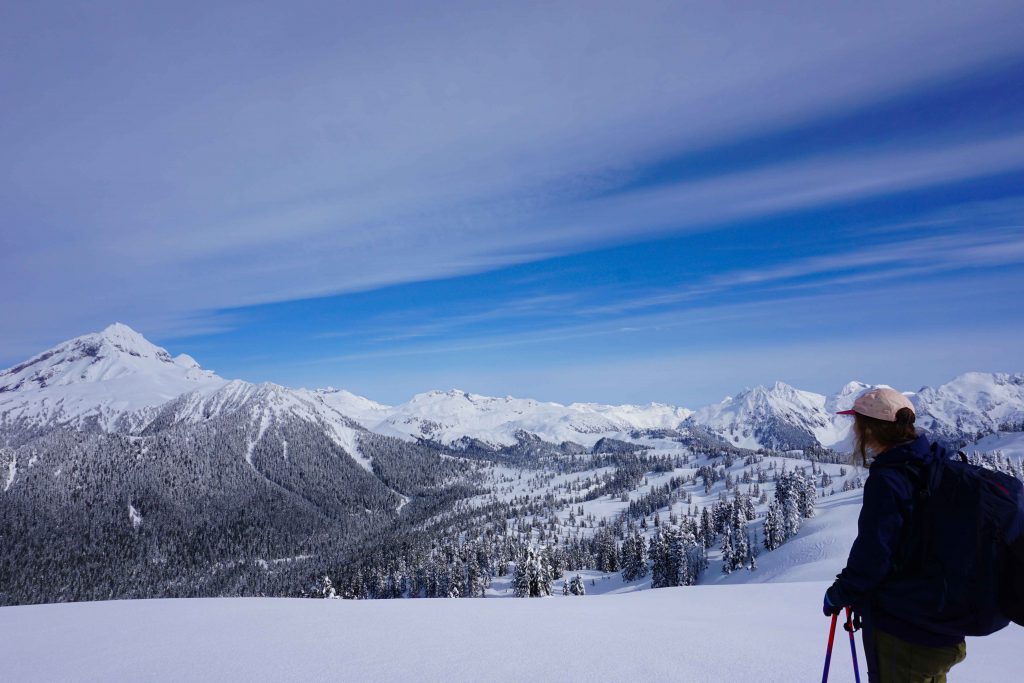
Ski touring in the backcountry
In search of simple terrain

5. Start simple

Then, start off with something easy. You might even want to skin up some local trails or gentle logging roads first. This gives you the chance to dial down those kick turns and do some beacon practice before heading out into the wilds.

Be sure to stick to simple terrain when you’re starting out. You’ll learn all about this during your AST 1. You can work your way up to bigger backcountry adventures once you’re more adept at identifying avalanche hazards.

If you live in British Columbia, John Baldwin’s book Exploring the Coast Mountains on Skis is a great resource. Each trip is given a difficulty rating and is classed according to the Avalanche Terrain Exposure Scale (ATES).

6. Take a guided tour of the backcountry

If you’d like to experience more of the backcountry in a safe way, you could always take a guided tour. Your guide will be grateful that you’ve got your avalanche skills training under your belt.

You could also ask a more experienced friend to take you out for the day too. However, don’t rely on your friend, just because he or she has been backcountry skiing for longer. Keep communicating with each other and stay involved in the decision-making process. You’ve recently done your AST 1, so all that important safety information will be fresh in your mind. If you’re not happy with something, speak up.

7. Keep learning

Backcountry skiing is one long learning curve. Re-read your AST handbook at the start of every season. Do a companion rescue skills course to refresh your memory. Take the AST 2. Just because you learned what to do in an avalanche situation five years ago, doesn’t mean that you’ll remember what to do if a burial actually occurs. This could be the difference between life and death.

So, no matter who you are, keep educating yourself on avalanche terrain, map reading, first aid, survival skills and even weather forecasts. You don’t know when you might need it.
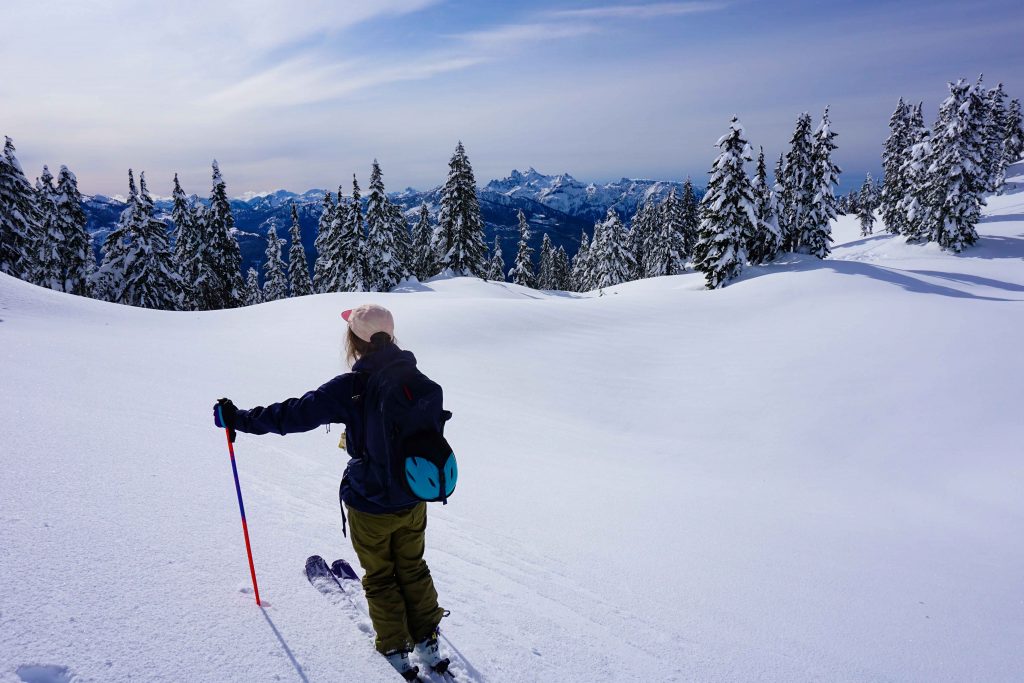
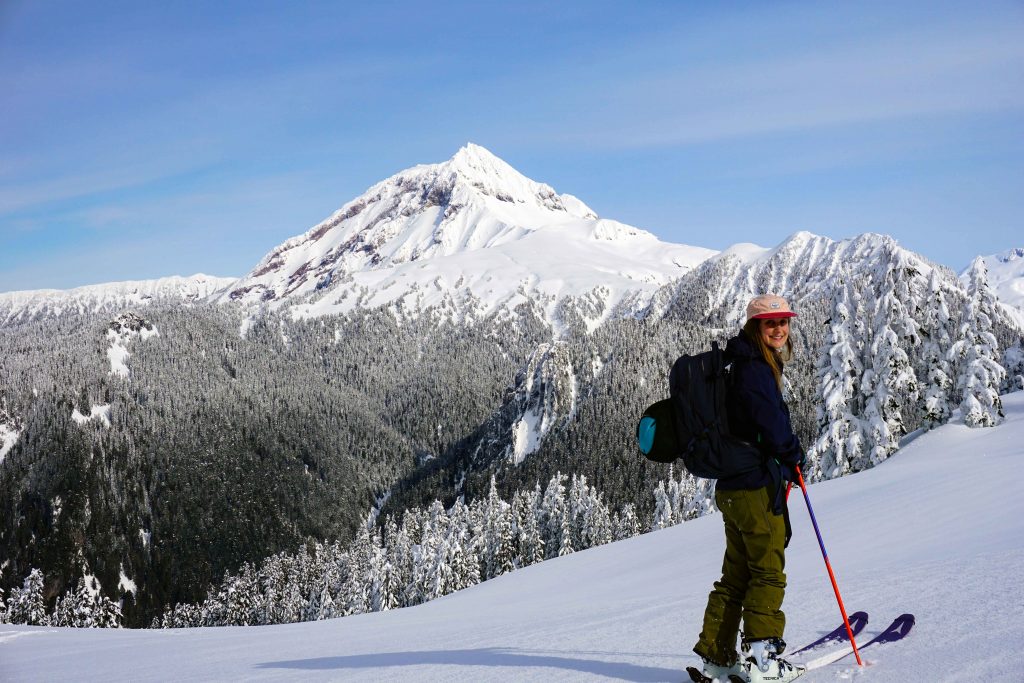
Woman on skis stands on snowy hill with mountains in the distance

Ski Touring Kit List

There’s something so magical about ski touring. You can get far from the madding crowd in search of new terrain, untouched lines and fresh pow. But before you can earn your turns, you’ll need to invest in some new gear.

If you’re new to ski touring, then take a deep breath. You’re going to need to modify your traditional downhill resort set-up. This can be overwhelming – firstly because there are so many options out there, and secondly because, let’s be honest, it’s not cheap.

If you’re operating on a budget, then check sites like Craigslist and Facebook Marketplace for second-hand gear. Stores usually offer discounts on last year’s stock, and you can wait for those annual sales to come round. It’s also a good idea to start shopping around sooner, rather than later. That way you can collect your gear bit by bit, rather than having a last-minute splurge at the start of the season.

Here’s a run-down of everything you’ll need for a ski touring set-up.

Skis

OK, this seems obvious – you’ll need a pair of skis to go ski touring. You’re going to want something that can float through powder, as opposed to a pair of narrow-waisted carvers. Ski technology is incredibly advanced these days and ski aficionados can talk for hours about rockers, camber and width. Basically, you’ll want some powder skis or some all-mountain skis that are wider underfoot.

If you’re a snowboarder, you’ll need to get a splitboard mounted with splitboard bindings.

Bindings

Ski touring bindings are special because they have an uphill mode and a downhill mode. There are two options available: frame bindings and tech bindings. Traditionally tech bindings (i.e. pin bindings) were aimed at uphill efficiency but compromised on safety during the descent. New technology is now combining the best of both worlds, but only a few companies currently offer such products (like the Salomon Shifts), meaning they have a much higher price point.

Whichever you choose, be sure that your bindings are compatible with your touring boots.

Touring boots

Which brings me onto my next point: touring boots. Like bindings, touring boots have a skinning mode and a skiing mode. You don’t realise how important this is until you start hauling yourself up a mountainside. If you have alpine ski boots on, your feet will quickly become sore and blistered. This is definitely not what you want in the backcountry. In fact, you want to take care of your feet at all costs. Make sure your boots are comfortable. If not, consider getting a custom liner, such as an Intuition liner.

Skins

Skins are like carpets you put on the bottom of your skis during the ascent. One side is gluey and sticks to the underside of your ski. The other side usually consists of nylon or mohair and lets you glide effortlessly across the snow. Skins come in different sizes, so select some that fit your skis. You’ll then need to trim the edges (and possibly adjust the tail and tip clips) so they sit flush with your edges.

Ski touring kit
Skinning up

Avalanche transceiver

Now onto the safety equipment. First up, an avalanche transceiver. This might just save your life one day, so if you’re going to buy anything new, this is it. Transceivers are worn across your chest at all times while you’re in the backcountry. They have a send and receive mode. You keep them on send or ‘transmit’. In the event that one of your companions is buried, you switch onto receive or ‘search’. Your device will pick up the signal being transmitted by your buried companion. You’ll then know where to dig.

Some avalanche beacons are considered safer than others, and some get an extremely bad press indeed. Research different models and check the news, reviews and advice from industry experts before you invest.

Shovel

Shovels have many uses in the backcountry. Most importantly, they allow you to move snow fast in the event of an avalanche burial. They’re also useful for digging snow pits and snow caves. There are specific snow sport shovels on the market. These are lightweight and durable. Most also have handles that fold down or detach, meaning you can easily fit them into your backpack.

Probe

A probe is essentially a long metal stick that is used in an avalanche situation. This is a crude description for such an important piece of kit, but you get my point. Once you’ve located the rough area of your buried companion, you whip out your probe and insert it straight down into the snow. You keep going until you hit a human. Backcountry probes break down so they can be carried in your bag and feature a pull cord for quick deployment.

Lightweight/moisture wicking clothes

You probably already have a closet full of ski clothes. But check – are your jacket and pants insulated? If you’ve been skiing in resort, then they likely are. This is because it’s cold on a chairlift. But when you’re out touring, you can get incredibly hot while skinning up. Then, you can get incredibly cold while transitioning and skiing down. This means lots of lightweight layers are key.

For your outer layers, you’ll want a shell jacket and pants/bibs that are uninsulated. Anything else will be too hot and heavy. Ideally, you want to achieve the holy trinity of lightweight, breathable and waterproof. For your base and mid-layers, choose moisture-wicking materials such as merino wool. Stay away from cotton.

Backpack

You’ll need somewhere to put your shovel, probe, layers, skins (when your skiing down), food, water and all your other items. You might feel that any old backpack will do. However, there are dedicated ski touring backpacks available. These have a separate compartment for your avalanche tools, ensuring they’re easy to reach when you need them.

Related: Kit Review – Norrøna Lyngen 35L Ski Touring Pack.

The usual ski stuff

Then there’s all the other usual ski stuff, like a helmet, goggles, poles and gloves.

Other bits and bobs

And finally, all the other bits and bobs. Some of these items will be personal to you. For example, while skinning I prefer to wear a cap, sunglasses and a pair of lightweight gloves. But you’ll learn what works as you go.

Then there’s the other essential safety items, like a compass, a map of the area, a multi-tool, a first aid kit, sunscreen and a head torch. You’ll also want some kind of communication device – you know, just in case anything should happen. Mobile phones don’t always work out of bounds (or in bounds, for that matter) so you might want to invest in a satellite communication device. Ultimately, the choice is yours, but it can provide peace of mind while you’re shredding around the backcountry.