Tag Archives: backcountry kayaking

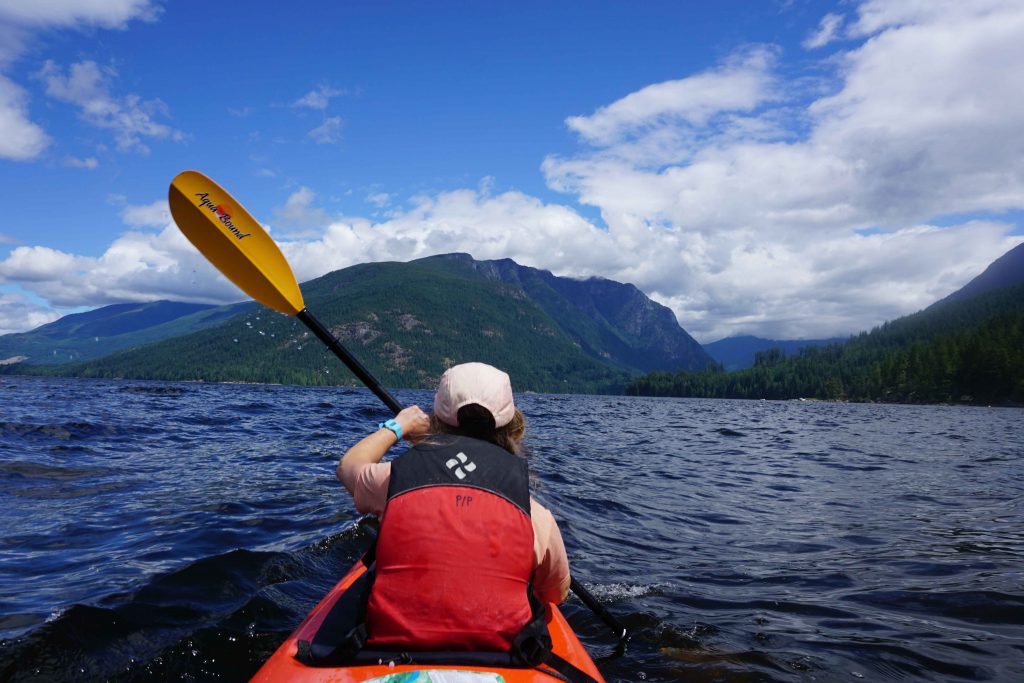
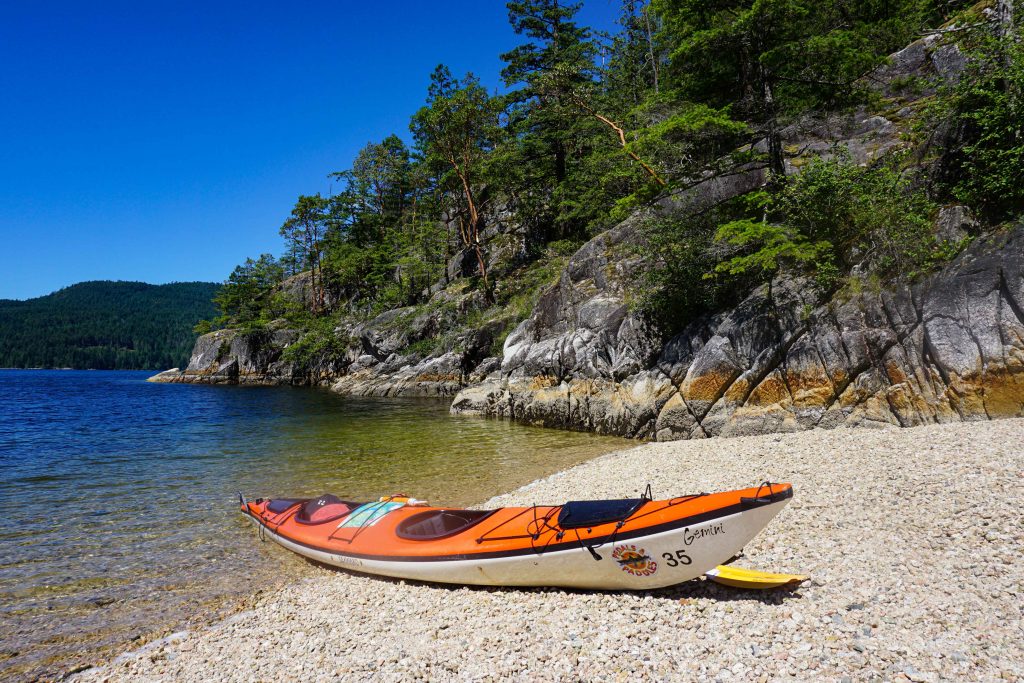
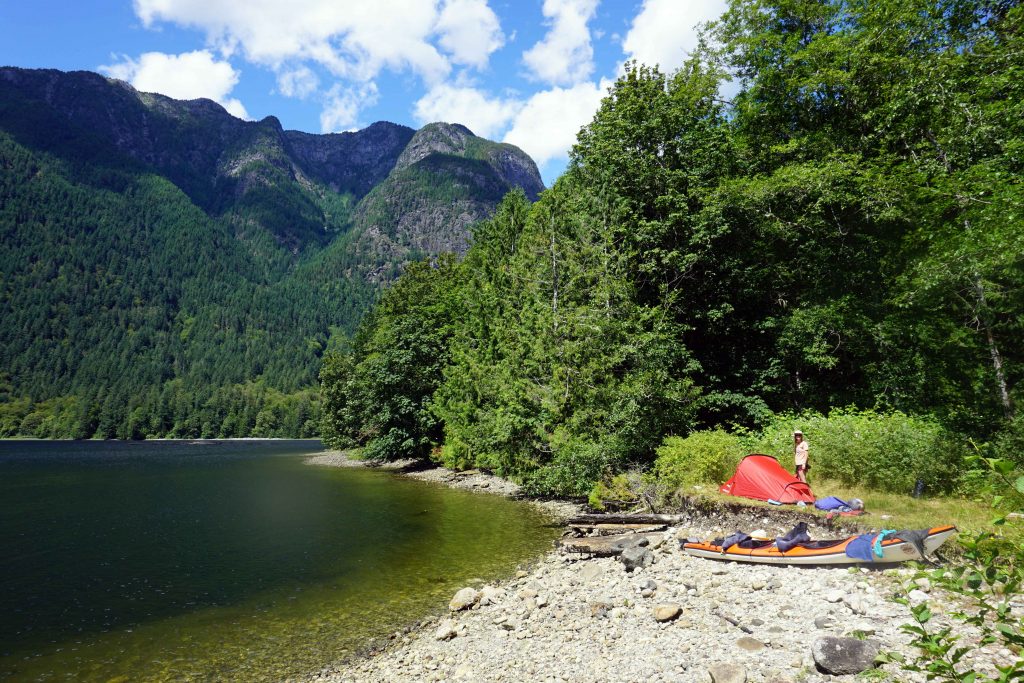
Kayak camping on the Sechelt Inlet

Kayak Camping 101: Tips for Overnight Kayak Trips

Multi-day kayaking trips open up a new world of opportunities, allowing you to reach more remote locations – some of which may be marine access only. If you’re hoping to undertake an overnight kayak trip, but you’re not sure where to start, then this guide is for you.

Note: this blog deals with sea kayaking only. Kayaking on rivers, white water and other waterways is a little different.

Tip #1: Get a sea kayak

There are lots of different types of sea faring vessels out there. If you’re headed for saltwater, then the best option is a sit-in sea kayak, also known as a touring kayak or ocean kayak. You can get single, double and even triple seaters.

Tip #2: Plan a safe route

For your maiden voyage, choose a route with safe waters. Avoid large open water crossings and areas where winds are known to pick up, such as valleys. Start with one night at a time as you build your confidence, and only venture out in calm weather. Always leave a trip plan before you depart.

If you live near Vancouver, then kayaking the Indian Arm is a good beginner option, as is kayaking the Sechelt Inlet. Alternatively, you could hire a guide who will ensure your safety while you learn the ropes.

Tip #3: Know what to do in the event of a capsize

There is always the risk that your kayak will capsize. Be sure that you know what to do, should this happen. Some outfitters won’t actually allow you to rent a kayak, unless you can demonstrate a capsize situation and/or have a kayak training certificate.

Tip #4: Check the conditions and tide times

When you’re sea kayaking, you’re at the mercy of both the tide and the weather conditions. Both factors can have a significant impact on when you do (and do not) want to be out on the water. Check the tide times and conditions in advance, and plan your days around that information. Often, winds pick up in the afternoon, making the water much calmer in the mornings and evenings.

Tip #5: Pack like you would for a backcountry hiking trip

Sea kayaks usually have a hatch in the front and the back (or bow and stern, to use the proper terminology). Some double kayaks also have a hatch in the middle. When combined, these provide a surprising amount of storage space. Even so, it is better to pare back on non-essential items, as the extra weight will require extra effort when paddling. All kayaks also have a maximum carrying capacity which you don’t want to exceed.

Packing for a multi-day kayak trip requires exactly the same approach as packing for an overnight hike. Lightweight camping gear is ideal. The only exception to this rule is that you can carry more water while kayaking than while hiking.

A basic packing list might include:

  • Tent
  • Sleeping bag
  • Sleeping mat
  • Stove, fuel and lighter
  • Cookware and utensils
  • Water and food
  • Water purification tablets
  • Headlamp
  • Multi-tool
  • Toilet paper and trowel
  • Sunscreen
  • Spare set of clothes, including warm and waterproof clothes
  • Satellite communication device
  • First aid kit

The advantage of kayaking is that you can pack your kayak on the shore before launching. Any non-essential items that don’t fit in the kayak can be left behind (provided that doesn’t mean littering, of course!)

Tip #6: Use dry bags

Although the hatches on sea kayaks are usually sealed, they do get damp inside. Because of this, you should keep most of your gear in dry bags. This is particularly important for anything you really don’t want to get wet, like your clothes, sleeping bag and electronics.
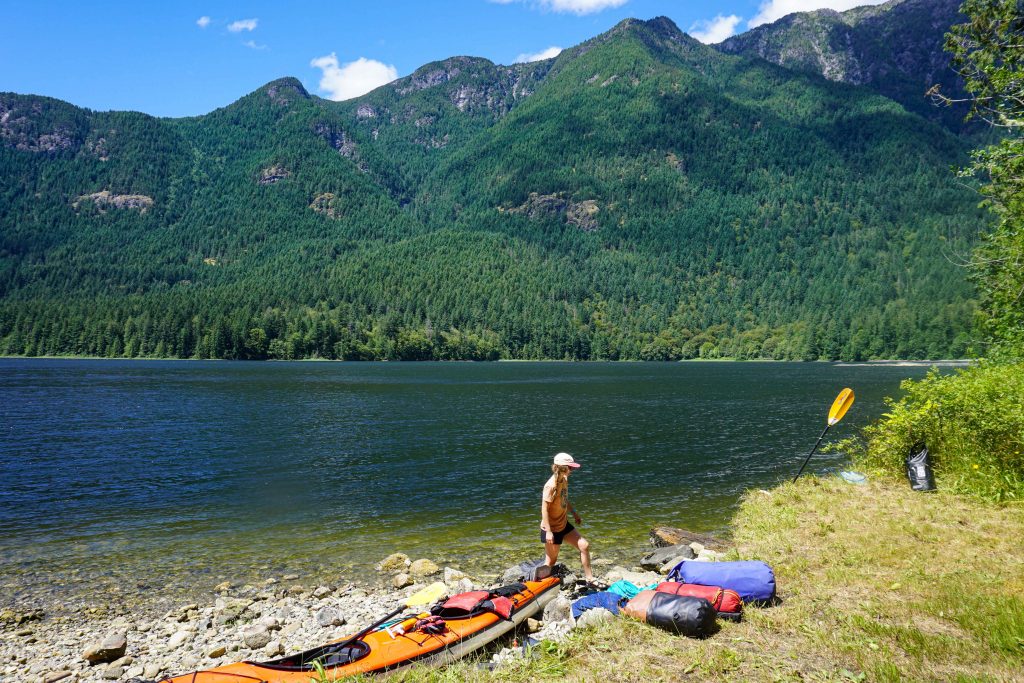
Kayak camping on the Sechelt Inlet
Pack gear in dry bags

Tip #7: Float the kayak while you load/unload

It seems like an obvious thing to say, but an empty kayak is a lot lighter than a fully loaded kayak. With this in mind, it makes sense to float the kayak in the water, while you load and unload. This is easier than carrying a heavily laden kayak to the water’s edge. If there’s at least two of you, one person can hold the kayak while the other one packs.

Most sea kayaks are made from fiberglass, meaning you don’t want to drag them along the ground.

Tip #8: Think about weight distribution

The way in which you load a kayak can make a huge difference in terms of efficiency and manoeuvrability. Heavy items such as water should be stored low down and as centrally as possible (such as in the central hatch of a double kayak). For everything else, try to keep the weight distribution even between the bow/stern and port/starboard.

Also remember is that the first things into the kayak are the last to be unpacked. So, pack gear you’ll only need at camp in the farthest reaches of the bow/stern hatches. Anything you might need to access frequently should be packed last.

Tip #9: Pack a deck bag

It is very difficult to reach into the hatches while you’re paddling. Rather than risk a capsize, keep items such as snacks, a water bottle, sunscreen, sunglasses and camera close to hand. Some kayaks have a day hatch for this very purpose. If not, place them all in a small dry bag. This can be clipped onto the deck lines (which are elasticated lines in front of the cockpit).

Don’t store these items in the cockpit (where you sit) because if you capsize, they’ll be lost to the watery depths. It will also impede your ability to exit the kayak.

Tip #10: Carry and use safety equipment

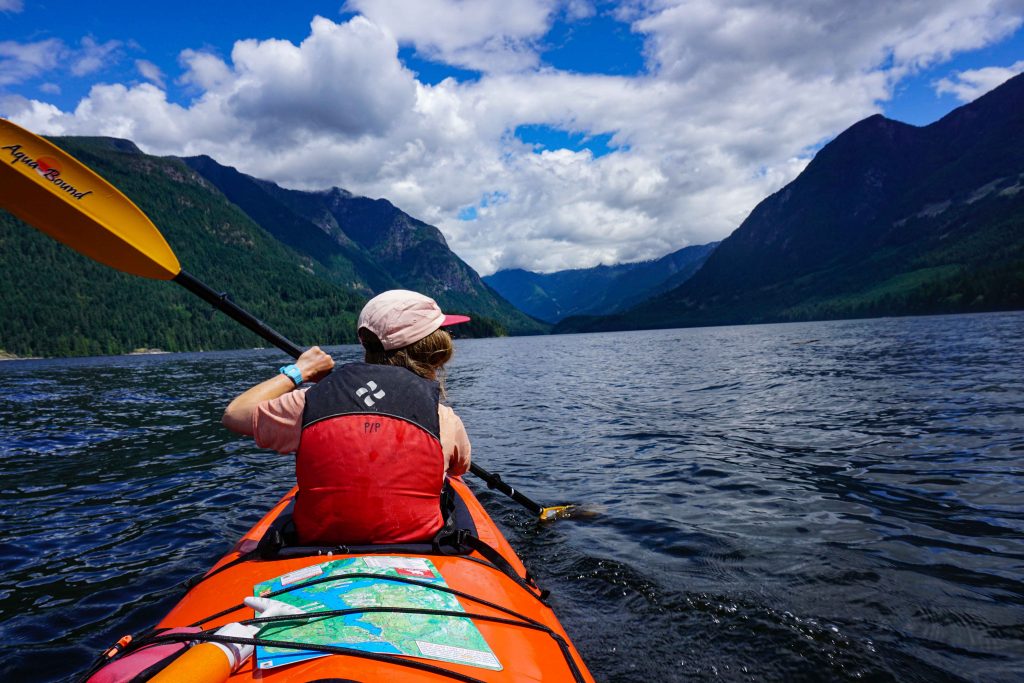
You should always wear a life jacket while sea kayaking. Also carry a water bilge/bailer and sponge, spare paddle, whistle and throw rope. Keep a waterproof map of the area tucked under the deck lines.
Kayak camping on the Sechelt Inlet
Tuck a waterproof map under the deck lines, along with a bilge pump and throw rope

Tip #11: Adjust your position

Sea kayaks typically have foot pegs attached to adjustable straps. When you sit in the kayak, play around with the straps until your legs are stretched out but with a slight bend in them (like a frog). This allows you to brace your legs against the sides, putting you in a better paddling position. You can also adjust the paddle and the drip ring to your liking.

Tip #12: Be ready for weather exposure

When you’re out on the water, you’re fully exposed to the elements. Sun, rain, wind, saltwater: it’ll get you. Be prepared for this by applying lots of sunscreen and wearing a brimmed hat. Wind breakers, waterproof jackets and special kayaking gloves are also useful pieces of equipment.

Tip #13: Consider using a spray skirt

A spray skirt is something you wear around your waist. When you sit in the kayak, you then wrap it around the edges of the cockpit, sealing you in. Spray skirts are not 100% waterproof – a big wave will cause water to soak through. But they do a great job of keeping spray off the lower half of your body, which in turn can help to keep you warm and relatively dry.

If you use a spray skirt, make sure you know how to remove it, in the event of a capsize. Always keep the handle of the skirt exposed (and in front of you) for easy access.

Tip #14: Stay close to shore

Paddling close to shore is almost always the safest option when sea kayaking. The currents are not as strong and you’re often better protected from the wind. Just don’t get so close that you scrape the bottom of the kayak or chip the paddle on rocks.

Tip #15: Store your kayak safely

Once you reach your destination, be sure to carry your kayak above the tideline. Otherwise, it will float away in the night, leaving you stranded. If possible, cover the cockpits with the spray skirts and turn the kayak upside down.

Tip #16: And finally…

Those in a single kayak (or in the back of a two/three person kayak) will have foot pedals to steer the rudder. Don’t forget to pull the rudder up when you’re approaching shallow water! And if there’s more than one person in the kayak, try to paddle in unison.
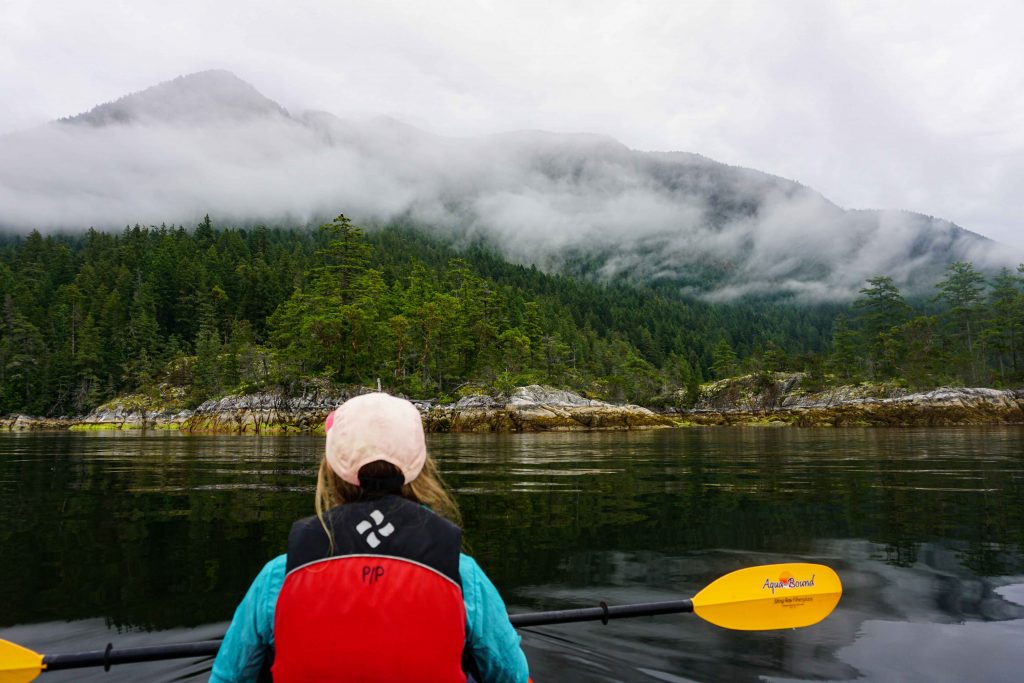
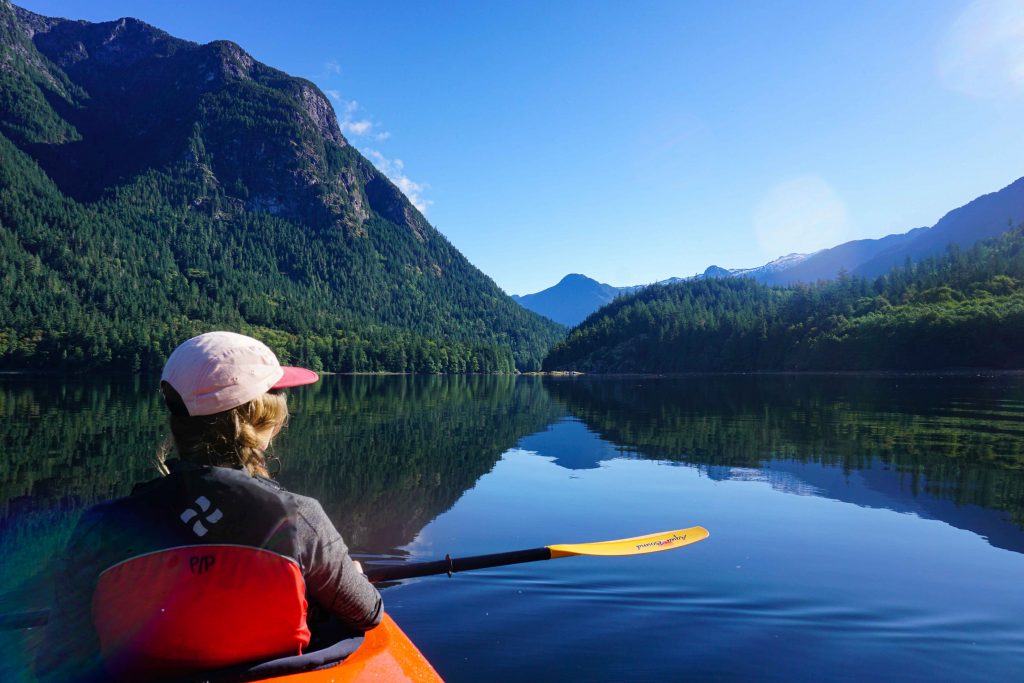
Kayaking the Sechelt Inlet

Kayaking the Sechelt Inlet

There are nine free marine access campgrounds dotted along the Sechelt Inlet and surrounding waterways, making for a great backcountry kayaking trip just a couple of hours from Vancouver.

A paddler’s paradise

The Sechelt Inlet is a prime paddling destination. The waters are fairly calm thanks to the geography of the landscape, so you’re unlikely to encounter big waves, as is often the case with sea kayaking. Wildlife watchers will be treated to sightings of bald eagles, seals and porpoises, along with a variety of marine life such as starfish and crabs. The deep blue sea gives way to treelined mountains where no roads go, making for a true backcountry experience in the wilderness.

To top it all off, there are no less than nine rustic campgrounds in the area, most of which are found on quiet, secluded beaches. They’re also completely free of charge. This means you can load up the kayak and explore at your leisure, paddling between campgrounds until your heart’s content. The first campground is just an hour from the recommended launch point, so it doesn’t matter if you have one night or one month to spare – there’s both big and small adventures to be had here.

If you’ve never done a multi-day kayak trip before, check out my blog post Kayak Camping 101 – Top Tips for Overnight Kayak Trips.

Kayaking the Sechelt Inlet
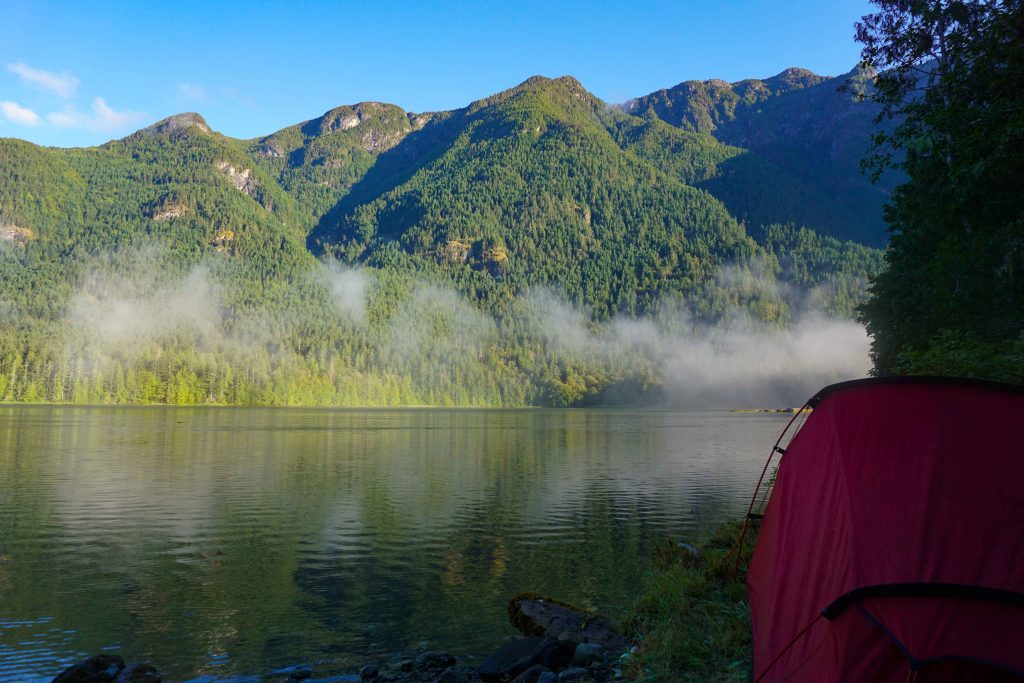
Mornings at Tzoonie Beach

What you need to know before you go

If you’re planning an overnight kayaking expedition along the Sechelt Inlet, then here’s what you need to know before you go.

When to go

The ideal time to kayak the Sechelt Inlet is between May and early September.

Getting there

The most southerly part of the Sechelt Inlet is found near the town of Sechelt on the Sunshine Coast. From Vancouver, take a ferry from Horseshoe Bay to Langdale. Head west along Highway 101 until you reach Sechelt. You will probably want to launch further up the inlet, so head north on Sechelt Inlet Road until you reach your desired destination (see below).

If you’re coming from the mainland then ferry reservations are highly recommended. Or you could always cycle, which is what I did!

If you have your own kayak/canoe

If you already have your own sea-faring vessel, then you can launch at the public beach in Tuwanek. You could also launch at Porpoise Bay Provincial Park, or the very southerly end of the Sechelt Inlet where there’s a boat ramp, but you’ll have a longer paddle to the campgrounds.

If you don’t have your own kayak/canoe

If you don’t have a sea kayak or canoe to hand, then don’t worry: you can rent one from Paddles and Pedals near Tuwanek. This is a family-run operation and they are used to catering for overnight trips.

Kayaking the Sechelt Inlet
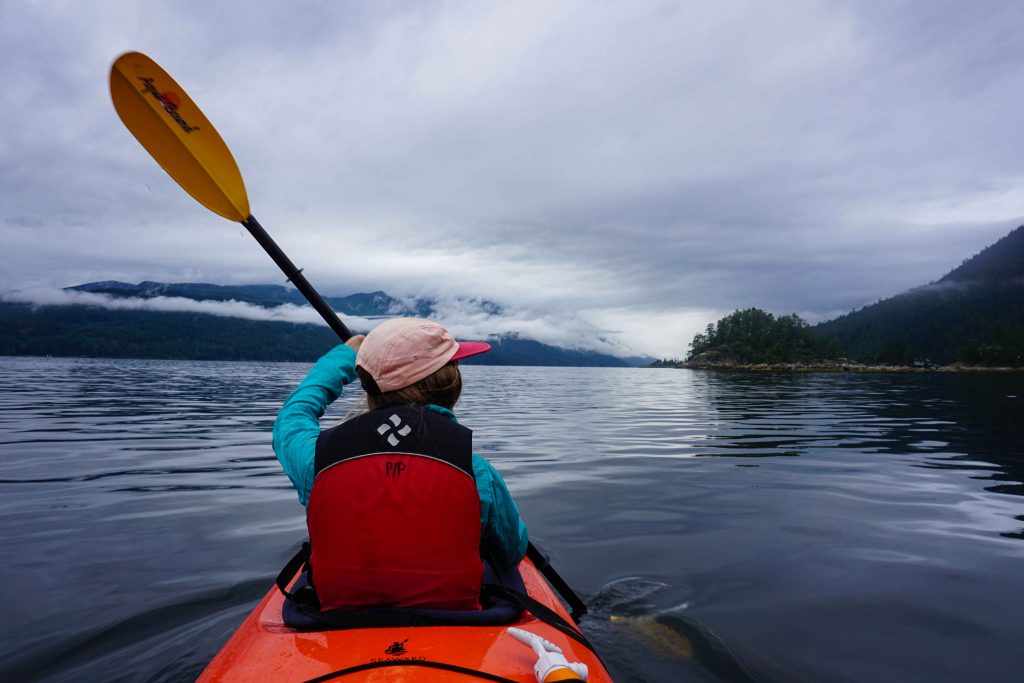
Paddling from Tuwanek in the evening

The route

The beauty of the Sechelt Inlet is that you can choose your own route, depending on how much time and paddle power you have. There are campgrounds on both the easterly shore (which is probably where you’ll launch) and the westerly shore (meaning you’ll have to cross the inlet to reach them). There are also additional campgrounds along the Salmon Inlet and the Narrows Inlet.

The campgrounds appear in the following order, going from south to north:

  1. Piper Point (western shore)
  2. Tuwanek Beach (eastern shore)
  3. Skaiakos Beach (western shore)
  4. Oyster Beach (eastern shore)
  5. 9 Mile Beach (eastern shore)
  6. Halfway Beach (western shore)
  7. Kunechin Point (where the Sechelt Inlet meets the Salmon Inlet)
  8. Thornhill Beach (Salmon Inlet)
  9. Tzoonie Beach (Narrows Inlet)
Kayaking the Sechelt Inlet
9 Mile Beach

My two night itinerary

I had two nights so launched from Peddles and Paddles at 5pm on a Friday evening and headed straight for 9 Mile Beach. I confess that I was in a double kayak with my partner, who is a strong kayaker. The journey took us just over an hour, but this won’t be true for everyone. 9 Mile Beach is a long, stony beach which gives way to a dense forest. It was cloudy when we visited, but the sunsets are supposed to be excellent. Campsites can be found both on the beach and further back in the forest. There’s an outhouse and a large creek, although water collected for drinking must be boiled and treated first.

Kayaking the Sechelt Inlet
Camp at 9 Mile Beach

In the morning, we packed up and paddled all the way to Tzoonie Beach. The going was much harder at this end of the inlet. The winds picked up and the sea became quite choppy. It took us around three hours to get there, but I was glad we made the effort. The area is incredibly beautiful and has a remote, peaceful atmosphere. There’s an outhouse, a bear cache and a creek in the forest – it’s not all that easy to find, but it is there!

Kayaking the Sechelt Inlet
Things got a little bit choppier

On Sunday we packed up early to make the most of the calm seas. The winds are known to blow up the Sechelt Inlet in a northerly direction, particularly in the afternoons. We didn’t want to be caught going against a headwind. Thankfully the sea was like a mill-pond and we made good time. We knew we were safe when we reached Tuwanek Beach, so we stopped there for lunch and a swim before returning the kayak to Peddles and Paddles. Tuwanek Beach is a picture-perfect beach, complete with lapping clear waters and arbutus trees.

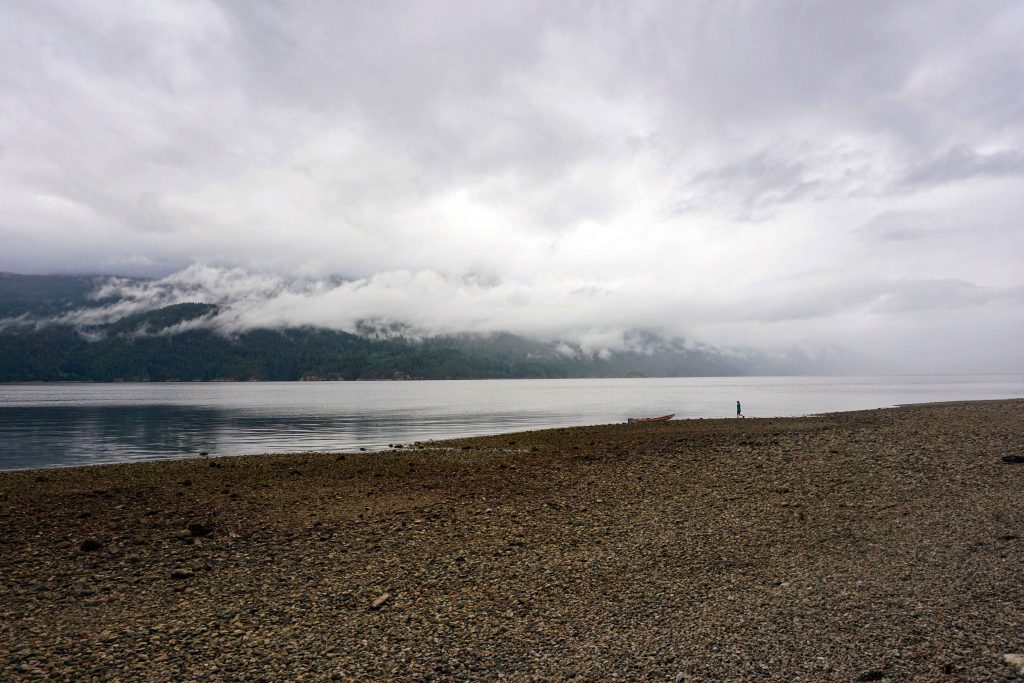
Tuwanek Beach while kayaking the Sechelt Inlet
Tuwanek Beach

Facilities at the campgrounds

The campgrounds are rustic, so you won’t find any filtered water or flushing toilets. I’ve outlined what facilities you can expect to find at each one, as it’s not consistent across the board. They are all free of charge and are marine access only, so you cannot reach them in a car.

Piper Point

  • Beach
  • Space for two to three tents
  • One pit toilet
  • One fire ring and fires permitted below high tide line
  • A creek

Tuwanek Beach

  • Beach
  • Space for four to five tents
  • One pit toilet
  • One fire pit
  • A creek

Skaiakos Beach

  • Zero facilities, but camping is permitted

Oyster Beach

  • Beach
  • Space for three to four tents
  • One pit toilet
  • One fire pit
  • Two creeks (one large, one small)

9 Mile Beach

  • Large beach
  • Space for 10+ tents
  • One pit toilet
  • Two fire rings
  • A creek

Halfway Beach

  • Beach
  • Space for 10 to 15 tents
  • One pit toilet
  • One fire ring
  • A creek

Kunechin Point

  • No beach
  • Two tent pads located on a stony outcrop, with space for four more tents located around the point at Kunechin Bay
  • One pit toilet
  • Campfires are not permitted on the point
  • No water source
  • Susceptible to strong winds coming down from the Salmon Inlet

Thornhill Beach

  • No beach
  • Space for two tents
  • One pit toilet
  • A creek
  • Hard to reach due to strong winds coming down from the Salmon Inlet

Tzoonie Beach

  • Stony beach
  • Space for up to 10 tents
  • One pit toilet
  • One fire ring
  • A bear cache
  • A creek, although it’s hard to find
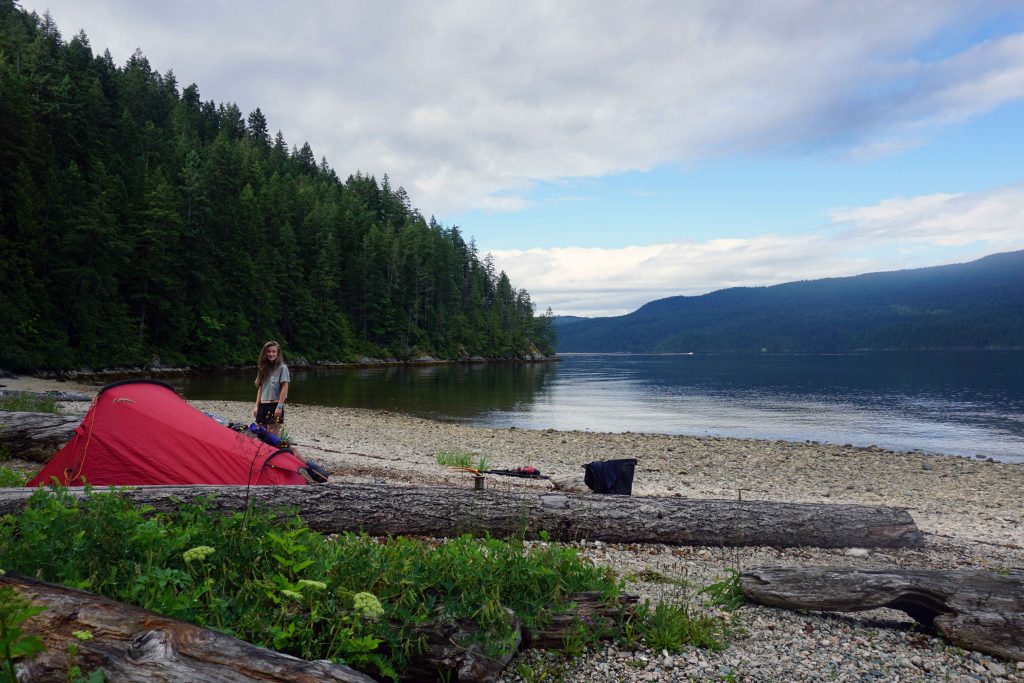
Kayaking the Sechelt Inlet
Camp at Tzoonie Beach

Drinking water

Water collected from the creeks and streams must be boiled and/or treated before consumption.

Safety

Kayaking comes with its own set of dangers, especially sea kayaking. Always wear a life jacket and know what to do in the event of a capsize. Paddling close to the coastline is always a good idea, especially if it’s windy. The water tends to be calmer in the mornings and evenings.

It’s not recommended that you venture to Thornhill Beach unless you are an experienced kayaker, as the winds can be very strong down the Salmon Inlet. Also, don’t paddle past the entrance to the Narrows Inlet. If you do, you’ll end up in the Skookumchuk Narrows, which has a series of powerful rapids and whirlpools.

Did You Like This Post? Save it for Later!